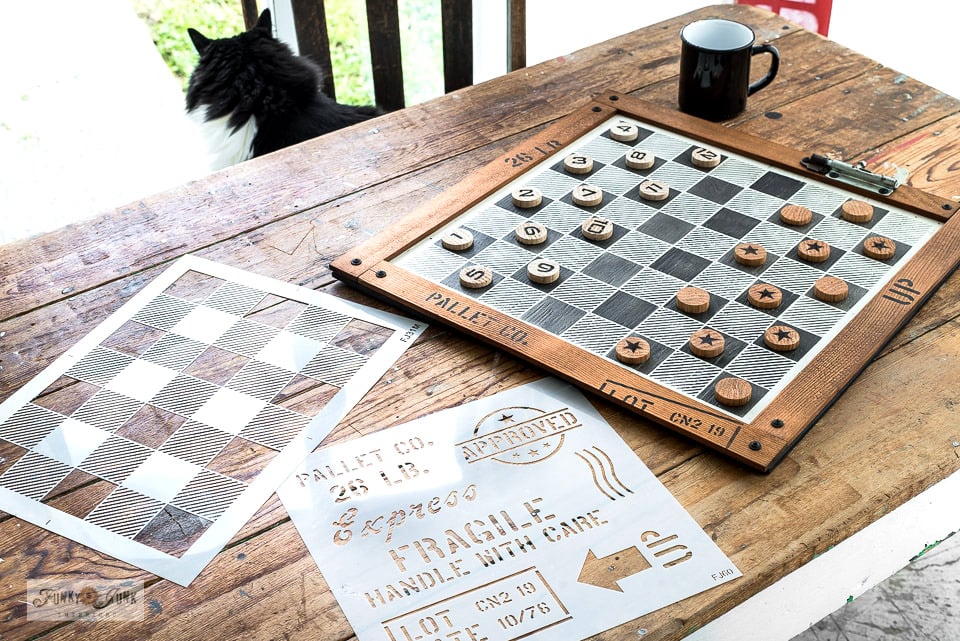
DIY Buffalo Check checkerboard - with video!
Love playing checkers or chess? Here's how to create your own stylish DIY checkerboard with a Buffalo Check stencil and scrap wood! Easy and fun to customize!
Supplies:
Instructions:
How to make a DIY checkerboard
- Cut a piece of plywood 20" x 20".
- Paint in a light colour.Fusion Mineral Paint - Raw Silk
- On the Buffalo Check stencil, mark the center of 4 squares horizontal and 4 squares vertical.
- On the painted plywood, mark the horizontal and vertical centers.
- Position the Buffalo Check stencil to match the center marks, then stencil a dark colour.Fusion Mineral Paint - Coal Black
- Continue the pattern by overlapping like-minded patterns along the edges.
- Fill in the white squares by repositioning the Buffalo Check stencil open squares over them, then fill in.
- Coat the checkerboard with wax to protect and create a smooth finish for sliding the game pieces.
How to create checkers
- Cut a closet dowel in slices.
- Stain one set of pieces to create darker checkers.
- Stencil to decorate as desired.
Notes
Be sure to visit the original blog post tutorial, which also shares a very helpful video to watch the stenciling process!
https://www.funkyjunkinteriors.net/buffalo-check-checkers-board/
Did you try this tutorial?Share it on Instagram and tag @funkyjunkinteriors and include #funkyjunkinteriors so we can check it out!