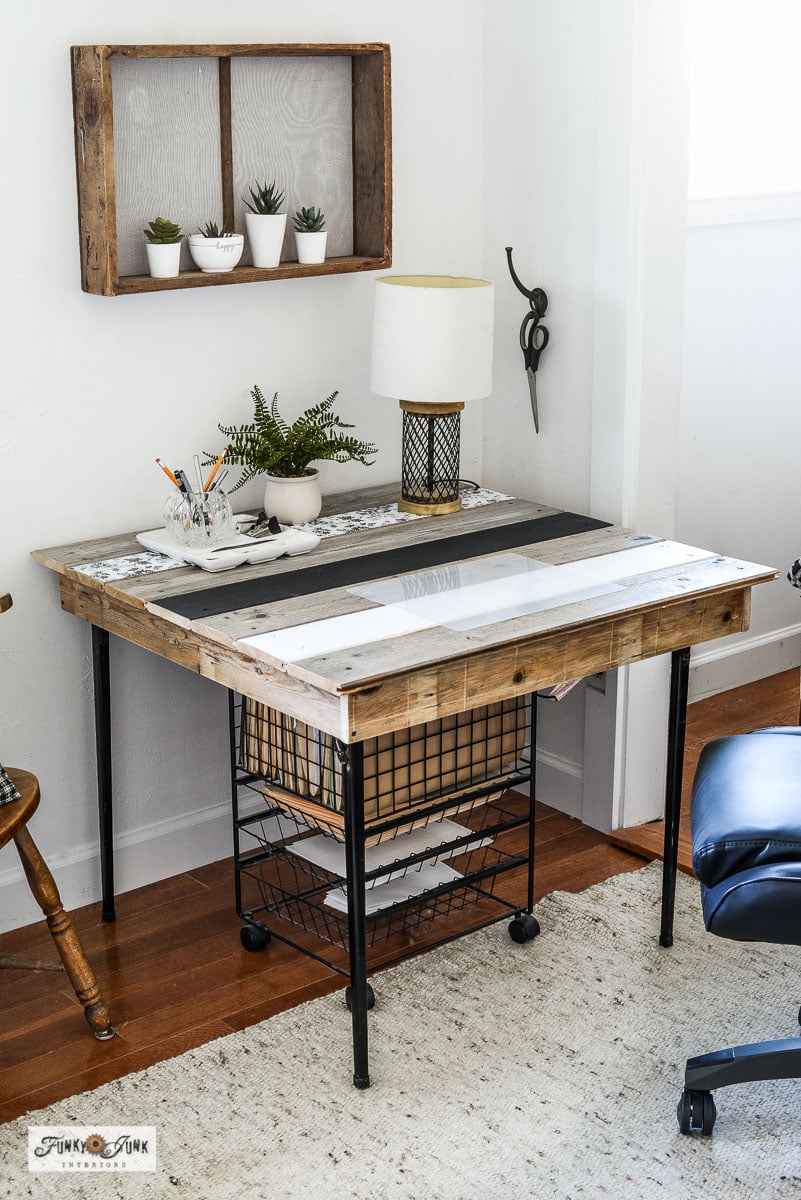
DIY wood top card table makeover
Transform your plain card table into a stylish, rustic, removable farmhouse table top!
Supplies:
Instructions:
- Lay planks across the top of a card table until covered with some overlap.
- Cut, then assemble a square frame that is approximately 2" larger than the card table top.
- Place frame on top boards, then measure around frame to create a square top with a 1.5" overhang on all 4 sides.
- Cut planks, then replace on top of the frame, and attach one at a time with screws.
- Give entire surface and sides a light sanding.
- Cover one plank with pretty shelf liner for a fabric look.
- Paint two other coordinating stripes to match the liner.
Notes
Read more tips and pictures on Funky Junk Interiors at:
https://www.funkyjunkinteriors.net/diy-wood-top-card-table-makeover/
Did you try this tutorial?Share it on Instagram and tag @funkyjunkinteriors and include #funkyjunkinteriors so we can check it out!