
DIY Wooden Pumpkins for Easy Fall Decor
Have you ever tried making wooden pumpkins? It’s easier than you might think! Gather 2x4 scraps along with a stencil kit to customize yours! View full tutorial at: https://www.funkyjunkinteriors.net/2022/09/wooden-pumpkins.html
Supplies:
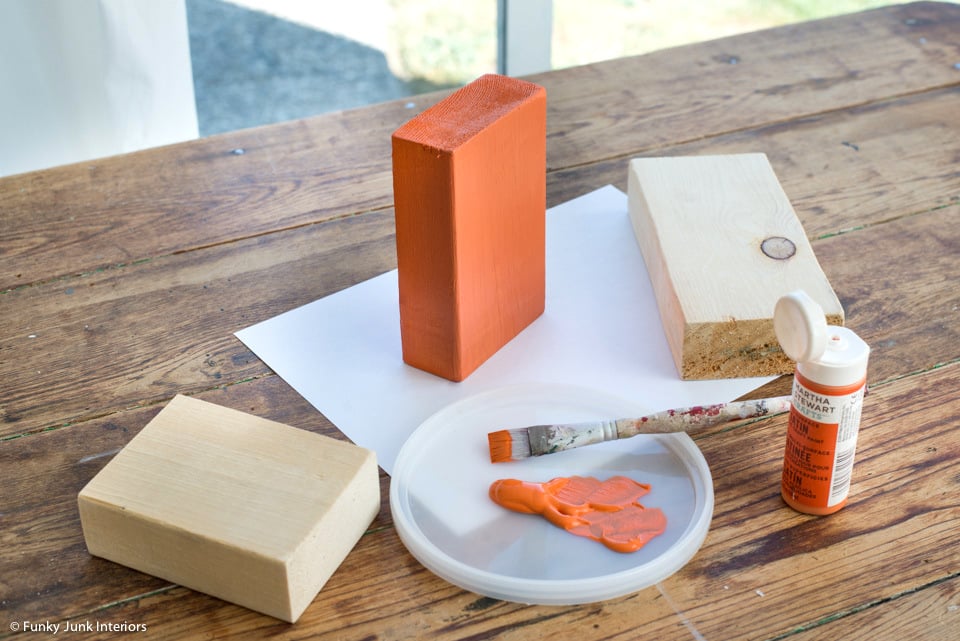
- 3 pieces scrap wood or 2x4 chunks
- 1 stencil Mini Pumpkin Patch Kit
- Orange paint
- Black paint
- Stencil brush
- Wider artist's brush
- Sticks for stems
- Stain to distress pumpkins
Instructions:
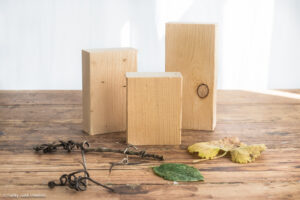
- Cut random scrap wood pieces in different heights.
- Lightly sand, then coat with orange paint.Orange paint

- Once dry, lightly sand to distress.

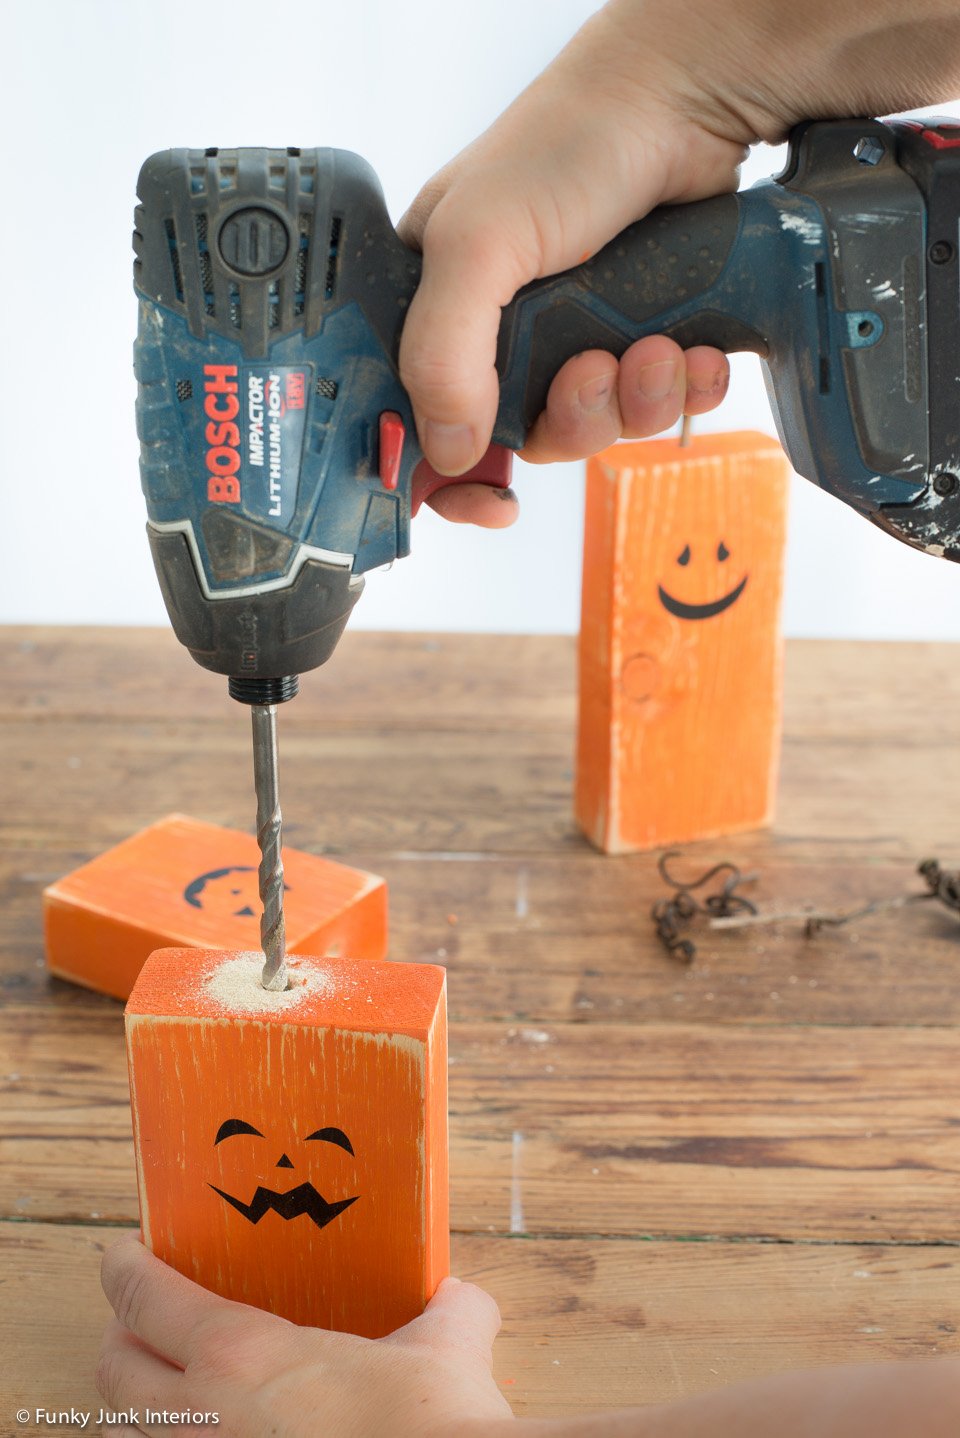
- Stencil pumpkin faces in black where desired.1 stencil Mini Pumpkin Patch Kit

- Turn the wood pieces around, then stencil pumpkin messages on the backs.

- Drill holes into the tops of the 2x4s.

- Insert sticks into the holes for pumpkin stems.
- Coat with stain to further distress pumpkins.Stain to distress pumpkins

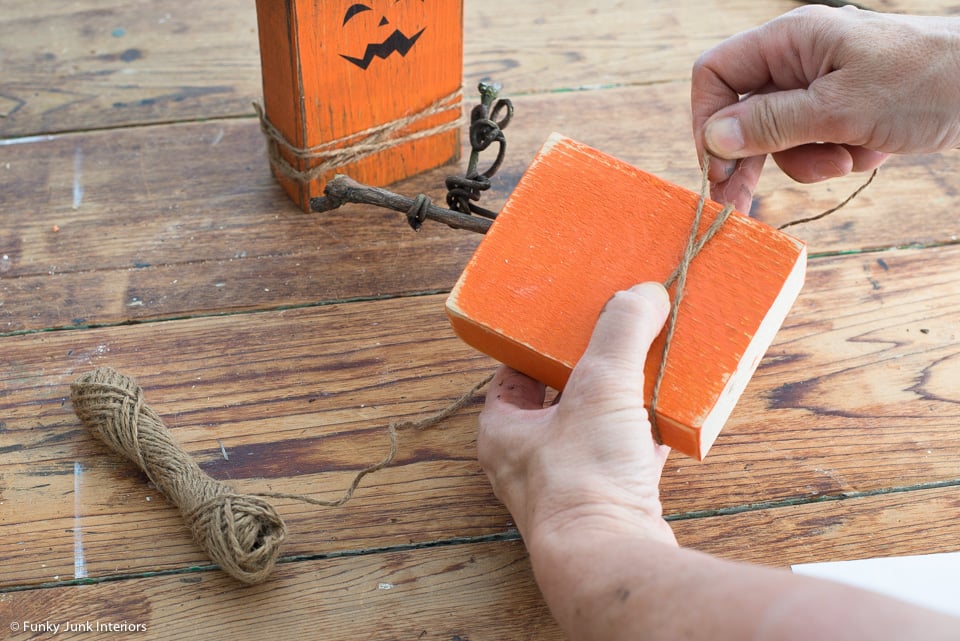
- Wrap bases of pumpkins with jute twine.

- Decorate the base of the pumpkins with outdoor leaves.


Did you try this tutorial?Share it on Instagram and tag @funkyjunkinteriors and include #funkyjunkinteriors so we can check it out!