
Stenciled wooden Christmas tree sign with lights
If you love the look of pallet Christmas trees, this charming and unique stenciled wooden Christmas tree sign with lights will be right up your alley!
Supplies:
- Woodenville Trees stencil
- Ash Fusion Mineral Paint
- Metallic Pearl Fusion Mineral Paint
- Almond Latte Milk Paint by Fusion
- old window frame without glass
- cedar strips to fit inside window
- dome tip stencil brush
- fairy lights
- faux snow
- copper ornaments
Instructions:
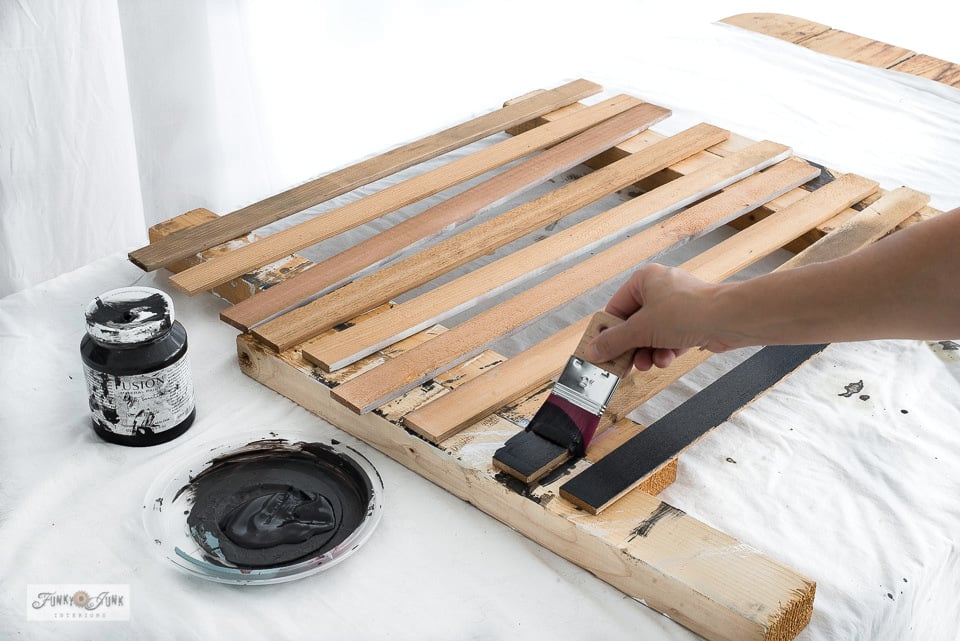
- Cut cedar strips to fit inside window frame.

- Paint the cedar strips in Ash.Ash Fusion Mineral Paint

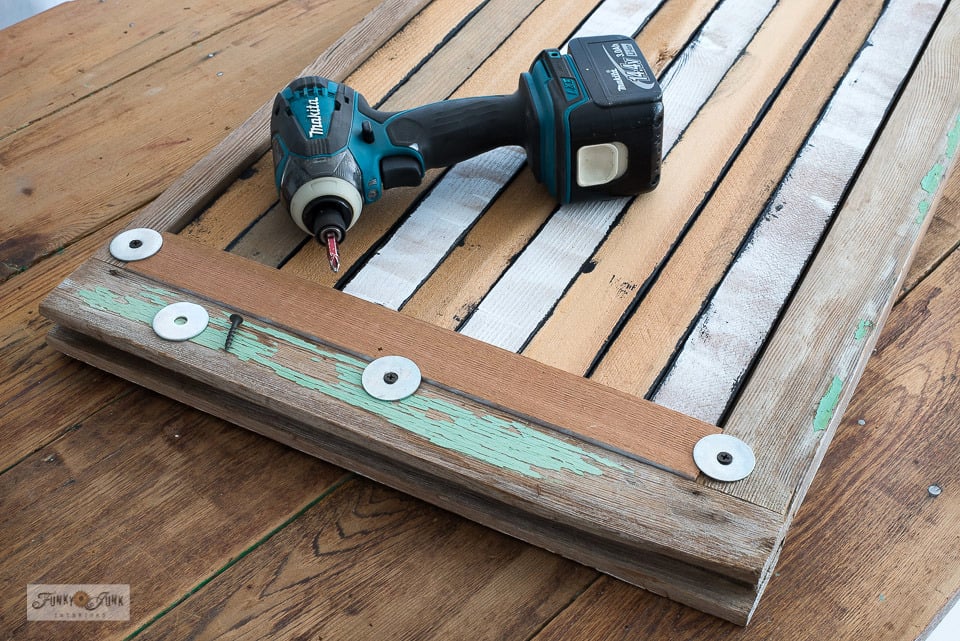
- Flip window good-side-down, then position painted cedar strips inside window frame, painted-side-down.

- Brace the strips with two side support strips, held in place with wide washers and screws.

- Stencil the trees stencil twice, using Almond Latte for trees, and Metallic Pearl for stars.Woodenville Trees stencil, Almond Latte Milk Paint by Fusion, Metallic Pearl Fusion Mineral Paint

- Add fairy lights by stringing them through the back of the sign between the wood slats or drill a small hole.

- Swag the lights from tree to tree by pinching the wire, and pushing it through the slats or attach in another way.

- Decorate with copper ornaments and faux snow to get this look!





Did you try this tutorial?Share it on Instagram and tag @funkyjunkinteriors and include #funkyjunkinteriors so we can check it out!