Make Paper Snowflakes With Doilies: 3 Sizes (Step By Step Guide)
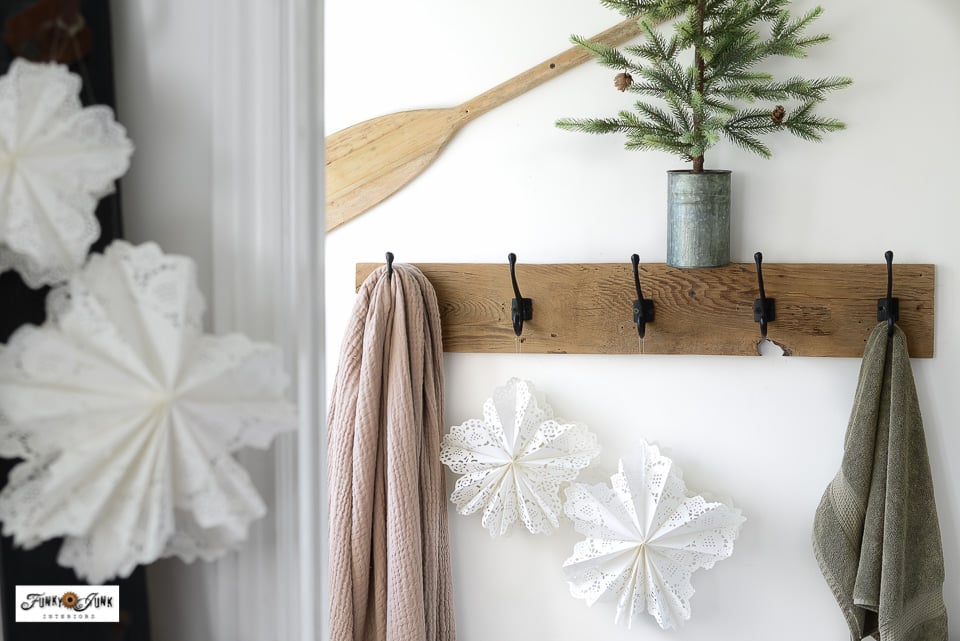
Wish to create a winter wonderland vibe this Christmas? This easy tutorial shares how to make paper snowflakes from doilies in minutes, that are abundant, beautiful, and really fill a space up quick!
Supplies:
Instructions:
How to fold 6 doilies to make one snowflake
- Place a paper doily good-side-down, then fold it in half.
- Twist doily ¼ turn so the fold is vertical to you.
- Fold doily in half, then pinch only the middle to make a mark.
- Fold the curved bottom and top up to the middle pinch mark so they meet, but don't overlap.
- Twist the folds to the sides, then fold doily in half from bottom to top, so you end up with a fold on the bottom, and the open rounded ends on top.
Applying the glue
- Open folded doily, then apply glue to only half of the left and right rounded areas, from middle - up.
- Close the doily on the glue, then gently pull the pocket open to ensure it doesn't stick shut. You should be able to see the left and right inside sides glued, but can wiggle freely.
- On the outside of the folded doily, run glue horizontally along the bottom, and vertically up the center to create an upside-down T shape.
- Place another folded doily on top. Glue and stack until all doilies are stuck together.
- Gently open the doily to fan it out, then glue an upside down T to the top one and join the two ends together.
- Hang the snowflakes with thread that matches your chosen background area so they appear invisible.
- Make more snowflakes with different sized doilies to create a nice varied effect!
Notes
For the full tutorial plus helpful video, visit Funky Junk Interiors at:
https://www.funkyjunkinteriors.net/make-paper-snowflakes/
Did you try this tutorial?Share it on Instagram and tag @funkyjunkinteriors and include #funkyjunkinteriors so we can check it out!