Organize your garden tools effortlessly with this DIY-friendly pallet yard tool organizer featuring sturdy shelves and handy hooks, perfect for keeping your yard tidy and tools within easy reach!
When gardening season rolls round, I just can’t stay inside! So I’m always putzing out in the yard to see what else I can fix or create!
This year’s seen quite a few new projects so far! Among my favs are:
Coat hook to hanging plant stand with sign
File cabinet garden tool storage with hooks
However I have another fun garden project to share today!
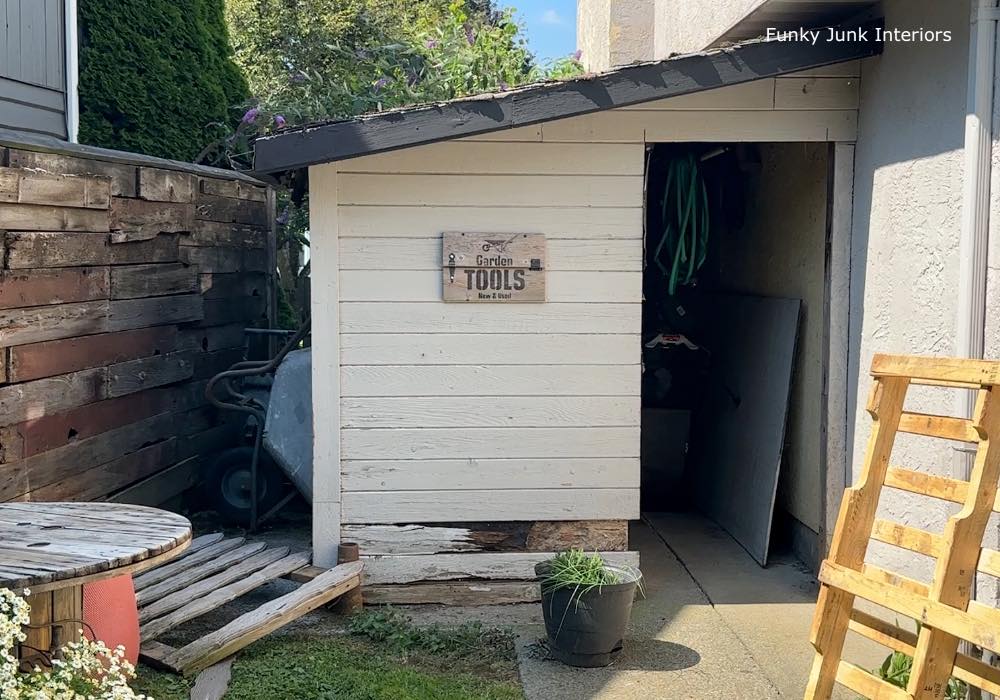
Shed – before
Most of you know about my well-known very cutely decked out garden shed HERE. However, there’s a 2nd garden shed in my backyard that needed some help. I mainly keep my lawnmower in here, as well as other lawn gear such as brooms, sprayers, rakes, shovels, ladders, and a racks holding hoses. Over time, the bottom started to rot, plus it wasn’t all that cute to look at.
So not only did I do a mini repair to the shed to make it look a whole lot better, I also added a new feature that not only looks cute, it’s super functional and helps organize my garden tools too, keeping them within easy reach!
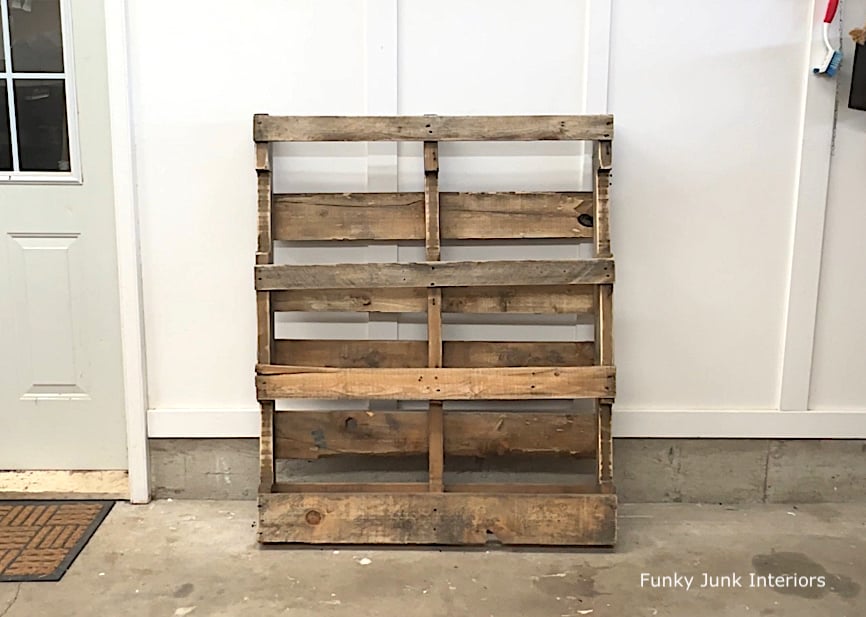
Pallet – before
Which all started with a simple, free pallet!
So here’s how I prepared it, then rebuilt it to become a yard tool organizer plus garden feature that not only looks cute, it’s super productive too!
DIY-friendly pallet yard tool organizer with shelves and hooks
Supplies I used:
1 pallet in a wood tone I liked
Some deeper-sized reclaimed wood boards for shelves and a top
Thinner board to run along the bottom to create a cubby
Previously made Garden Tools sign (learn how HERE)
Bosch variable speed orbital sander
Hand garden tools with kneel pad and weed bucket like this
Other garden accessories such as plant labels, string, scissors, etc.
Cut flowers in water
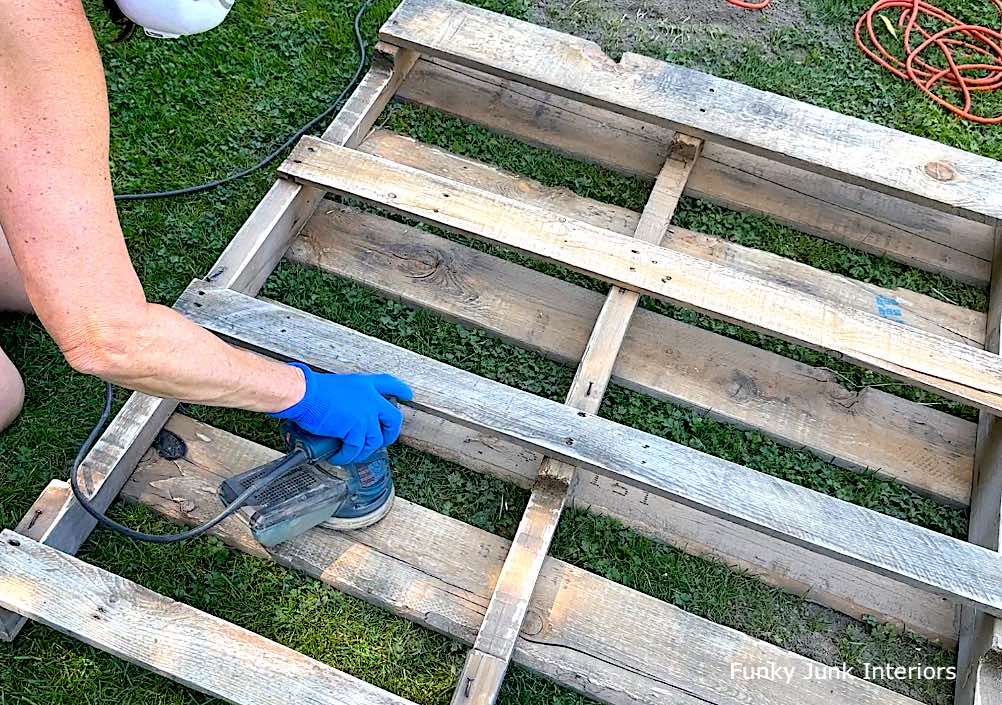
Preparing the pallet with sanding
1. Clean and lightly sand the pallet.
In most cases, I’d recommend to pressure wash any pallet before using it for anything! However, since I didn’t want to wash all the patina off, and since it was staying outdoors, I sanded it as-is. But just enough to knock off any rough spots to avoid getting slivers when using it.
I like to keep a stack of these sanding discs on hand so I have every grit needed for every task!
Cutting boards to create shelves for the pallet organizer
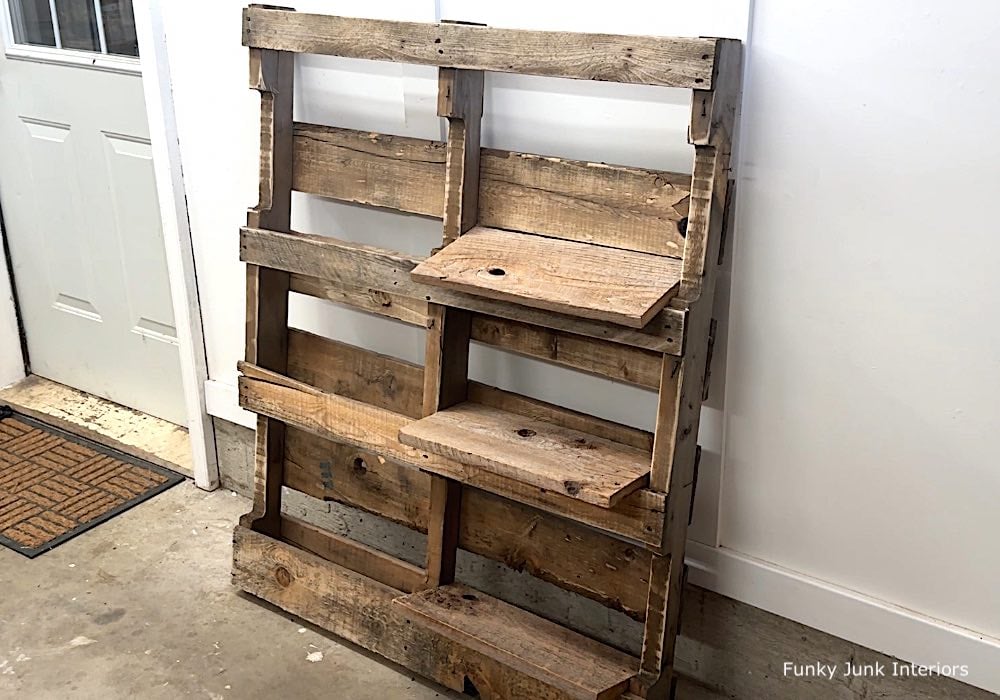
2. Position the pallet upright, with the top facing the wall.
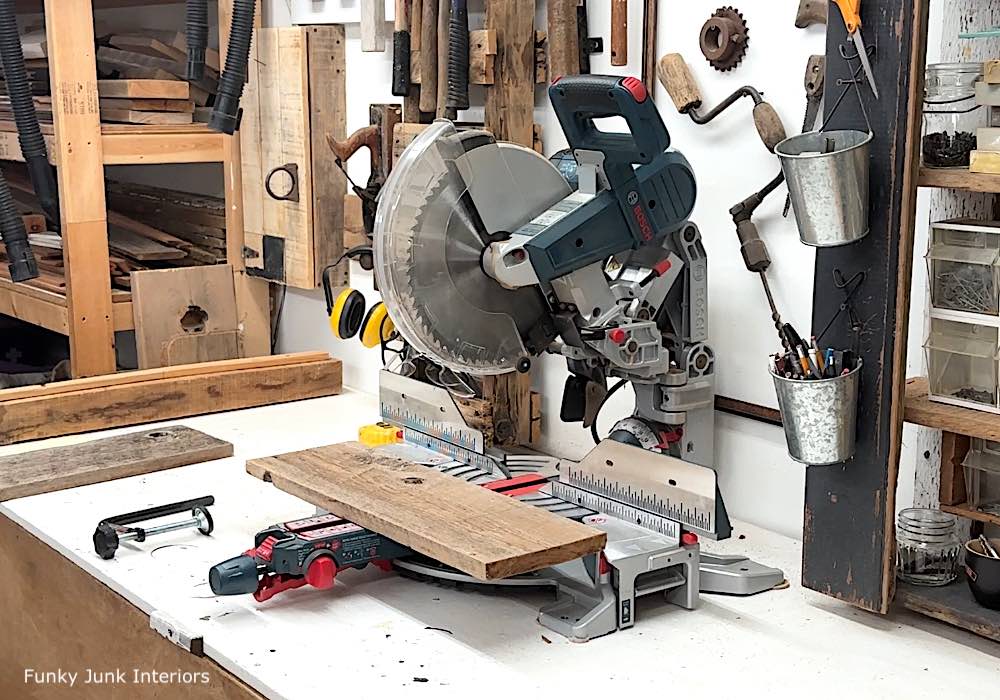
3. Measure the width of each section on the right side, plus the top. Then using a miter saw with a slider function, cut deeper boards to fit each section.
The reason I’m using the back of the pallet is so I can utilize the spaced out boards to become shelf supports!
Cutting off pallet boards for tool hanging space
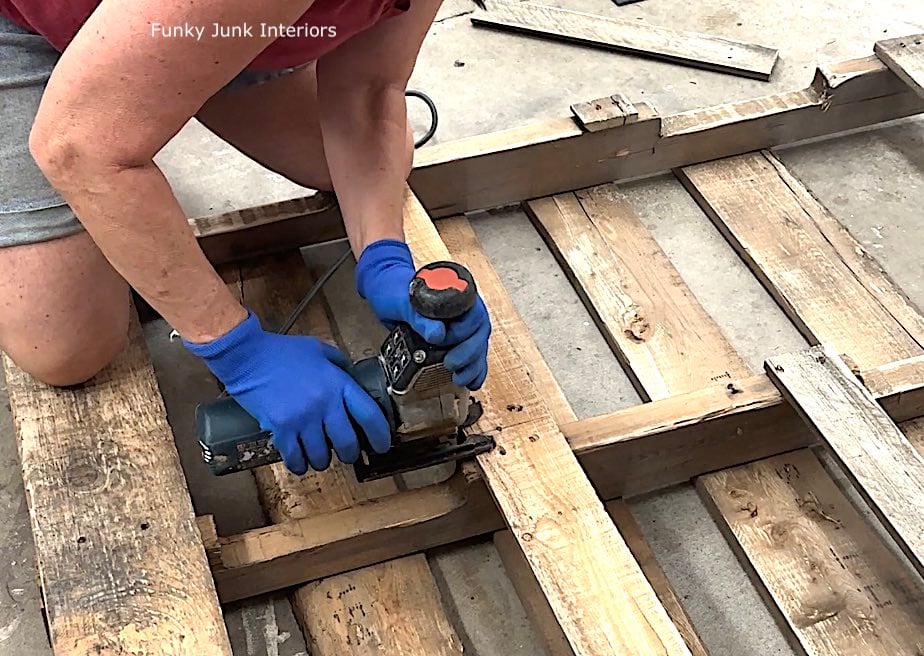
3. Position the pallet front side down on the ground, then cut out the in-between boards on the left side only with a jigsaw, leaving the top and bottom boards intact.
On each board, I drew a line on the right side of the board, however just left of the middle of the pallet, then cut it with a jigsaw. Then I lifted the board, and pried it off with the help of a crowbar where needed, to remove any nails and such.
Installing the pallet to a shed
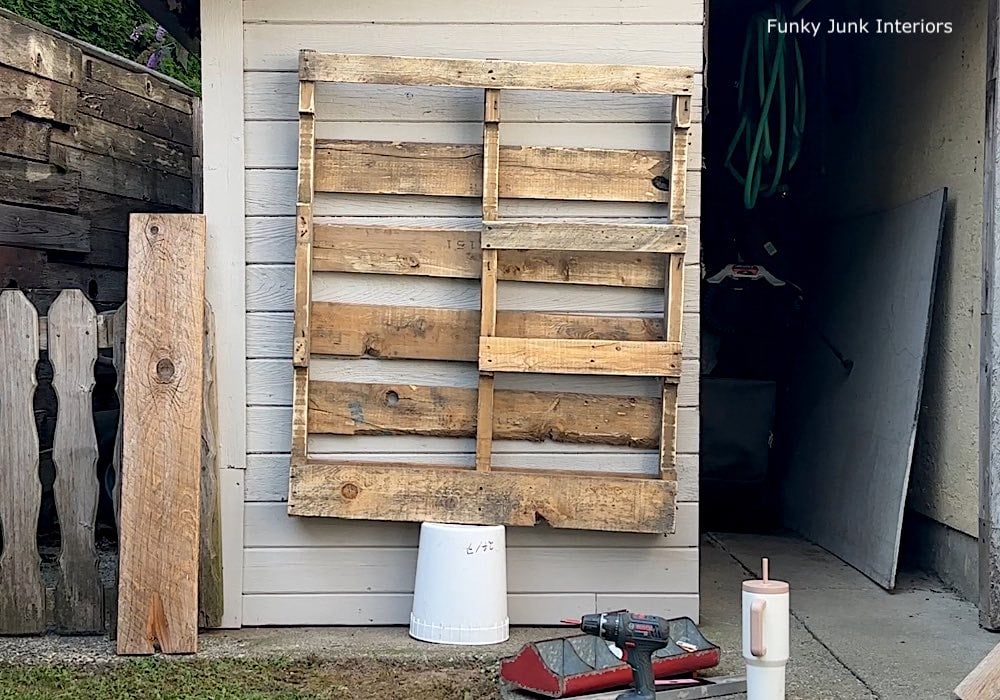
Now the pallet is bare on the left.
4. Position the pallet on something to add some height, then with a construction level on top, level the pallet, then screw it to the shed or your chosen backdrop.
Pallets can be heavy, so that bucket was like an extra set of hands!
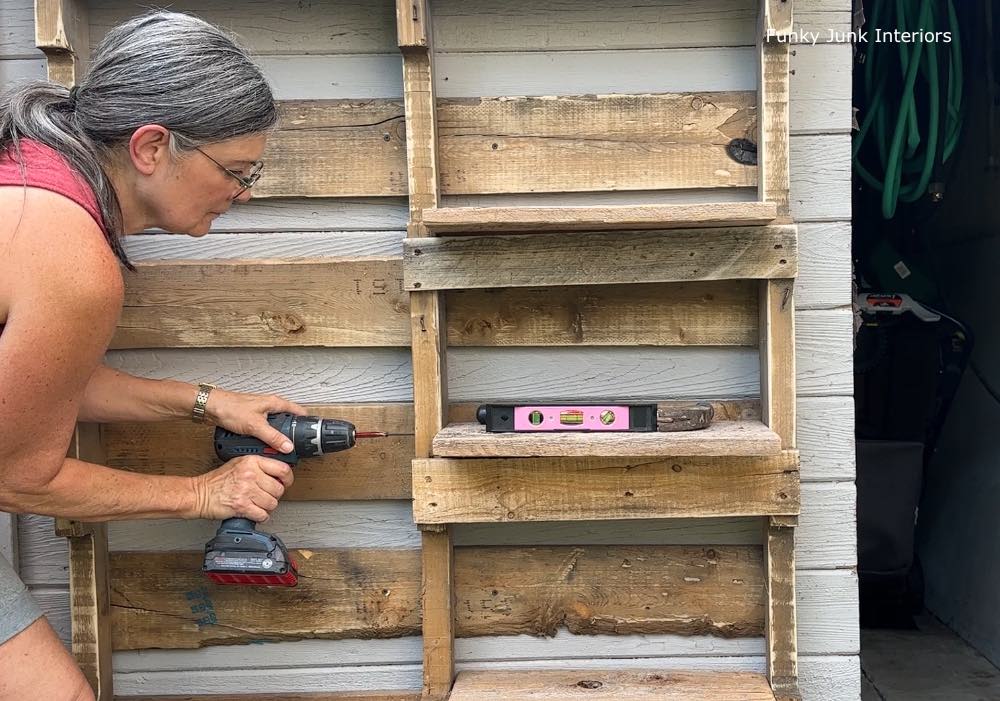
Attaching the shelves
5. Using a Bosch cordless drill, screw on all the shelves by drilling into the sides of each one and through the tops. Attach the top board from the top with screws.
6. Positioning a small construction level on top of each one in both directions, attach the shelves with screws from the outer board sides, plus through the top of the shelves into the support boards beneath.
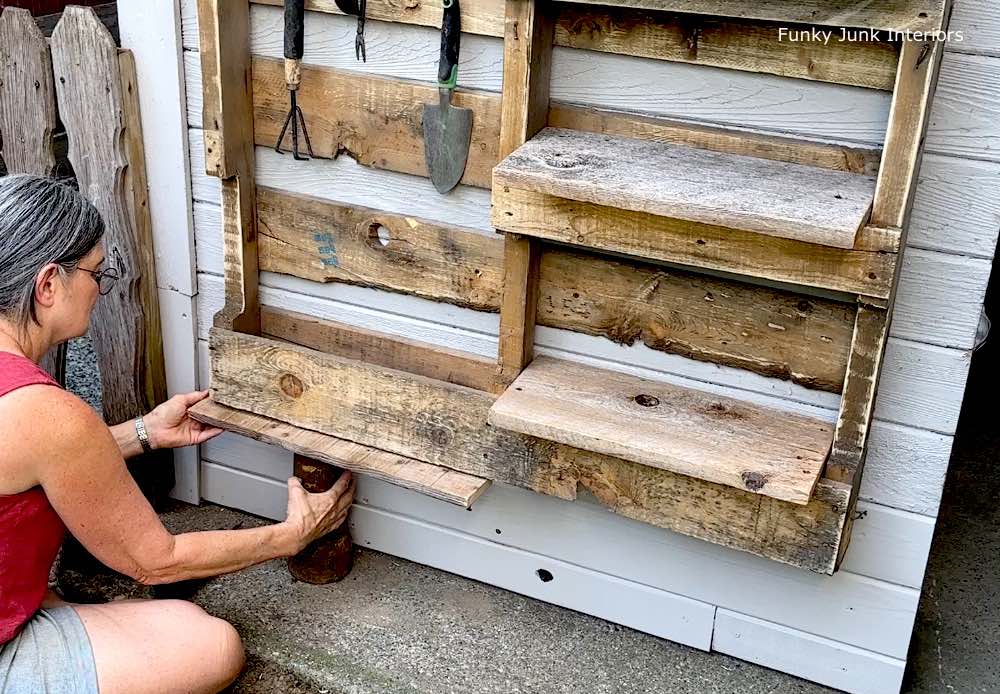
Adding a bottom board to create an enclosed cubby shelf
7. Cut a board to fit along the bottom of the left side of the pallet, then attach with screws.
Now this little area becomes a cubby of sorts! I used a chunk of pipe to hold the board in place while I screwed it on.
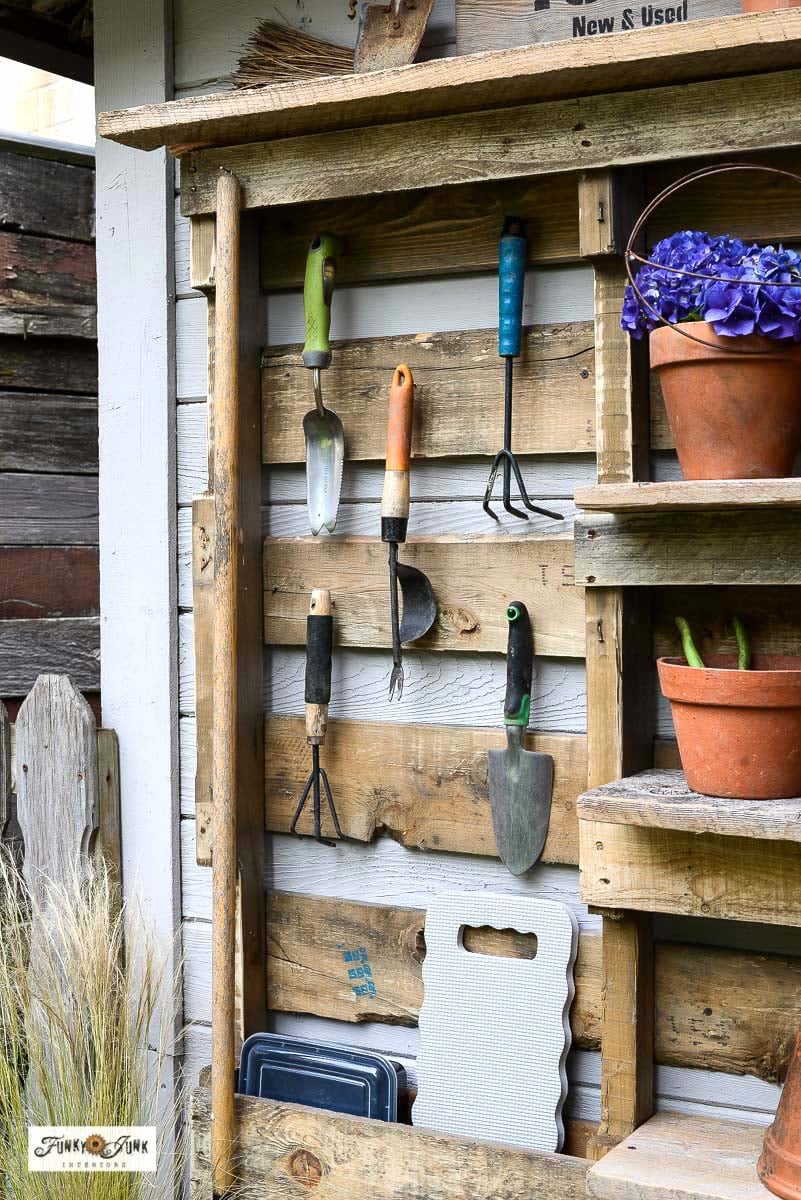
Mounting the hand garden tools using nails
8. In the cut out left section, hang hand garden tools on long, finishing nails.
I held each hand garden tool to help me space them where desired, then I hammered in the nails to hang. Using simple nails works best here so the holes in the hand garden tools can easily slip on and off.
Learn how to make this Garden Tools sign HERE
Creating a top display with a Garden Tools sign
9. Create a display along the top shelf.
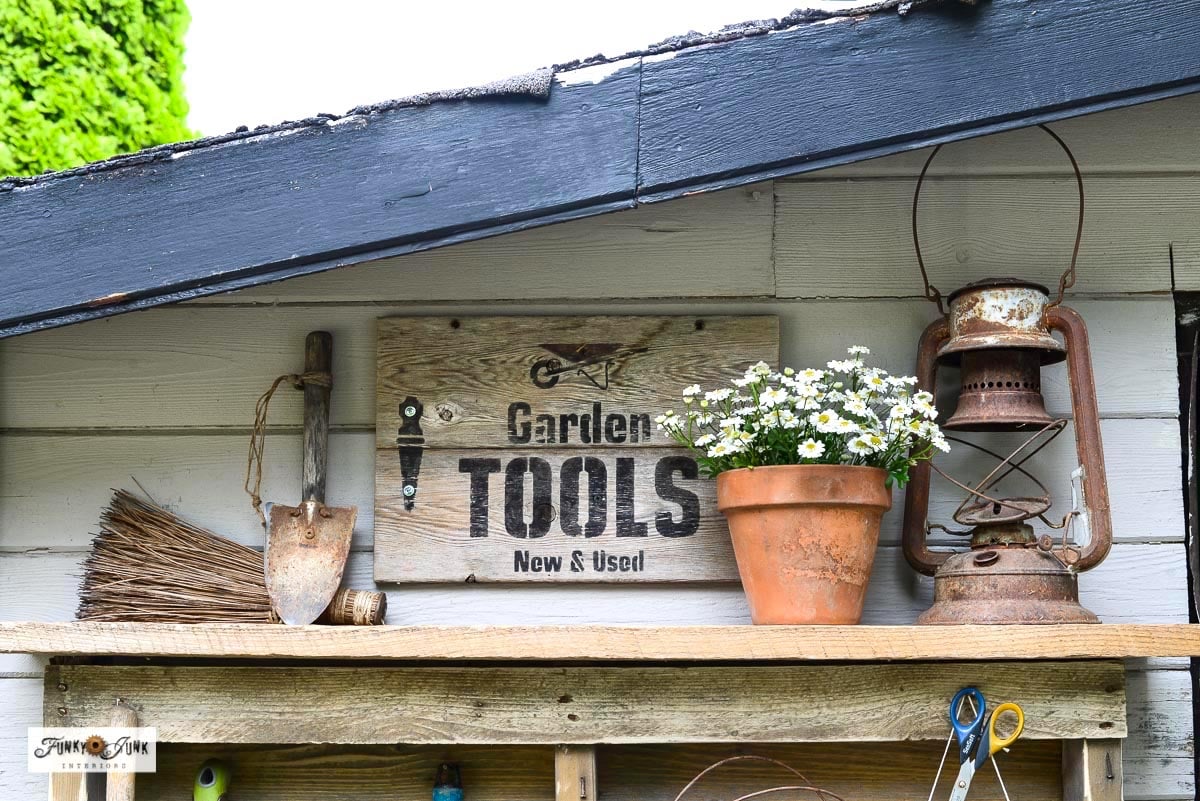
To decorate along the top, I hung a previously made Garden Tools sign you can see more on HERE.
Stencils used: Garden Tools stencil and Hinges stencil
Then added a pot of flowers in water, a rusty old lantern, and a couple of antique garden tools. Too cute!
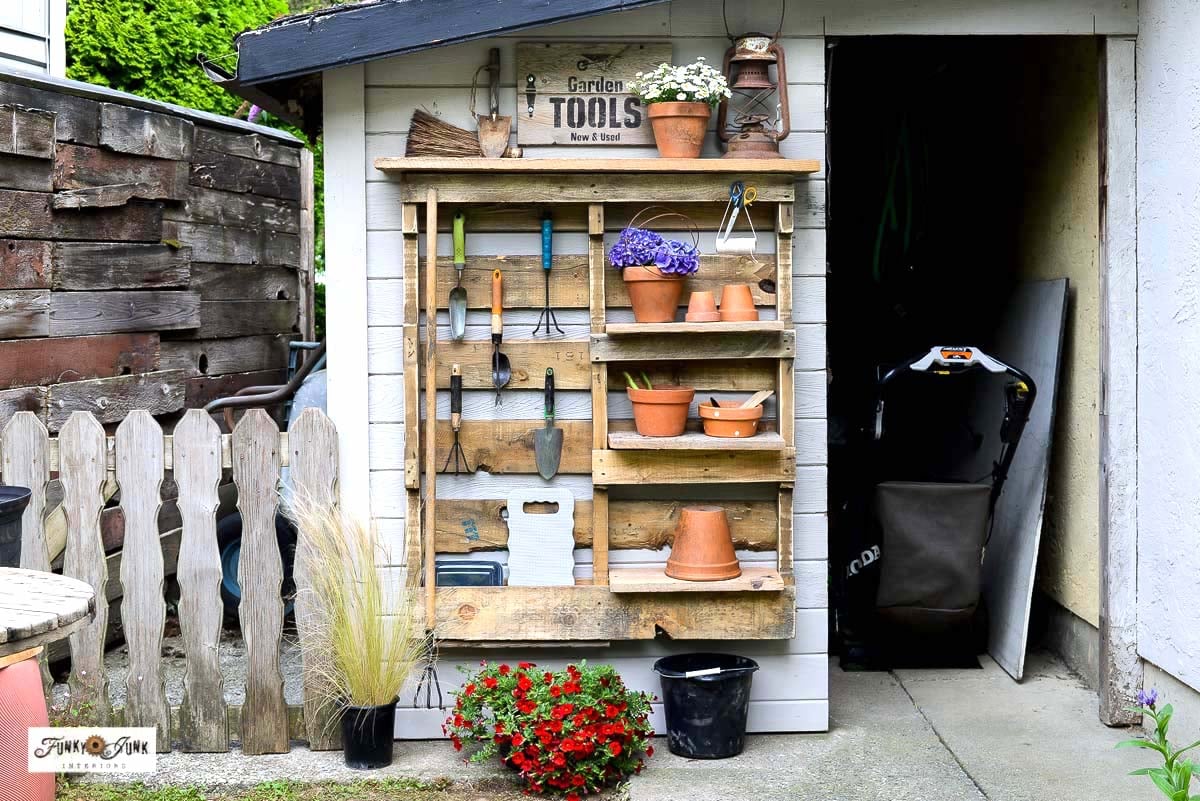
Completed pallet yard tool organizer
Then load up the shelves on the right with terra cotta pots, fresh cut flowers, garden supplies, hang your fav garden tools on the left, fill the cubby, decorate along the top shelf and you have yourself the cutest little garden nook or pallet yard tool organizer in the land!
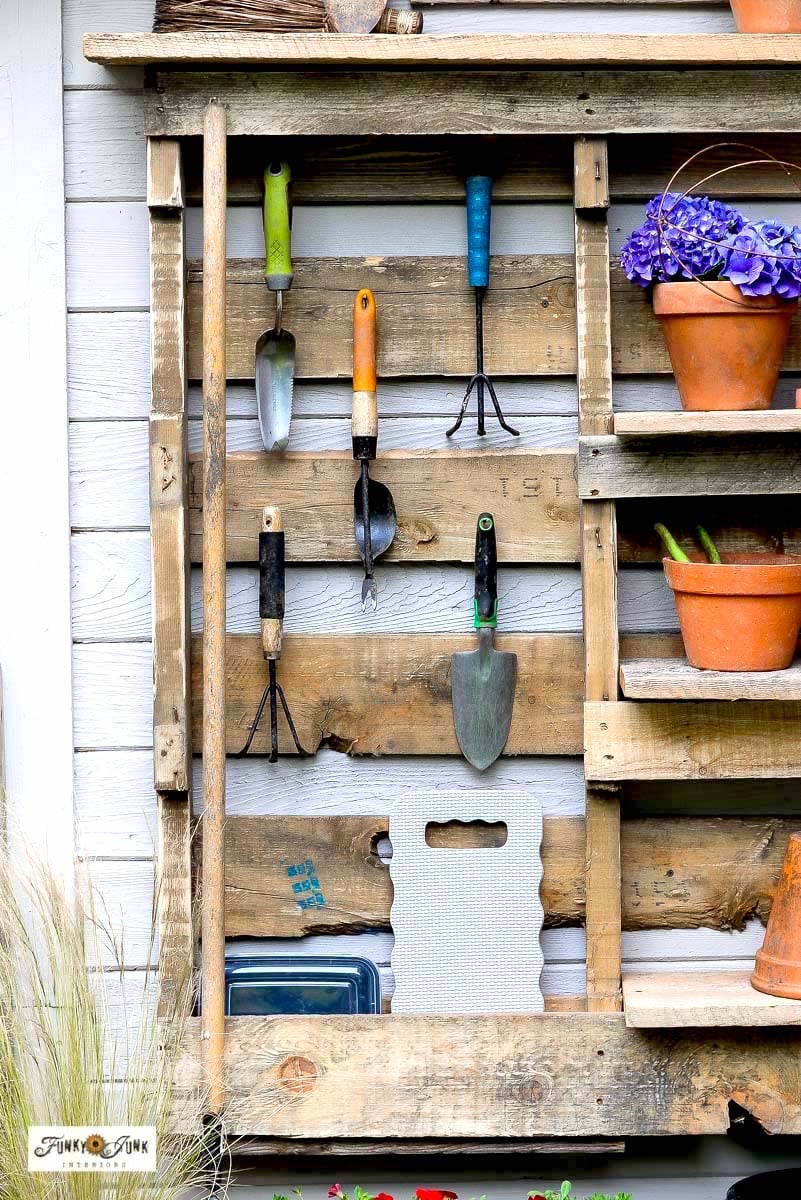
One pallet holds just enough hand garden tools to get the job done! And with everything out in full display, there’s no guessing where anything is. The organization is handy, but looks intentional too!
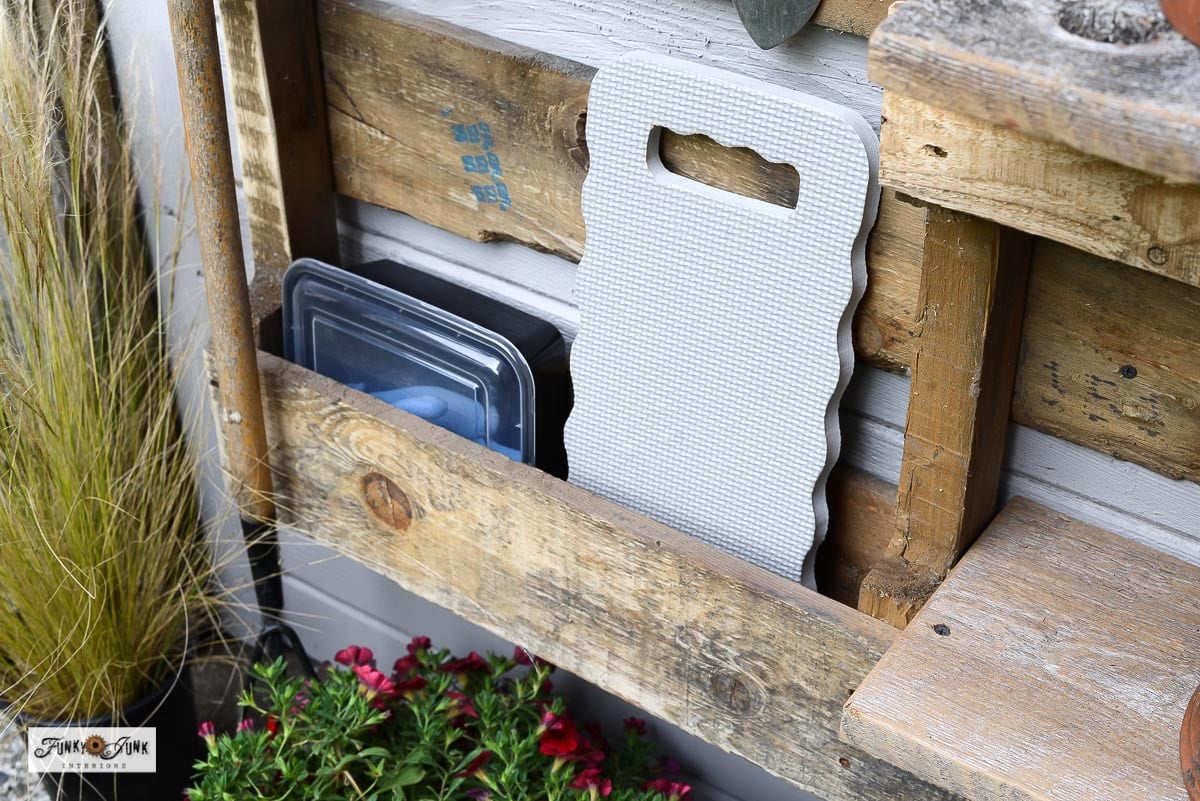
The cubby below ended up being the perfect place to stash a gardening knee pad, plus some gardening gloves in an enclosed containers to keep the critters out.
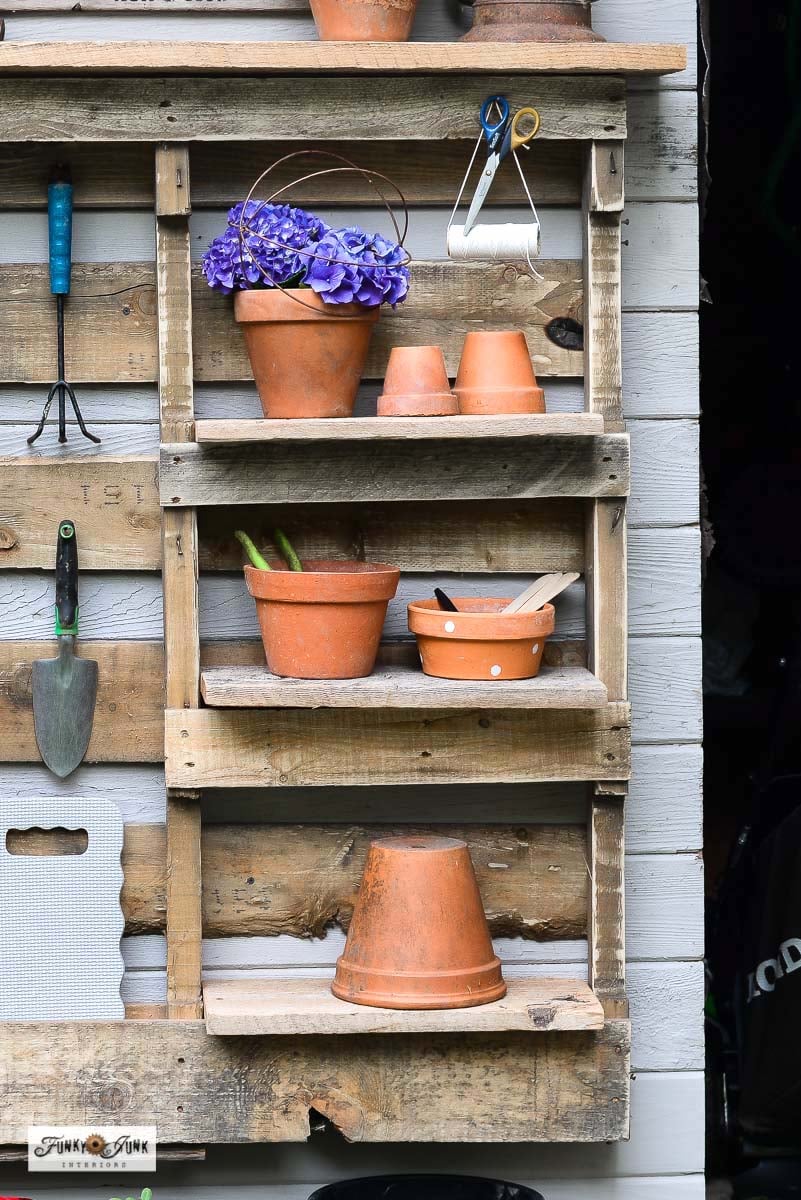
Shelves filled with terra cotta pots
With the deeper shelves along the right side, I was able to outfit small and larger terra cotta pots! I flipped a few right side up so they could hold garden labels, a pen, string, and hand clippers. Plus of course, display a few cut flowers in water while I’m at it…
The hydrangeas are doing so well this year! So far they are a vibrant purple.
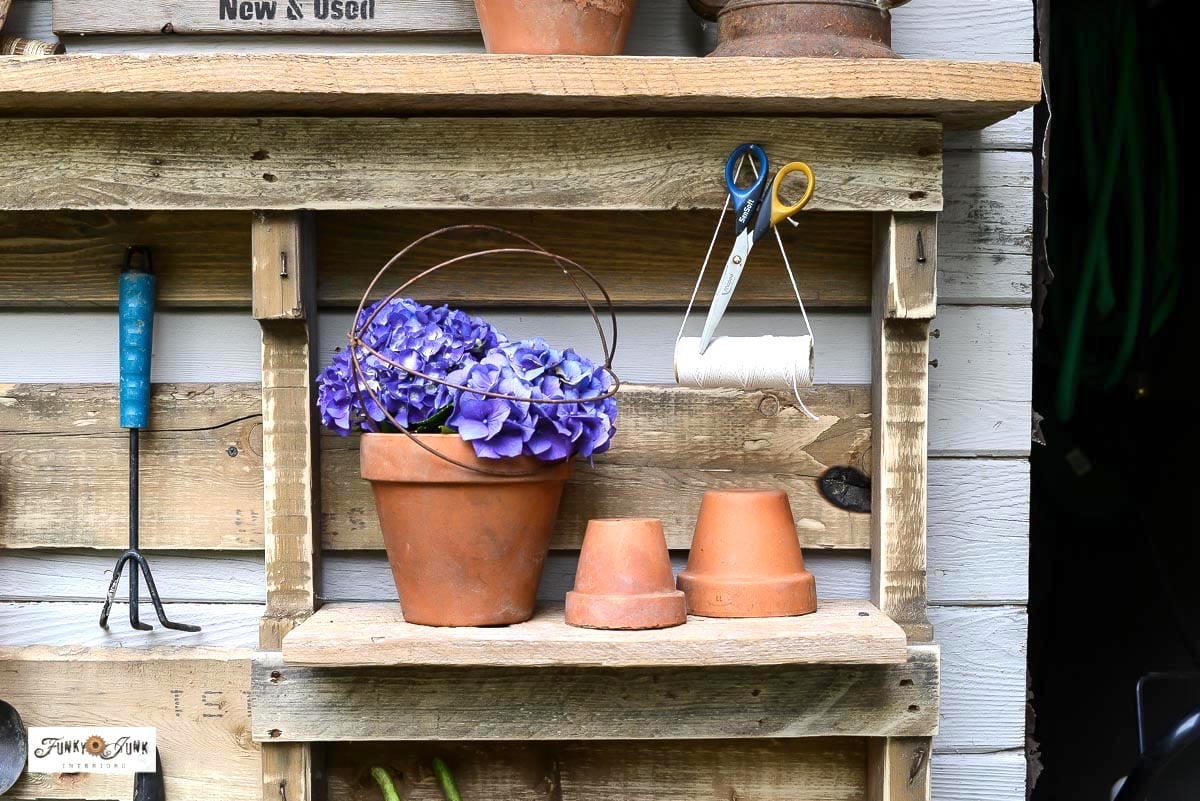
Even some string that was hung by string of course, and some small scissors found a place. I’m always stringing up tomatoes as they grow so this will be so handy!
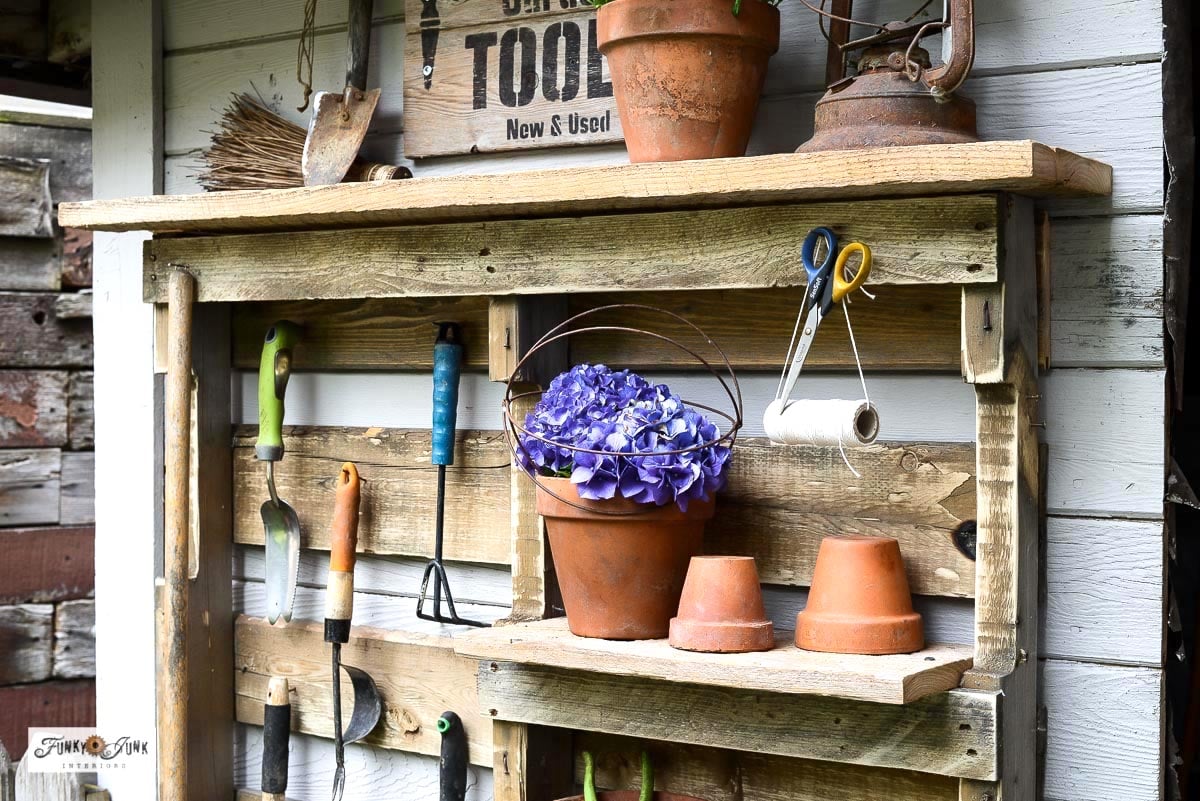
One of the best features about this pallet garden tool organizer is the fact that the pallet basically takes up no space in depth… making this easy to mount most anywhere. As long as your space fits your pallet of choice, you’re good to go.
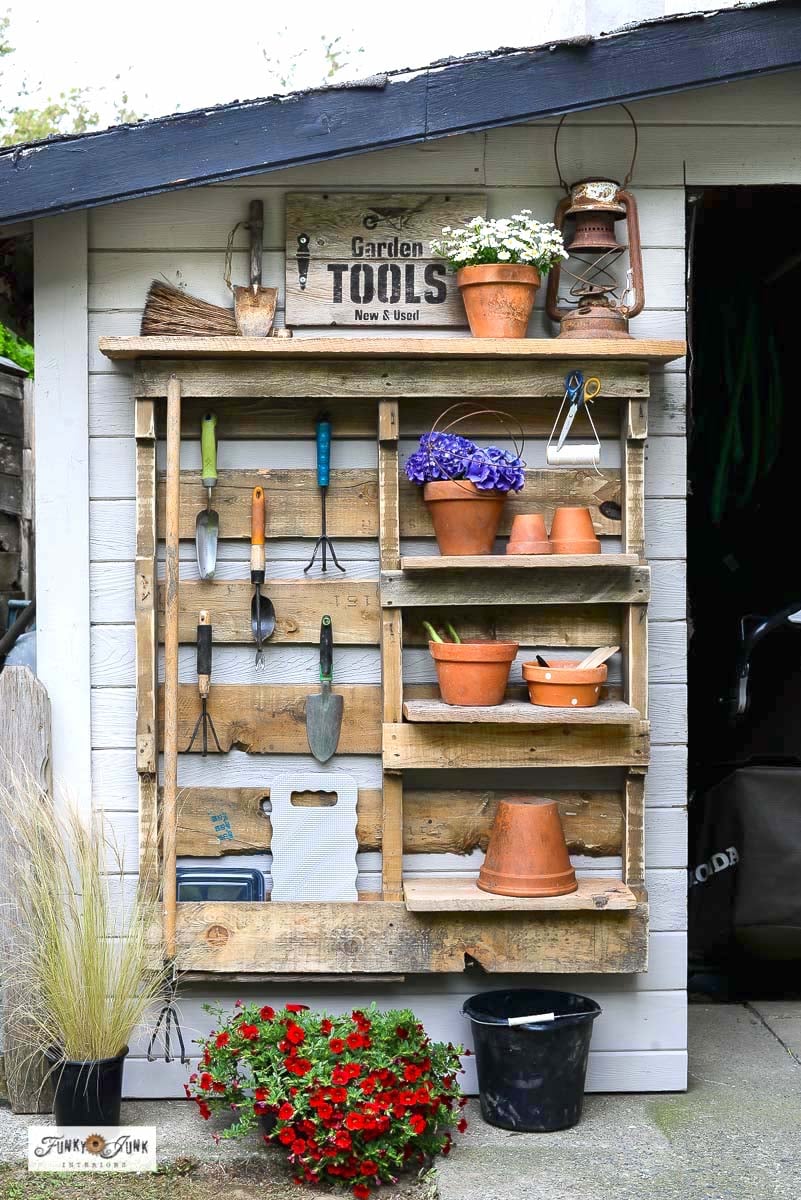
I am adoring the fixed up shed AND pallet yard organizer SO much! It’s handy, while being fun to look at too! Could your garden shed use one of these handy organizers?
Check out these other super cool outdoor projects:
Creative things made from old tires
Easy DIY hanging plant stand from a coat hook
DIY garden stepping stones from party trays
Video Tutorial of pallet yard tool organizer on Hometalk’s Youtube
Watch this project being built in the video above!
DIY pallet yard tool organizer with shelves and hooks
Supplies:
- pallet
- long finishing nails
- construction level
- hand garden tools
- kneel pad
- weed bucket
- terra cotta pots
- other garden supplies desired
Instructions:
- Choose a pallet in a wood tone you like, and one that fits your space.
- Sand the pallet to remove any rough areas.
- With the pallet back facing you, measure, then cut deeper sized boards to fit the right side of the pallet to create shelves.
- Cut one long board for along the top of the pallet.
- Using a jigsaw, cut off the black boards along the left side of the pallet, leaving the very top and bottom intact.
- Install the pallet on your shed or wall using a construction level.
- Install each shelf by attaching with screws from the sides and through the top of the shelves. Placing a level on top while install makes leveling easy.
- Cut a slimmer board measuring half the pallet width, then attach to the bottom-left side of the pallet to create an enclosed shelf or cubby.
- Position, then hang hand garden tools using long finishing nails in the open area of the left side of the pallet.
- Decorate your pallet top with a sign, flowers, antiques, or whatever you desire.
- Load up the shelves and cubby with plant pots, other garden supplies or cut flowers for display.
Notes
My garden shed could most definitely use one of these!!! OMW, Donna, what a brilliant idea and so doable. My weekend plans have just gone “poof” so I can scratch through my pallet stockpile instead. I love it!!
Thanks Michelle! I just like looking at it! Productivity is a mere bonus… haha!
This is so cool as I had tended to leave my garden tools laying everywhere. This is so handy
Thanks Suzanna! Yes, it’s perfect for that! I like not having to endlessly hunt for tools!