Transform a vintage desk into a charming garden station with this easy no-build DIY, giving new life to upcycled materials while creating a functional and stylish workspace for all your plant needs!
As a Fusion and Amazon Influencer, this post contains affiliate links in which I earn a small percentage from qualifying purchases at no extra cost to you. If you shop Fusion Mineral Paint products through this post, you will get 10% off. Thank-you for helping to support my blog!
You can tell summer has hit when you wander barefoot through the yard with hot coffee in hand, to check in on your outdoor plant and flower babies! It’s my favorite thing to do first thing.
Until you feel a need to pull a random weed, or desire to clear off a mole hill of course… but since your garden tools are stashed elsewhere, you may wander right by instead… at least until your coffee is done.
Well, I run into this situation far too often. I want to pull those weeds, but need a quick place to stash them. Wishing for gardening gloves to do a bit more, but they’re way back in the garage… where’s the key again? Or sometimes I just want to fluff up the soil with a garden tool then walk away. I call this meandering gardening. And I do it all the time.
So I’ve been wanting a space that was accessible to ‘some’ of my gardening gear so I could create a grab-and-go situation without taking an hour to haul everything out. No planning required! If I want to pull a weed, the weed bucket’s right there, while hidden…
Not to be confused with a potting bench… I’ve made plenty of those in various ways! With my most recent version of a cable reel potting or outdoor table HERE. My fav is this quirky nesting box potting bench…
This round, it was more about outdoor storage that was weather-protected while being accessible.
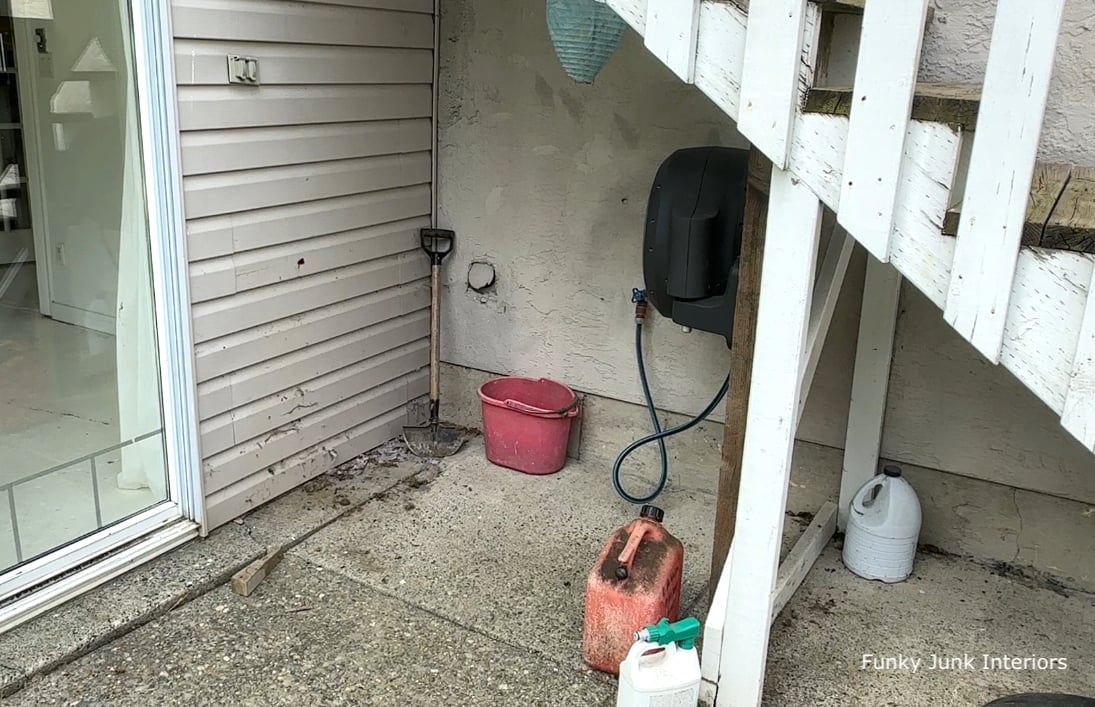
Garden station area before
I happened to have an empty covered space underneath my patio stairs with a tap hookup that wasn’t doing anything special! In fact, this area often became the place to stash junk. And being that it was all open, it was a bit of an eyesore.
So when I purchased my dream retractable garden hose, this space was destined to be SO much more, because not only did I deserve it, so did my precious garden hose!
Want to see a hose reel demo? Catch it in the video at the bottom of this post!
BUT… this project was put on hold because I didn’t really know what I wanted to use to store all the garden things…
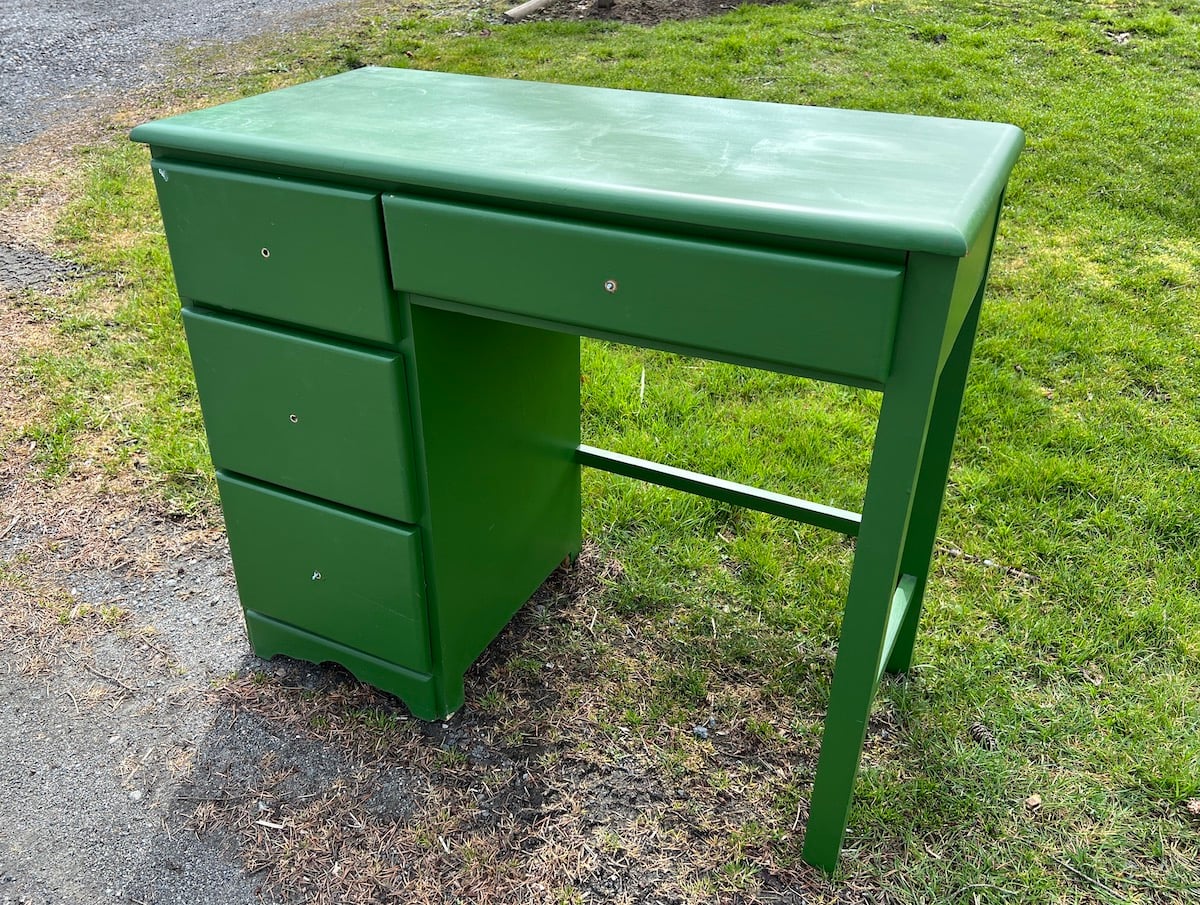
Landing a small green vintage desk
… until I came across this little green vintage desk on the curb. It’s one of those smaller desks that don’t do well with today’s computer standards. But even though it was a small desk, it was PERFECT for my new garden station!
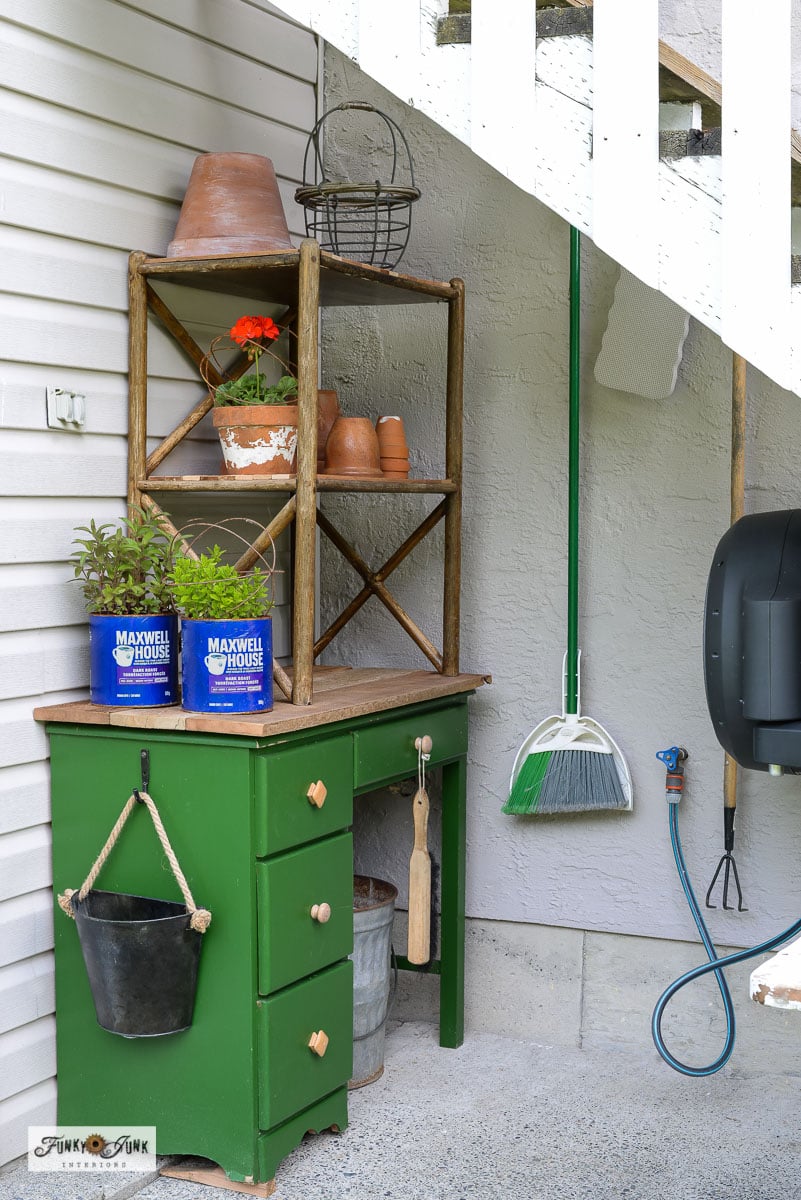
Not only did this project turn out with flying (green) colours, it works FABULOUS! And looks SO cute! There’s water resistant hiding spots to keep weather and critters at bay, and a place for absolutely everything from a cute garbage can to a hidden weed bucket. All your garden essentials are set up in a quick grab-and-go manner. There’s a nook and a cranny for everything you need!
When you see how cute this turned out, it’s my bet you’ll be on the hunt for a desk of your own! You just wait…
Here’s how I pulled it all together!
Upcycled vintage desk garden station DIY
Supplies I used:
Vintage desk
Reclaimed wood
Self-standing half wood shelf (I found mine on the curb!)
Hammer and tiny nails
Orbital sander (Bosch variable speed is my choice!)
Random wood-toned drawer knobs
Closeable plastic containers with clear lids
A hanging half bucket (for garbage)
Small metal garbage can lined with a plastic weed bucket with handle
Shallow white plastic tray that fits inside the shallow drawer
Olympic WaterGuard in Transparent
Cleaning the desk
1. Clean and weather proof the vintage desk.
Since the dresser was already in great shape and I desired to keep the green colour, I gave it a good wipe down, then screwed on some wood-toned drawer knobs.
While this dresser sits under a roofline, I decided to weather-proof the inside of the drawers to hopefully make it a little more durable.
I LOVE Olympic WaterGuard in Transparent! It doesn’t yellow while protects very well. It’s SO good for rustic wood.
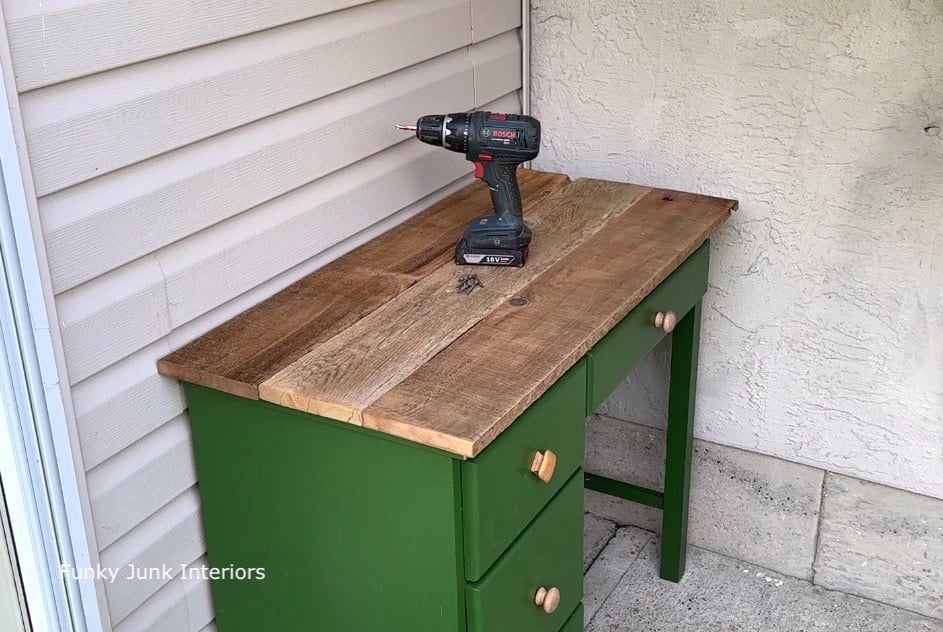
Adding a reclaimed wood top to the desk
2. After positioning the desk into place, I made sure it was standing level using wood shims under the legs, since the sidewalk was a little janky!
You could also set the entire desk on wood planks to better protect it from standing in water if desired.
3. Cut then screw on some reclaimed wood to the top of the desk to cover it for more space, durability and to give it a woodsy touch!
The wood immediately elevated the desk look, making the workable surface feel much more substantial. And I loved how the wood top married the wood knobs!
I also weather proofed the wood top using Olympic WaterGuard in Transparent.
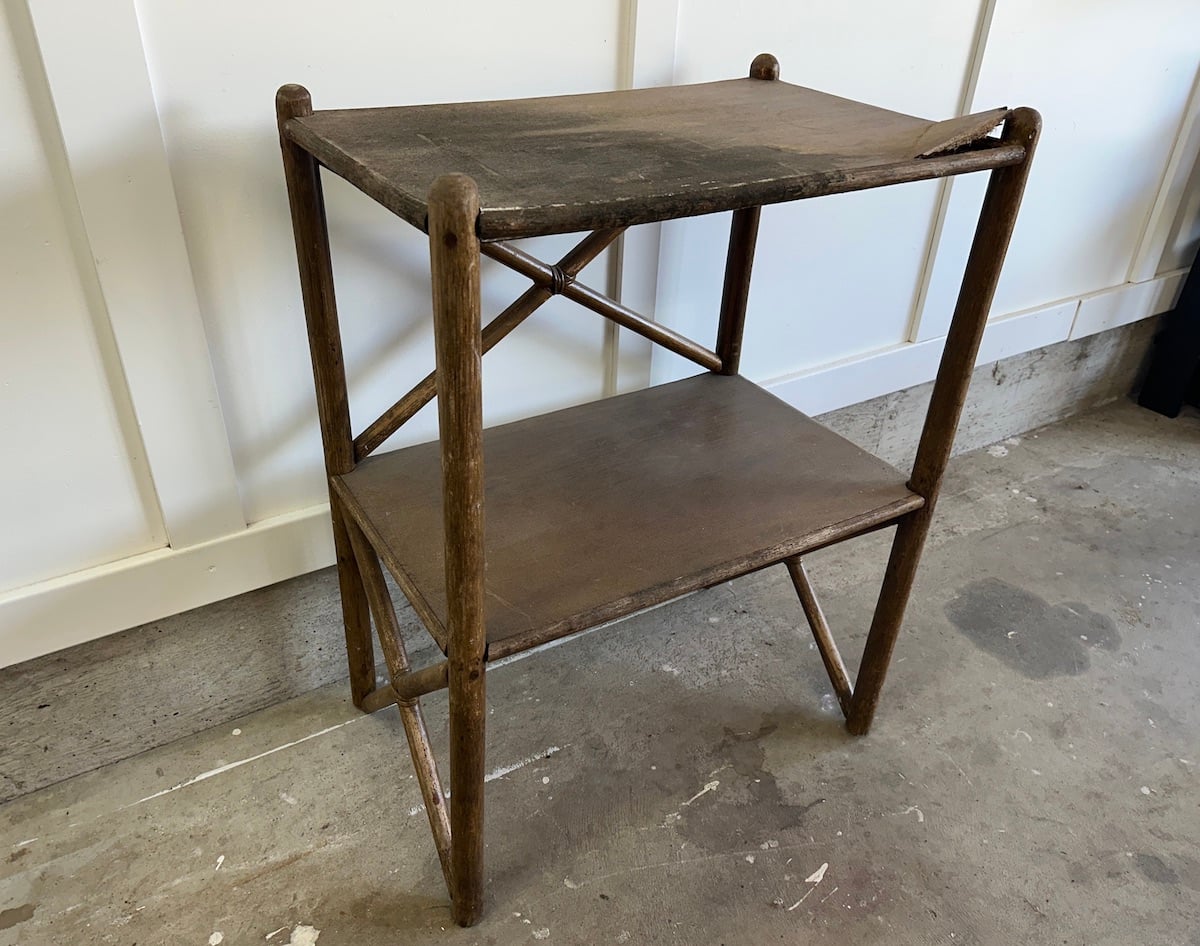
Lining shelves for a garden station
4. Add some shelving to the desk.
I landed this little shelving unit from the curb, but as you can see, it was broken and stained. I didn’t wish to reinvent the wheel since it would ultimately weather being outdoors anyway. So I fixed what was broken, then attached cedar strips to the shelves to make it look nice!
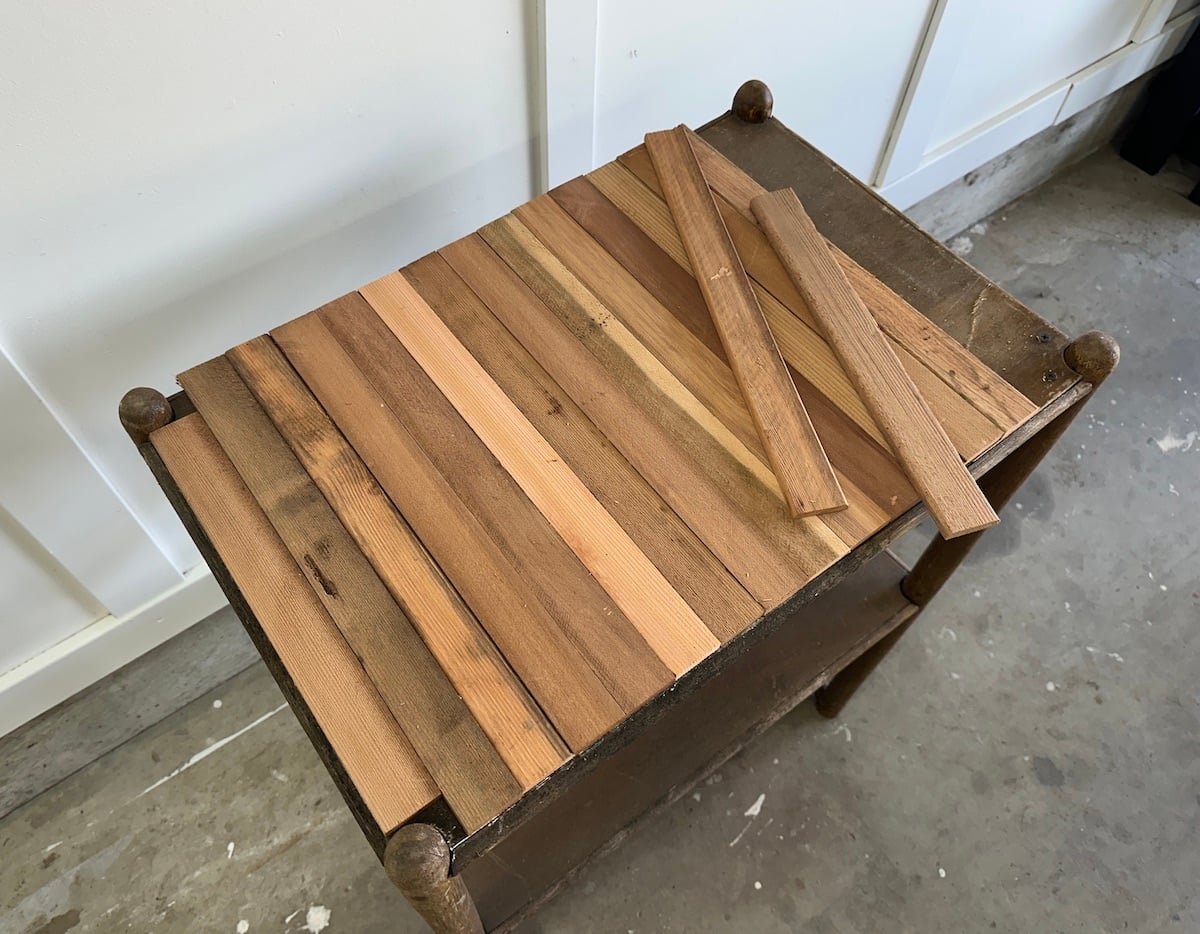
Installing cedar strips to shelves vertically
Here’s how I covered the shelves with top with 1.5″ cedar strips:
- Cut enough cedar strips to the depth of the shelf.
- Line them side-by-side.
- Attach by tapping in small nails using a hammer.
All the cedar strips were the same size except for the two side pieces so I could fit them in between the corner posts.
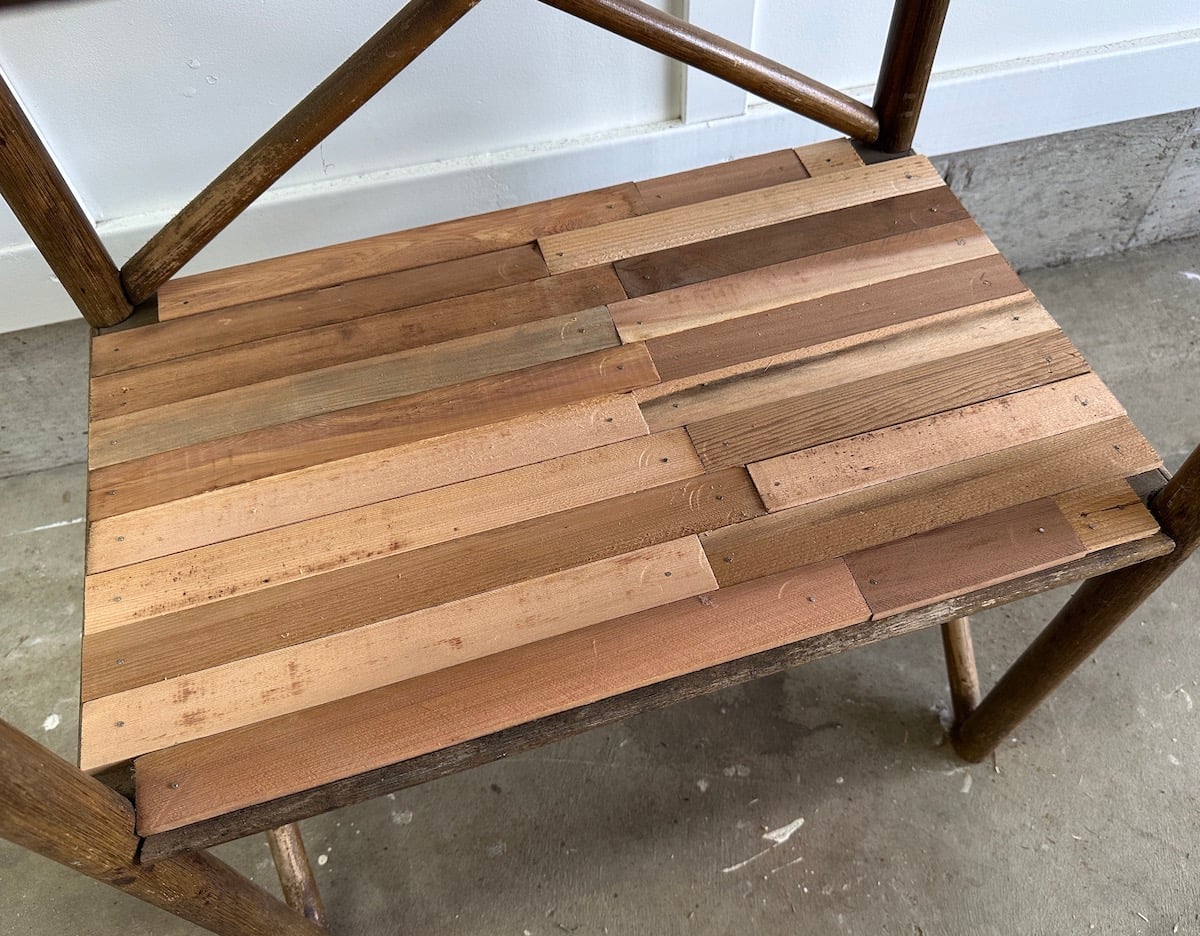
Installing cedar strips to shelves horizontally
Since the cedar strip scraps I had in my stash were too short to cover the depth of the bottom shelf, I applied shorter strips horizontally like this:
- Position then nail cedar strips aligned to the left of the shelf, ensuring the right side of the strips had random placements.
- Loosely place more cedar strips to the right of these planks. Once all filled in, use a ruler to mark off where you’d like to cut them on the right side. Cut, position, then nail into place.
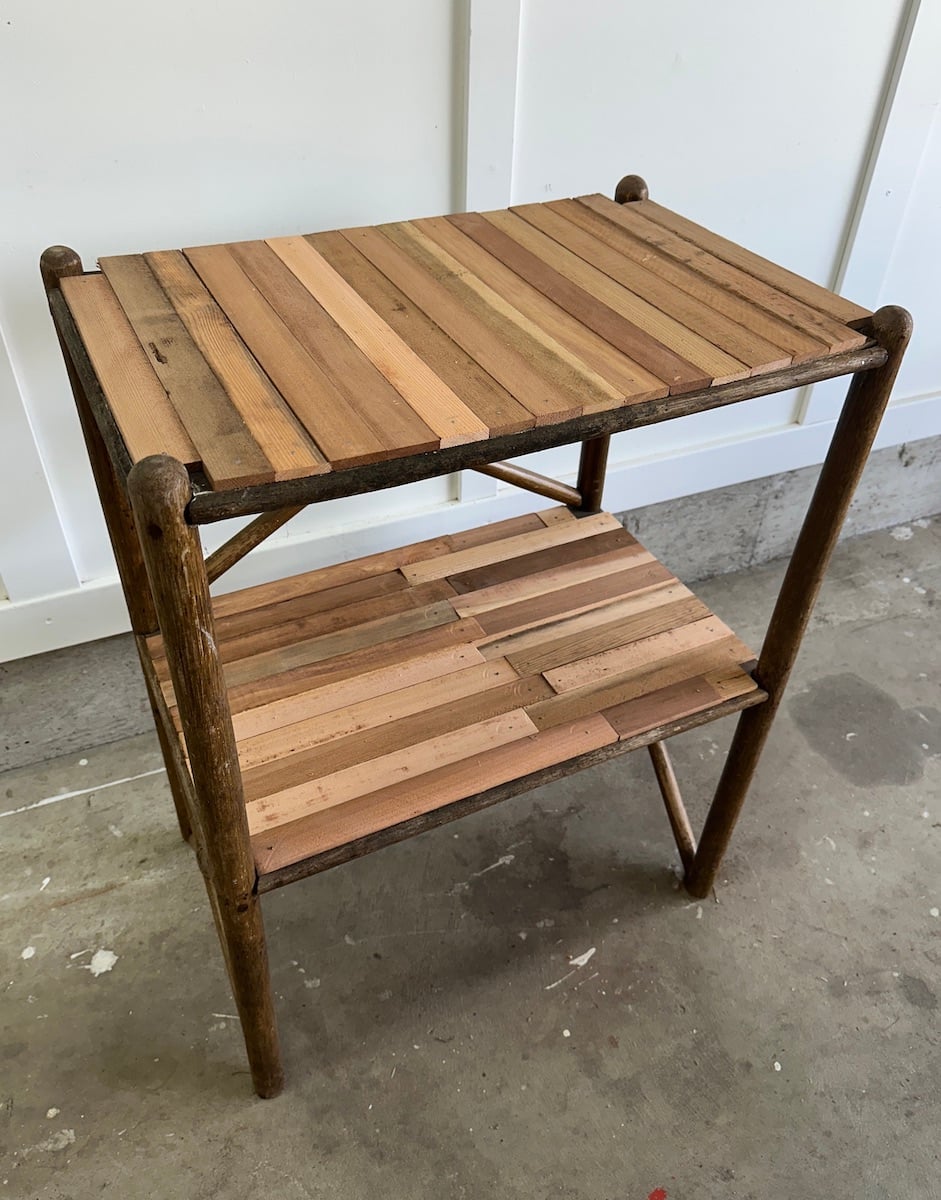
Isn’t that fun?! I then sanded the shelves with an orbital sander, and gave all the edges a good swipe as well to round out any sharper corners.
I then brushed on Olympic WaterGuard in Transparent to give the shelving a little more outdoor longevity.
Vintage desk garden station loaded up with garden gear
5. Position the shelving on top of the dresser, then stack on supplies as desired!
Finding a place for all my gardening toys was the best part!
I placed some spare terra cotta pots on one shelf, larger pot gear on the very top, hung a garbage can (half bucket) from rope on the side, and added a weed bucket inside a small vintage metal garbage can placed inside the desk opening. It was like that spot was made for this!
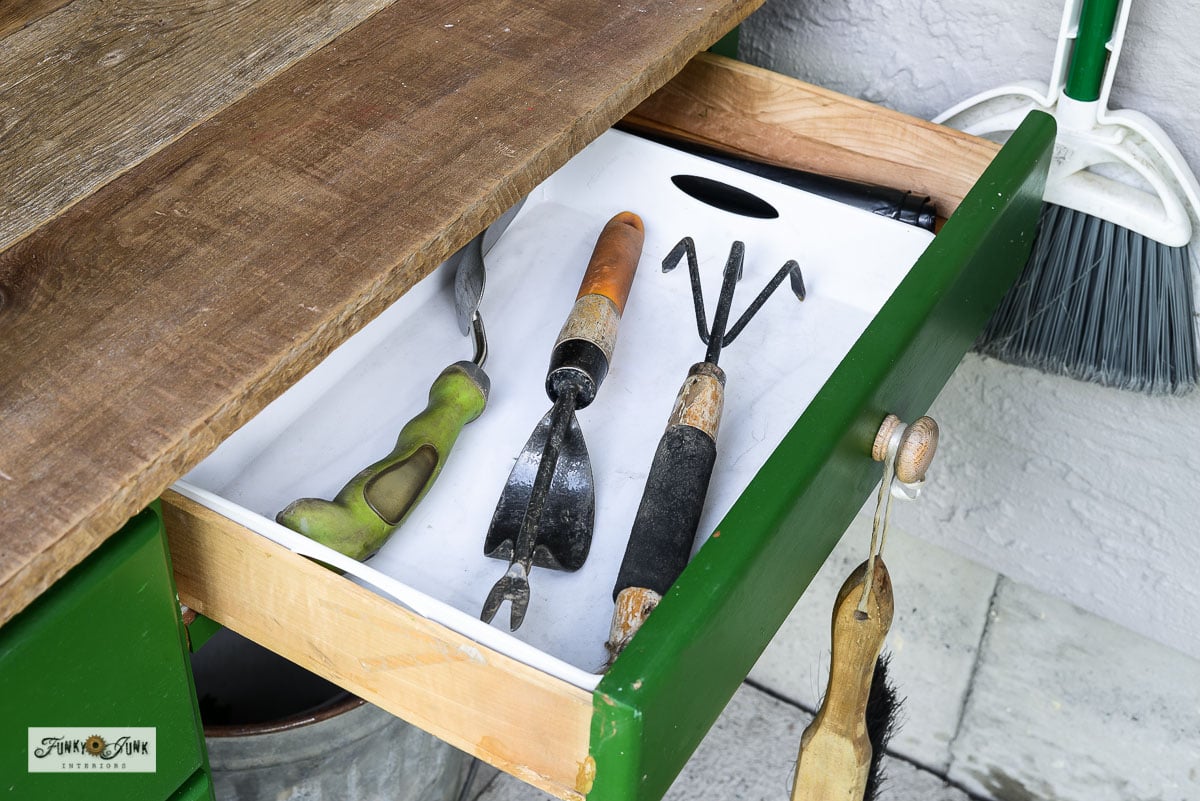
Plastic tray inside drawer for hand garden tools
A plastic tray was placed inside the shallow large drawer for just a handful of my favorite hand gardening tools. The tray helps to keep the drawer clean and dry from either dirty or freshly washed tools.
With a roll of garbage bags on the far right.
Fav hand garden tools
By the way, I am very particular on which hand garden tools I use!
I would start with THIS set as I love the thinner cultivator tool and both spades, then get one of these weed pullers with the rounded piece on the back which helps pull weeds much easier.
I’ve also been experiencing fatigue loosening up the soil, so I now roll over the soil with a rotary cultivator. SO much easier!
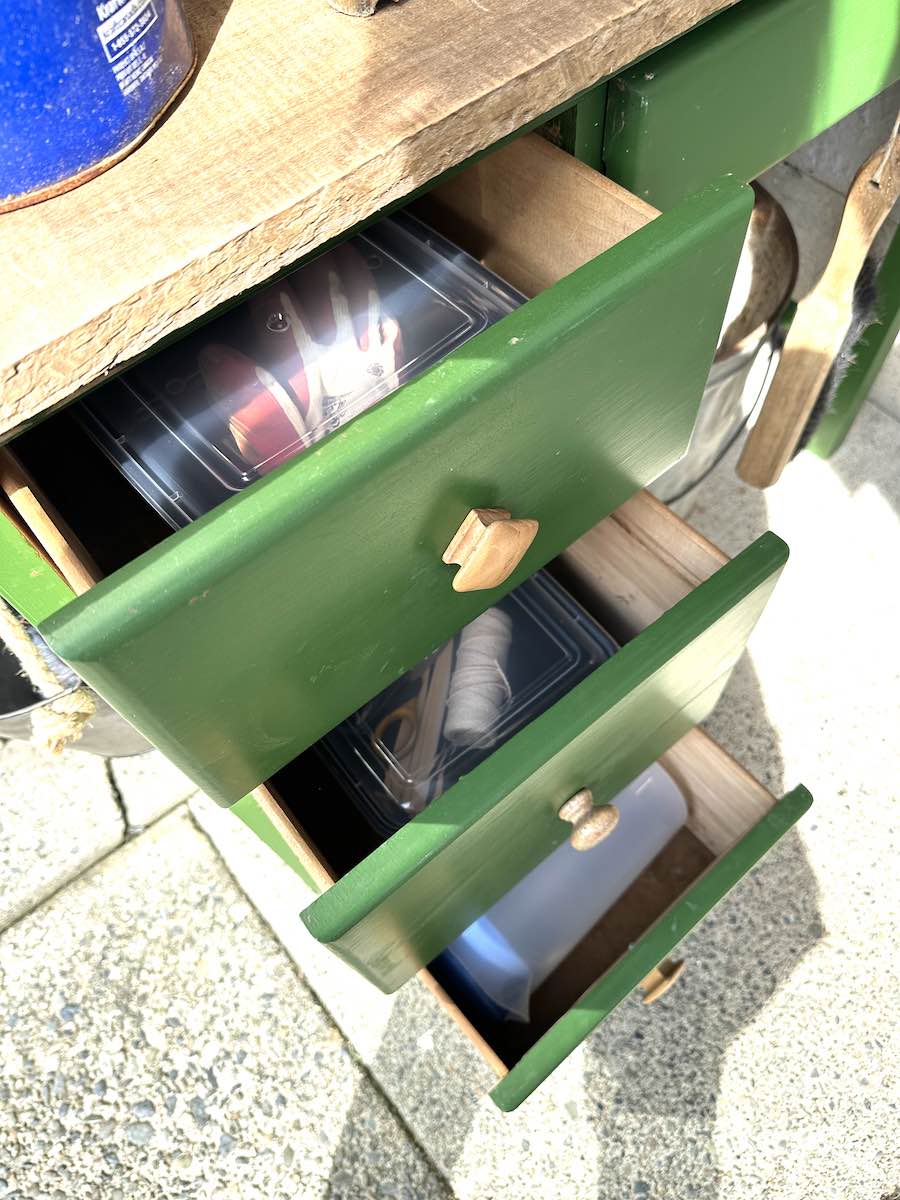
Plastic containers protecting garden supplies in other drawers
In the other 3 drawers, I purchased some plastic containers with clear lids to protect any items from critters or wildlife.
The top drawer houses garden gloves.
2nd drawer has small gardening essentials such as small scissors, plant labels, sharpie, string, twine, etc.
3rd drawer houses plant fertilizers in its own original sealed container, and a water jug to mix it in and water plants. No more excuses to delay feeding now every Saturday!
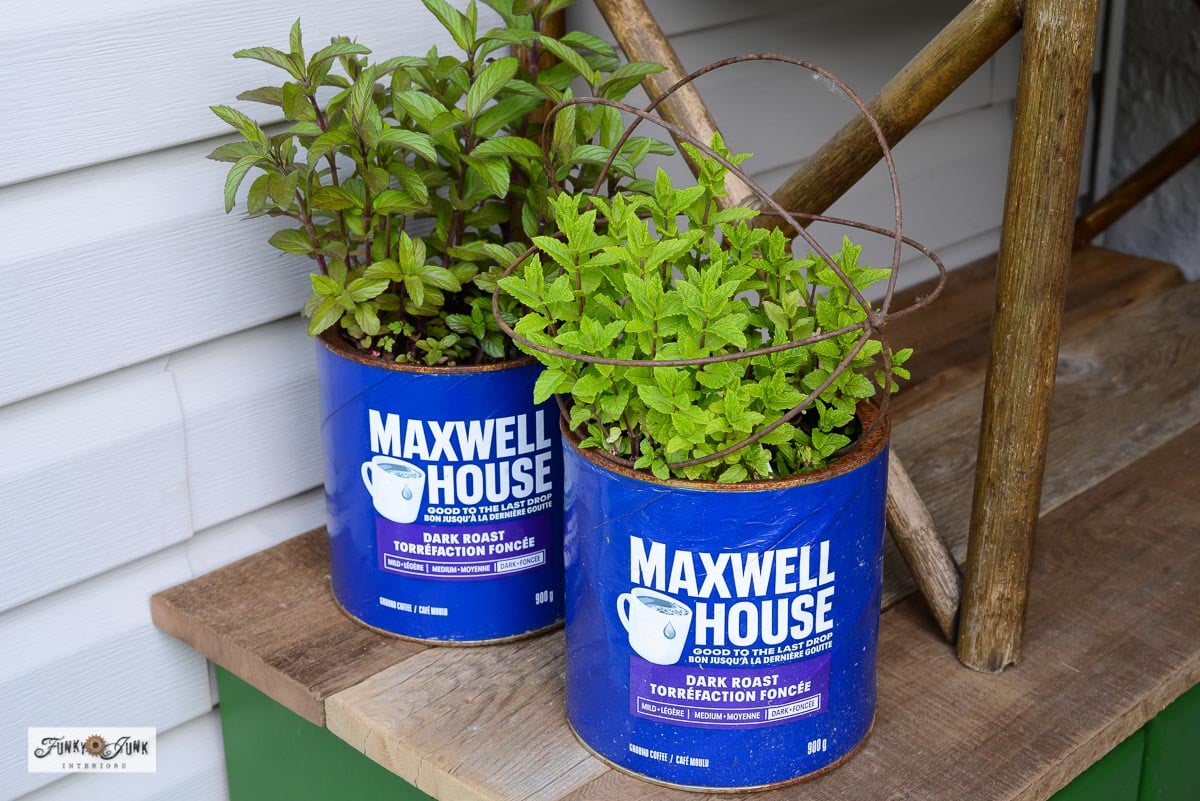
View the coffee can herb garden on a fence HERE
Displaying plants and herbs
Since I positioned the shelf to the far right on the desk, I had just enough space to store a couple of coffee can herbs on the side!
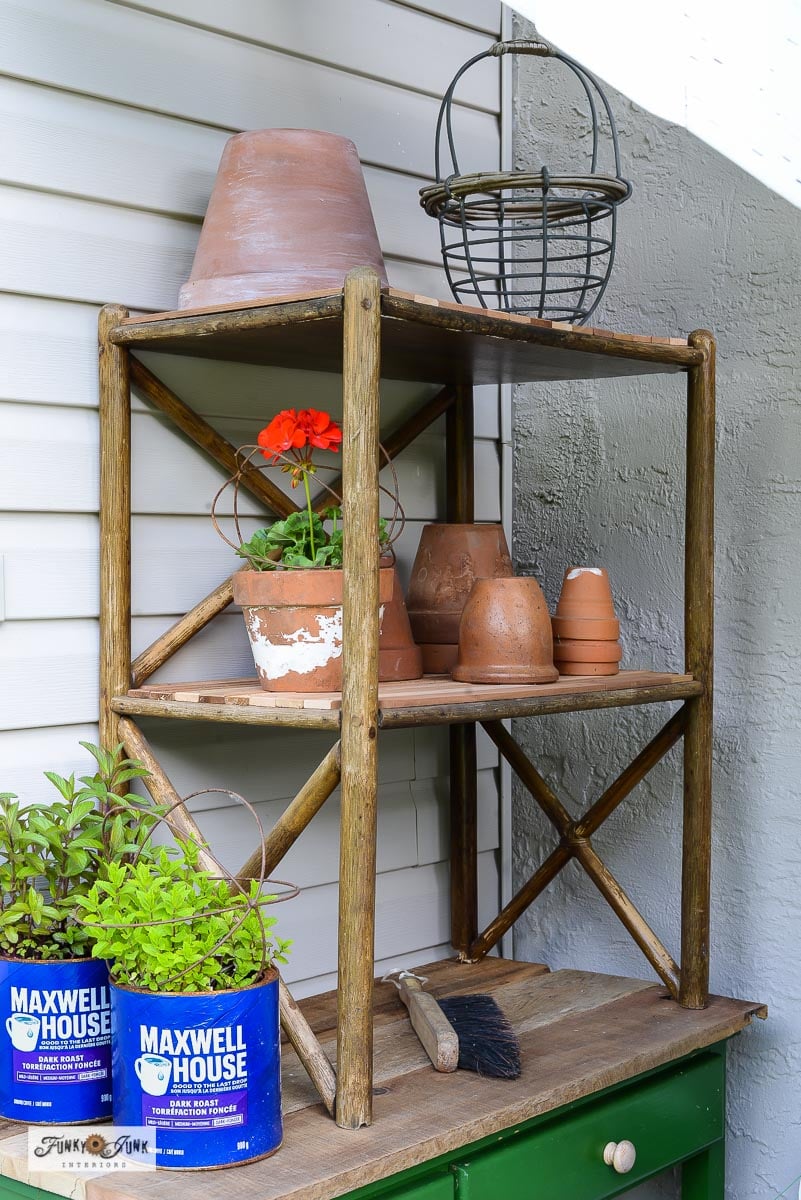
Fully stocked shelving with terra cotta pots
This shelving unit was SUCH a good find and honestly, the perfect companion to the garden station! I love how deep the shelves are. And knowing they aren’t grungy any more is certainly a plus!
I left the bottom spot open to be usable surface with the 2nd shelf decked out in a few of my favorite terra cotta pots along with one potted with a bright red geranium.
The top shelf is a great spot to place larger pots or other items you may not need as often.
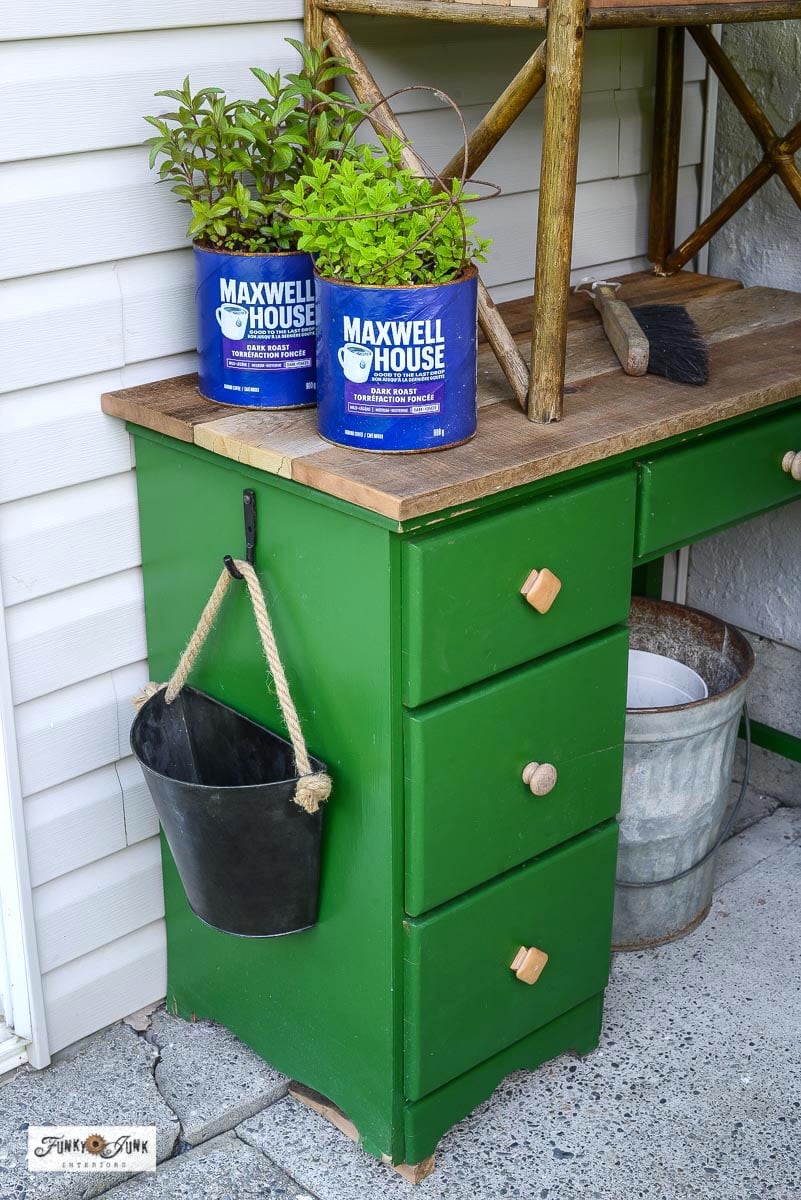
Hanging garbage can with hidden weed bucket
This little black half bucket hung from a rope was a lucky recent thrift store find! A hook was attached to the side of the dresser, making this a perfect little garbage bucket that is easy to lift and dump when desired.
And inside the dresser opening, an old vintage garbage can covers a white plastic weed bucket I lift out and use / dump when desired!
I’d say the garbage can and weed bucket are my favorite features for those times you just pull out a weed or two or find some garbage. It’s a quick fix while hiding the evidence, keeping things looking cute while intentional.
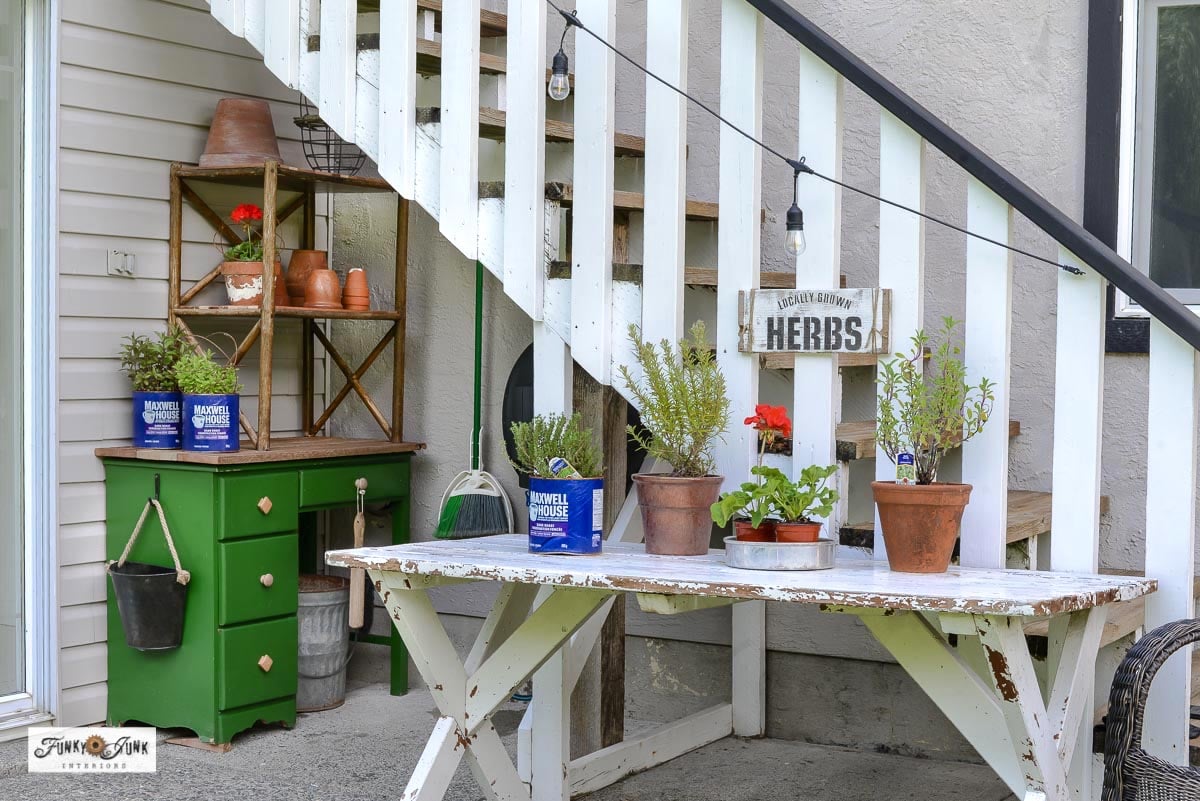
Garden station with plant picnic table
Since this area is underneath my patio stairs, the garden station is very accessible from anywhere in the yard. A little picnic table also sits along the side of the patio stairs to act as an additional workstation, outdoor table or just to display a few of my favorite plants or herbs, making them super easy to water.
Sure beats the before, doesn’t it?!
Video footage of the garden station with hose reel demo!
.
Visit above to watch a short clip on how wonderful this 100 ft retractable hose reel is! I just suggest to team it up with a good watering wand or spray nozzle so you get the best of both worlds.
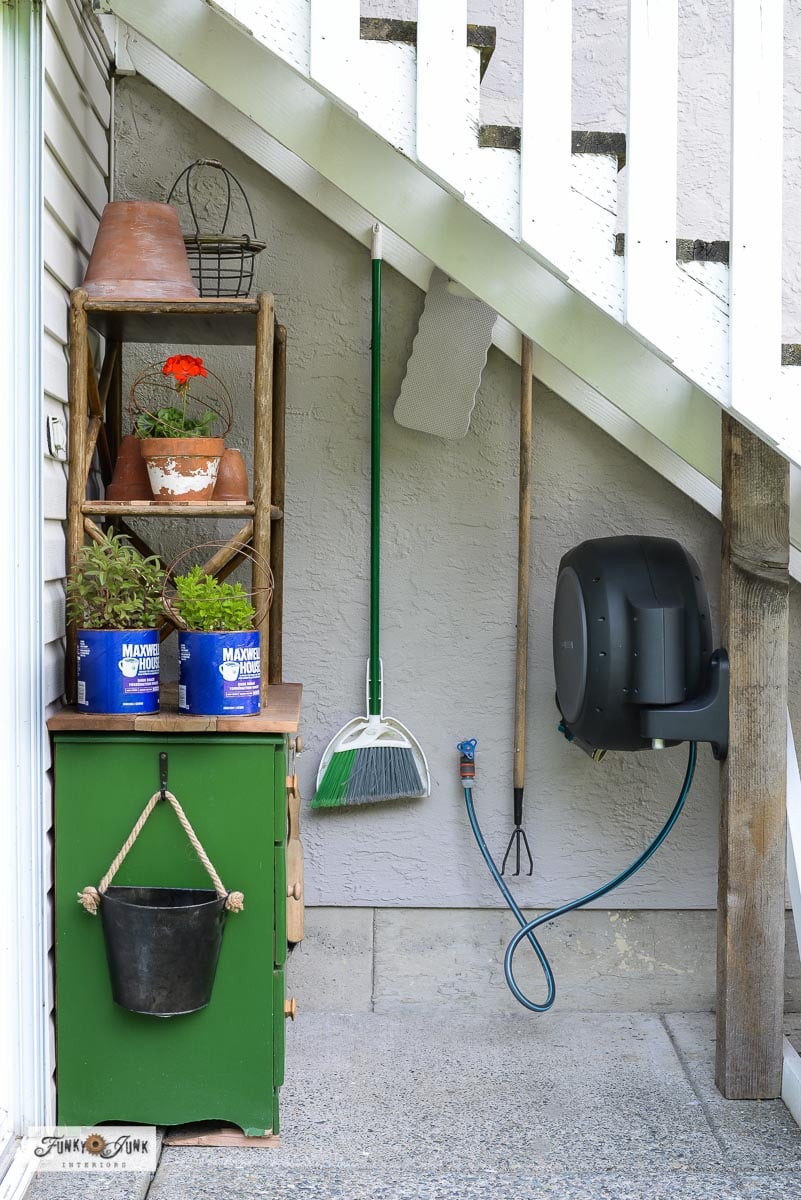
Even the stucco wall and a few of the white rails are wearing a fresh coat of paint, because my precious retractable water hose deserved the very, VERY best!
And so do I.
Honestly, this small vintage desk turned instant outdoor garden station feels like it was just meant to be! And I didn’t even have to build anything from scratch! Could you use something similar for your yard needs?
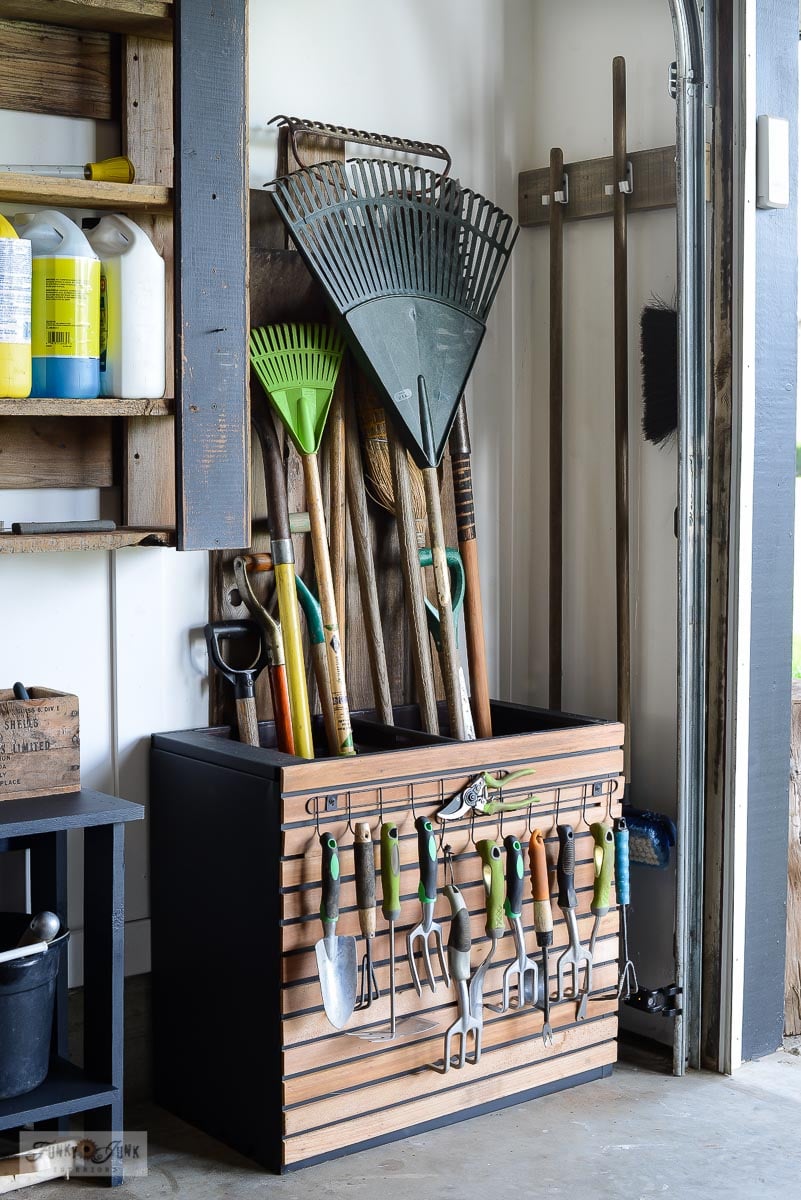
Other unique garden projects to make:
Garden tool storage with an old file cabinet
Unique cow-theme wood planter boxes
Ceiling fan blade garden flower art on a fence
DIY stepping stones from party trays
Visit many other unique garden project ideas to make HERE
No-build upcycled vintage desk garden station DIY
Supplies:
- smaller desk with drawers to the top and sides
- reclaimed wood
- self-standing half shelving unit
- half plant pot hanging from rope
- small metal garbage can
- plastic weed bucket that fits inside can
- plastic closing containers with clear lids
- shallow white plastic tray
- hand garden tools
- Olympic Waterguard in clear
- wood toned drawer knobs
Instructions:
- Clean dresser well, then weather-protect the inside of the drawers. Paint dresser if desired.
- Cut then screw on some wood planks to the top of the dresser.
- To coordinate with the wood top, screw on some wood toned drawer knobs.
- Place a self standing shelving unit on top of the dresser, pushing to one side.
- Fill the drawers with gardening gear placed inside plastic containers with clear lids.
- Place a garbage can in the desk opening, lining it with a lightweight weed bucket.
- Hang a half bucket from rope on the side of the dresser for garbage.
- Protect all exposed wood with some kind of weather protectant for longevity. Painting the dresser in an outdoor durable paint will also greatly help!
- Position the dresser under some kind of weather protected cover. If completely outdoors, I suggest using a metal filing cabinet instead, as exposed wood will rot quicker.
Oh my gosh, I love this so much Donna! I love the curb find desk and shelf, and how you married them together and then decked it out with all your quick gardening needs! That understair space looks so cute now!
Thanks Tania! I just adore this space and reach for it ALL the time now! My sacred coffee meandering garden tours are indeed officially now saved! haha!
Looks great and keeping good used materials out of the landfill is even better!