
Subway sign styled TV stand dresser with wood shelf
I have NEVER before been a fan of having a TV in a bedroom.
However, my stance on this has thus changed, since becoming a sole parent in TV screen competition with a teen son wanting to take over my Netflix hobby…

Before
.
Anyway, the ‘ol travel trailer flat screen TV was stored between my bed and the wall for YEARS.
So when I upgraded my cable package to include a 2nd TV remote that worked off the main the TV came out of hiding and was plunked on my bedroom dresser to see if I’d even use it.
Boy did I! My Netflix prayers had been answered!
Plugging in a speaker system really meant for a computer, this rig up all jammed together on the top of this white numbered dresser did the job ok for the time being.
Then one day some stacked wood in the workshop gave me a brainstorm…
Since the TV in the bedroom was there to stay, it was time to make the dresser work more effectively and flip this into something super cool…
So a subway sign styled TV stand dresser was born!
Here’s what I did:
This post contains some Amazon affiliate links in which I earn a small percentage from qualifying purchases through these links, at no extra cost to you. Thank-you for helping to support my blog!
Subway sign styled TV stand dresser
with wood shelf

Shelf supplies:
.
Reclaimed pallet wood planks for two risers and one larger board for the top.
Cordless drill, drill bit and screws.


Building the wood shelf
.
First up was to build a shelf to house some of the components under so everything TV media related fit. Being inspired by a stack of wood in the workshop (you heard that right…), here’s what I did:
1. Gather up a large plank of wood for the top, and smaller stacked wood for the risers.
2. Stack some pallet wood as risers to desired height, then cut from smaller to larger as shown, leaving the fronts the original cuts so they look naturally aged.

Creating the shelf supports
.
3. Drill a hole into the centre of the stacked wood, then loosely insert a long screw. Slightly twist the stacked wood into the desired position, then tighten the screw all the way.
4. Do another riser, then lay the larger plank across the centres of both risers.

5. Add felt protectors to all four corners of each shelf riser to protect the surface of the newly painted dresser thankyouverymuch!

6. Position shelf on top of dresser (once painted), then screw the risers to the dresser top from behind.
7. Screw the shelf to the risers from the top, driving a long screw into both.
I obviously didn’t care if I made holes in this old dresser. That’s the beauty of free repurposing I suppose. I first used it in my entry WAY back… rescued from someone’s barn.

8. Position TV and components. Strap or screw the TV to the shelf from behind for stability.
9. Insert, “WOW, it worked and I LOVE it!” here.
I was truly stunned it worked so well, and looked so cool!
Now let me show you how to get that plain dresser to sing a new song…
Stenciling a subway dresser

Dresser supplies:
.
Various Funky Junk’s Old Sign Stencils
Fusion Mineral Paint in Coal Black and Casement (white).

1. Remove knobs from dresser, then lightly sand with a sanding sponge to prep. Wipe down with a damp cloth or tack cloth to remove all dust and allow to fully dry.
2. Empty and stack drawers.
3. Stare at the towering baskets filled to the brim from contents of said drawers, and reason you’ll deal with that another day. MUCH later.
(they are still there)

4. Paint the main frame of the dresser with black.
I painted on 2 coats of Fusion Mineral Paint’s Coal Black. It went on like a dream!
5. Replace the drawers, and paint the fronts with white.
I painted 3 coats of Fusion Mineral Paint’s Casement, and lightly sanded in between each coat. It’s a beauty just left like this! However I had other plans…

Adding the stenciled signs
.
6. Position and tape word stencils where desired.
TV shows are about little escapes all around the world. Vacation types of words were chosen to emphasize my style of escapes that I love, subway art styled.
I just made sure things lined up so all the holes were filled. Kinda like doing a word puzzle.
Stencils used for this project:
.
Getaway Collection / Lake Rentals & Cabin Resort
(Route 66 is no longer available)
Stencils used were Funky Junk’s Old Sign Stencils HERE


6. Using a dry-loaded stencil brush, each image was tapped with Coal Black.
It went on beautifully! I tapped the brush to darken the image as much as possible.
Learn more about how to stencil HERE.

7. Add some rusty junk for the handles (because you can), and call it done!
Of course if little black or white knobs are more your thing, that would send all the focus back on the lettering, looking equally pretty.
However, you know me… it ain’t a finished project without junk.

The finished subway styled dresser!
.
“Oh my goodness…” is something I still say every day I glance at this thing. I really just LOVE it. My little TV seems to have even more importance and has become something I don’t even wish to hide. Kinda like a show shrine… : )
I was going to glaze/age the drawers at first, however I fell hard for the crisp black and white contrast against those white walls, so for now it will stay.
What do you think? Could they use aging or do you like them as is?

Regardless, I am in LOVE with the dresser’s new look along with the Antiques Mirror and faux barn door headboard!
And love my continued evening Netflix watching even more…
Fun piece, isn’t it?!
Other related projects you may enjoy:
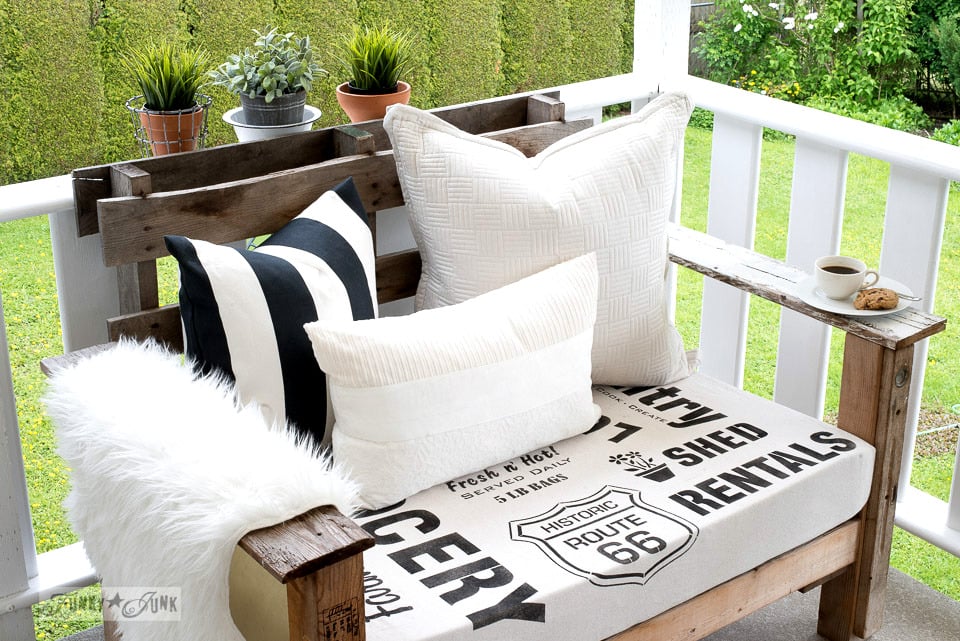
Stencil this subway styled fabric!

Build this rustic pallet TV media stand
Visit many other stencil projects HERE
![]()


If you have to have a tv in the bedroom, you have to have a really cool tv stand like this one! Totally awesome!
Donna, I usually do not like black and white furniture but this came out amazing! The stenciling really makes it and I love the crispness of it.
Looks great!
You always get me thinking of new ways I want to decorate. 🙂
In this case, I like the dresser as is. I love the crisp graphic look you’ve attained–kind of contemporary and cool! A great blend with reclaimed wood.
This looks super cool Donna. Love the juxtaposition of the black and white with the wood platform. I need to get me some Fusion Paint.
Amazing! You are simply amazing. Love your creativeness and the dresser ?
No one would ever even notice the TV because they’d be too busy oohing and aahing over the dresser! Just beautiful!
Love it the way it is. You’ll love having a TV in your bedroom. 🙂
Do you still have your camper?
The whole things is a work of art, but I must say what I totally love is the crusty hardware you used for drawer pulls. Genius. Adds such character.
It is such a neat and tidy way to handle the tv. It incorporates it into the room, repeating the rustic wood, black and white theme. You did a great job on this.
Thanks for sharing.
You know I love it!!!!
Pretty amazing, Donna. I love how your stencils coordinate so well with each other. Hope you have a happy rest of the weekend 🙂
What a transformation, Donna! Love how your stencils look on this dresser and love how you incorporated various junk finds for the hardware. Pinned.
You must be the only person in the whole world who can take rusty junk and just plonk it onto a freshly painted and stenciled dresser and it looks awesome. If I had to try that the hubby would be scratching his head in bewilderment trying to figure out why on earth I stole his hinge to make a handle. Well you know what Donna I’m going to try and tell him that Funky Junk made me do it. He’ll just have to get used to idea 😉
The tv riser, looks amazing, but Donna…those junk handles! So junkalicious!!