Transform a child’s chair into a charming upcycled chair wall shelf with this easy DIY project, complete with a rustic burlap coffee sign for a cozy, upcycled touch!

A fav DIY project I always seem to gravitate towards is to make some kind of unique shelf!
However, while I’ve made a bench or 2 and plenty of DIY shelves completely from scratch, if there’s a cheat to be found, I like to dig deep and try to find it.
A good shelf cheat generally starts with some kind of unusual component, such as shutters like for THIS easy rent-friendly shelf!
However, this round, we’re going to start with a cute chair!
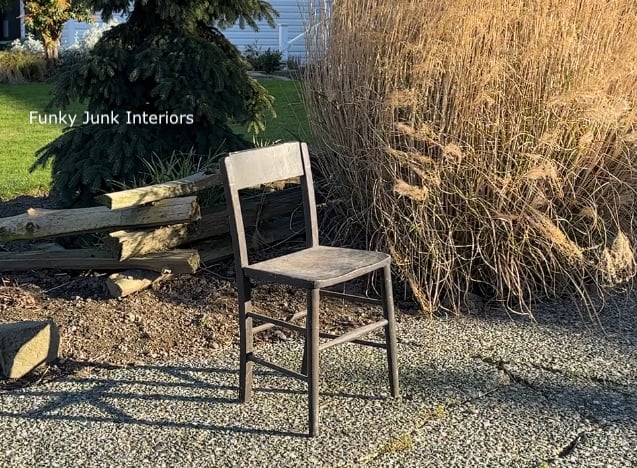
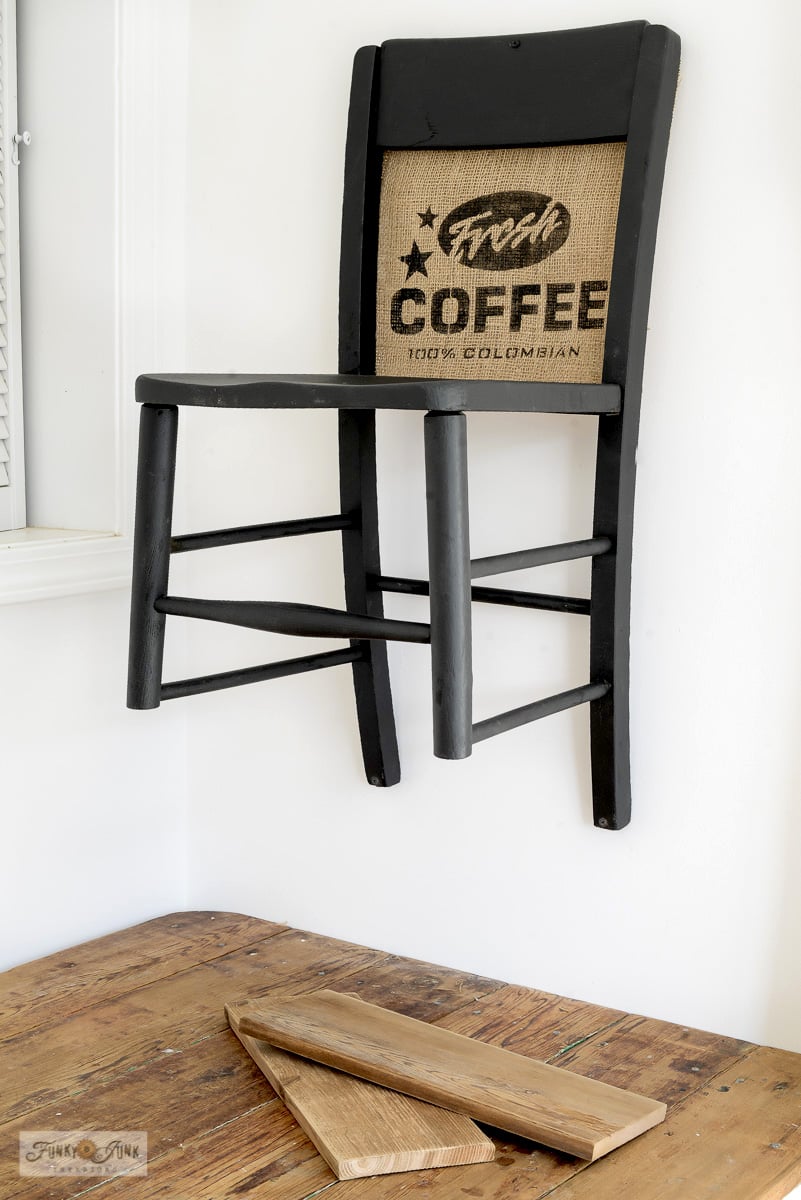
This little black banged up child’s size chair was a great curbside find. You can also land old chairs at thrift stores, goodwill, or even Facebook marketplace. And while this piece of furniture was well loved, the compact size was perfect for this project!
Using repurposed chairs is actually a good idea, since a chair already has a sturdy framework and structure that works. However with just a few slight tweaks, it can do SO much more!
So here’s how I revamped this little chair into the cutest upcycled chair wall shelf that can be used in endless ways!
Here’s what I did:
Upcycled chair wall shelf
Supplies I used:
Child’s size chair
Fusion Mineral Paint in Cast Iron (get 10% off)
Stencil brush – I like dome tipped
Cordless drill (I like Bosch or Makita)
Bosch variable speed orbital sander
Cast Iron by Fusion Mineral Paint (get 10% off)
Prepping and painting the chair
1. Start with a chair of choice, then clean it well. Sand if needed.
While most any chair with a fairly straight back can be made into a chair shelf, I personally liked the child’s size chair. The seat didn’t stick out as far out as an adult chair, which would likely need to be cut down to a shorter size. So this was easier!
I cleaned the chair with soapy water, then dried it off. A light sand with a sanding sponge had it ready for the next step.
2. Paint the chair if desired.
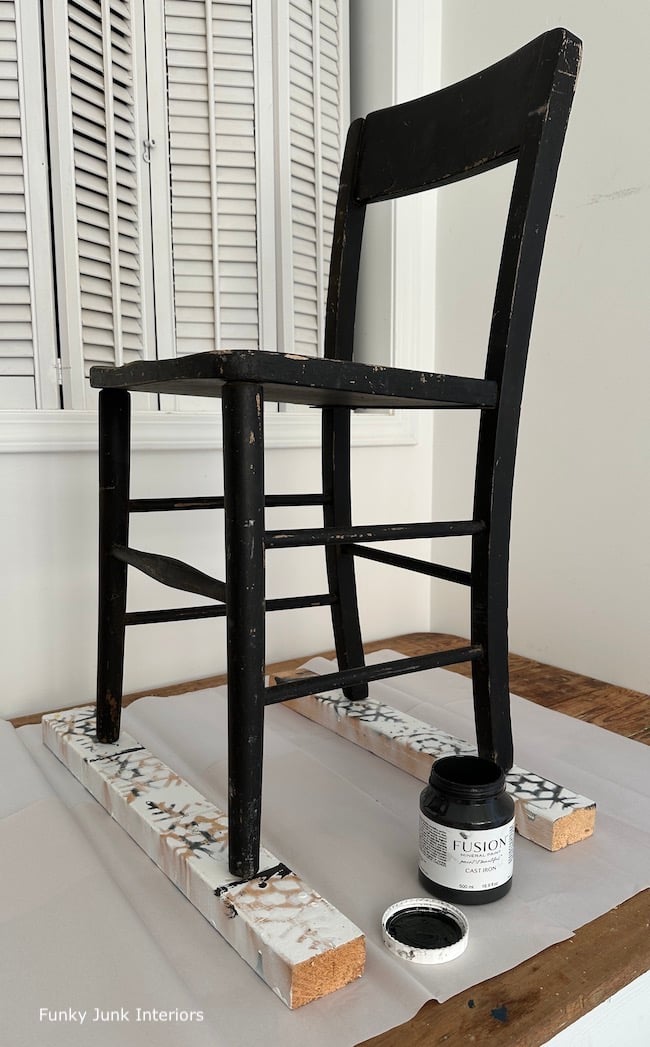
While I’m a lover of distressed finishes for the most part, there were some marks that I couldn’t get past. It wasn’t a cool distressed look, but rather, it just looked tired, needing an update. So nothing is easier than starting over with a fresh coat of paint!
I chose the colour Cast Iron which was close to the original, since I loved the black chair look! And since the two tones were so close, it only needed 1 coat. A paint brush did the job beautifully.
Cutting off the front chair legs
3. Push the standing chair against a wall, then with a level on the seat, take note how the chair needs to be mounted to the wall for the seat to be level. (not shown)
With my luck, the chair was quite level, IF I left the back legs intact!
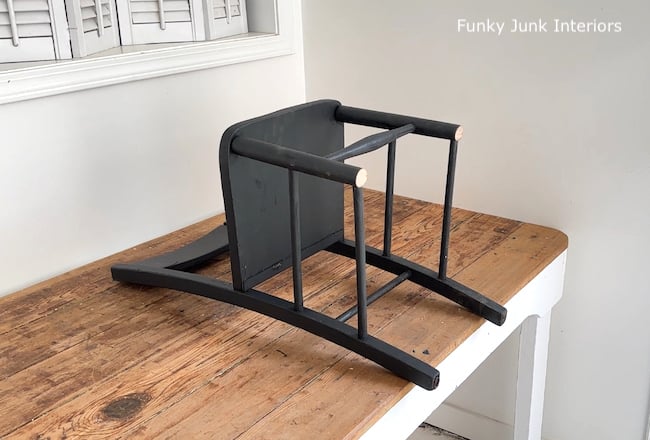
4. Using a jigsaw, cut off the two front legs.
I clamped the chair to the table, then used a jigsaw to cut the two front legs only.
5. Drill holes into both back legs and one in the middle of the chair seat.
These predrilled holes will make mounting the chair to the wall with screws much easier!
Fresh Coffee stencil by Funky Junk’s Old Sign Stencils HERE
Adding a stenciled burlap sign to the chair back
6. Cut a piece of burlap slightly larger than the size of the chair back opening.
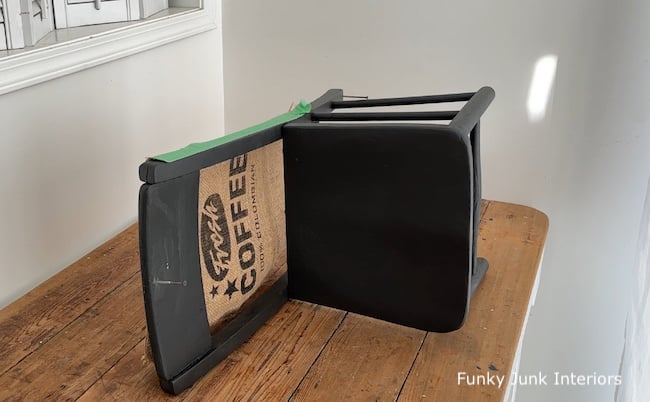
To make the chair shelf a little more interesting, I decided to add a burlap stenciled coffee sign so it chimed in with where I was staging it!
7. Stencil a design of choice on the burlap.
I used a Fresh Coffee signs and stenciled the image in Cast Iron so i would marry the painted chair perfectly.
How to stencil:
- Position stencil onto your surface, and attach with masking tape.
- Dip stencil brush into paint, then remove most onto a rag until the brush feels somewhat dry.
- Tap paint through stencil until desired coverage is met.
Read many more how to stencil tips from THIS POST.
Video tutorial: Stenciling with Fresh Coffee stencil
View above to see how to stencil using the Fresh Coffee stencil!
8. Tape the burlap into position behind the chair opening, then staple the burlap to the back of the chair. Trim any excess.
Mounting the chair to the wall
9. Mount the chair to the wall.
I placed screws into the drilled leg and chair back holes, then while holding the chair in place with a level on the seat, I screwed the chair to the wall.
If your chair will carry some heavier weight, I suggest to use wall anchors or to locate a wall stud to screw into where possible.

Cutting planks for shelves
10. Cut some planks that will fit across the chair rail rungs.
I ended up using two reclaimed wood planks so I could create different variations!
The total width of the left and right sided rungs were measured, then boards cut adding a little bit of overlap to clear them.
After being lightly sanded, they were mounted into place leaving them in their natural finish.
Now the boards can be doubled up on one set of rungs, or one board on each!
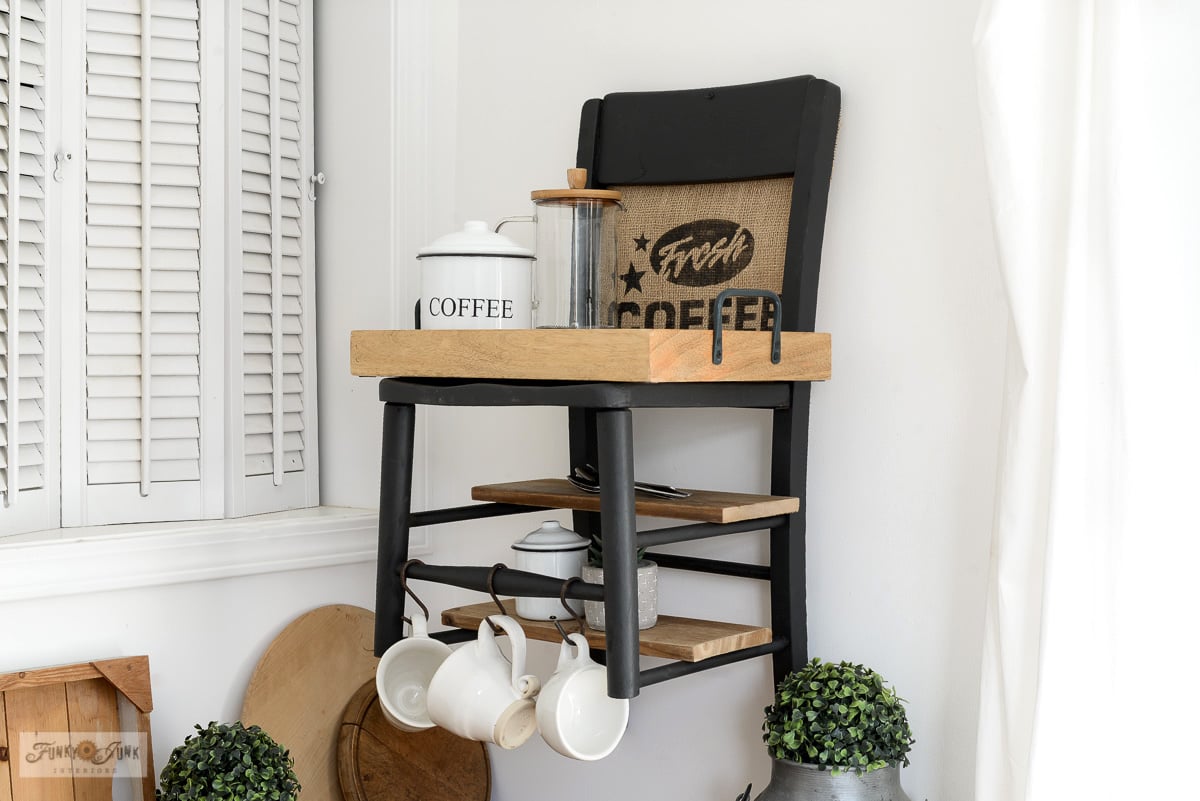
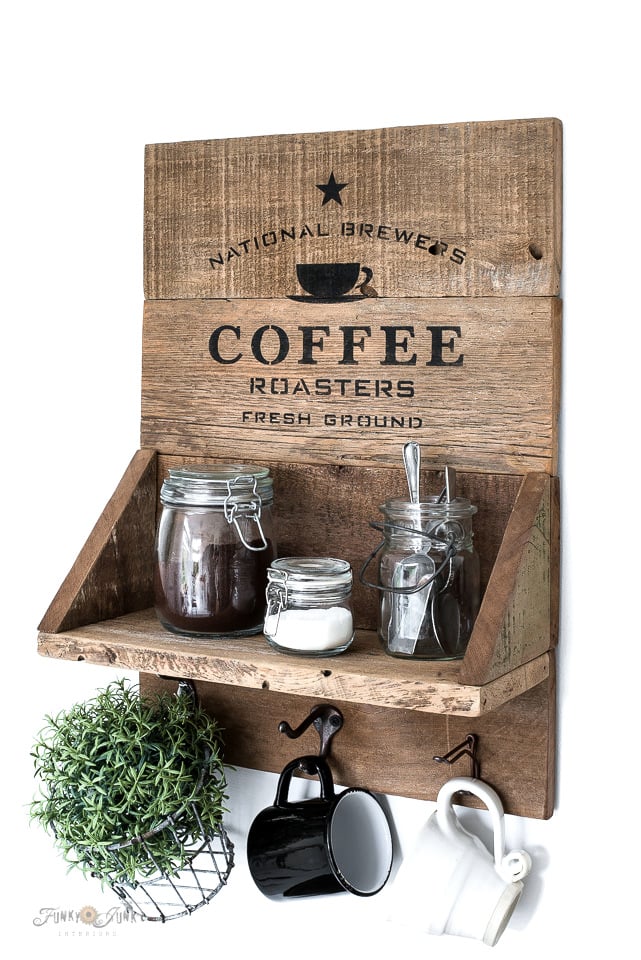
Upcycled chair shelf with mug hooks and shelves for a coffee station
And since I couldn’t stop at one idea, here’s two ways you can use this nifty upcycled chair shelf!
Isn’t this fun?! A wooden tray was placed on top to create a very usable and level surface. Then coffee gear was stacked on it.
To create the shelves, a plank of wood was inserted on each set of rungs to create narrow shelves.
S hooks were mounted to the front chair rung so I could hang coffee mugs!
Shop this look:
- White pottery-look mugs hung from S hooks
- Enamel black and white coffee and sugar canisters
- Wood trim french press
- Rustic wood tone serving tray with black handles
One day I dream of having a kitchen with a very specific coffee station, (although my crate appliance garage is still working strong!) and would love nothing more than to add something like this to the setup!
However, let’s try one more kitchen idea! I was really vibing with the kitchen look because that’s where this chair felt like it was leaning towards!
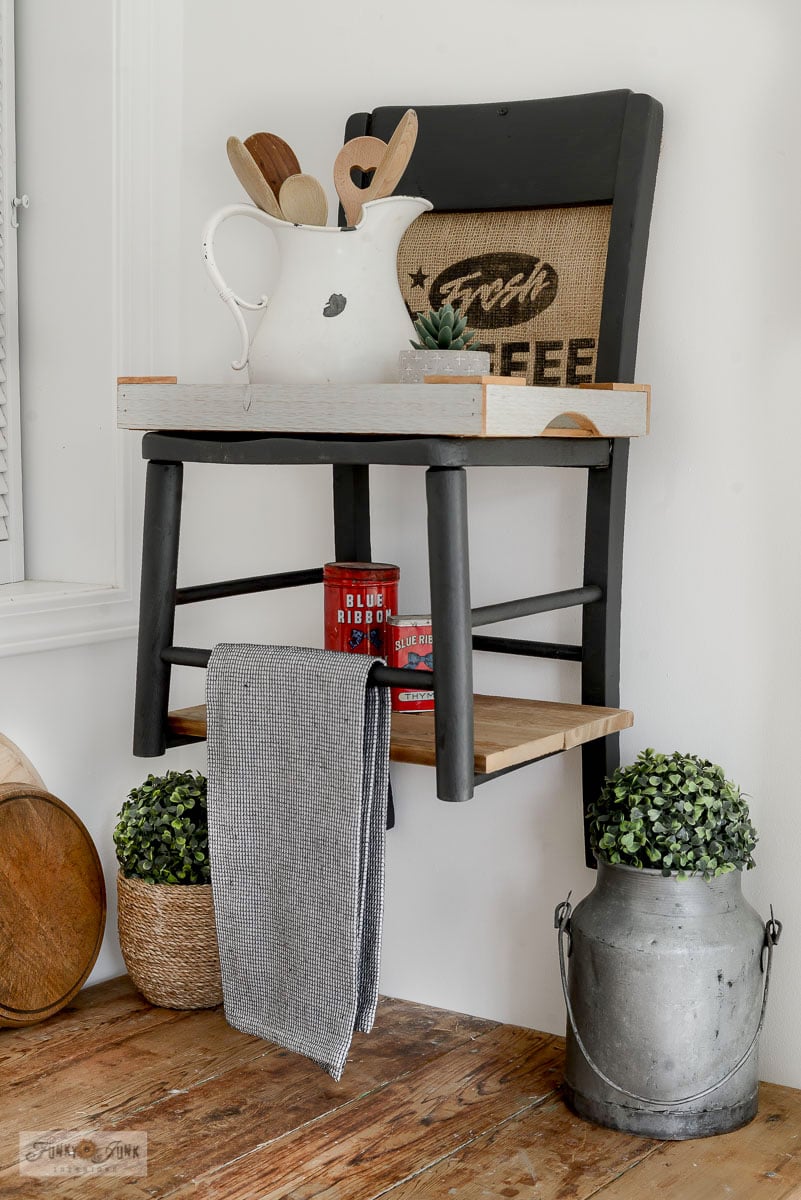
Upcycled chair shelf kitchen helper, with hanging tea towel
Another way to use the upcycled chair shelf is to hang tea towels!
Shop this look:
- Faux plants
- Round wood cutting boards
- Black and white tea towel
- Old fashioned white milk jug with handle
- Wooden spoons
- Twine plant pot
- Rustic white painted wood serving tray

With a white painted wood tray across the top, it now is an instant kitchen helper, storing wooden spoons.
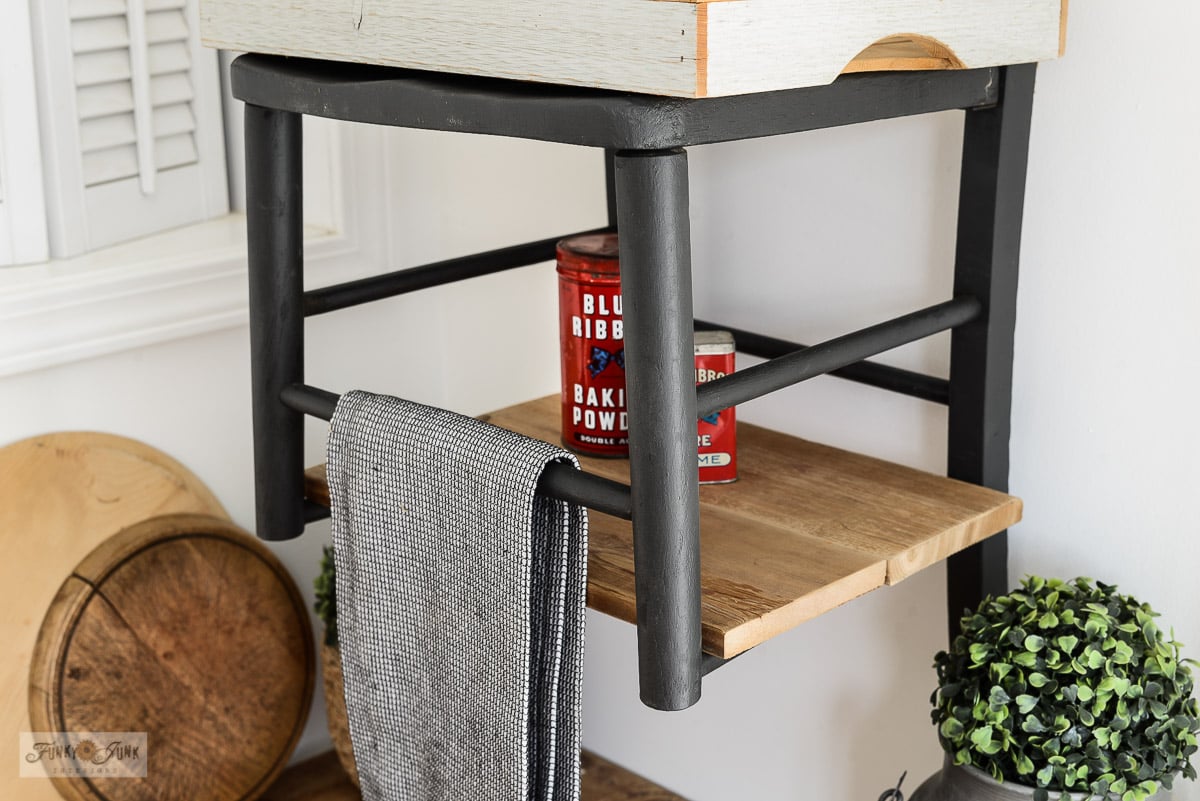
Then with the two planks positioned side-by-side on the bottom chair rungs, the shelf is instantly deeper and even more functional! Now it’s large enough to hold spices, or even recipe books! In fact, this chair shelf idea could even store a mix master to keep it out of the way!
And the bottom rung is perfect to hang a kitchen tea towel.

Different ways to use this upcycled chair shelf
That was only two ideas for this upcycled chair wall shelf! Here’s a few other ideas:
- Paint shelf with hanging paint brushes
- Workshop shelf hanging rags or tools
- Garden shelf with pots on top and hanging garden tools
Or whatever you wish! So next time you get the urge to throw out an old chair or spot a cute one on the curb, just maybe it can become a useful upcycled chair shelf in your home!
How would you use one?
Visit all our unique DIY shelves you can make HERE
View many other unique coffee stations HERE
See other fabulous furniture makeovers HERE
Check out other kitchen accent projects HERE
See other projects using the Fresh Coffee stencil HERE
Easy DIY upcycled chair wall shelf with burlap coffee sign
Supplies:
Instructions:
- Clean chair well, and paint if desired.
- Push chair against wall, and with level on seat, determine how chair needs to sit when mounted to wall.
- Cut the front two legs off the chair using a jigsaw.
- Drill holes in each bottom leg and in the back of the chair to mount to wall.
- Stencil a piece of burlap, then attach to the back of the chair opening with staples.
- With level on seat, mount chair to the wall with screws.
- Cut planks to the width of the chair rungs, then position into place.
- Use s-hooks to hang mugs.
- Try a small serving tray on top of the chair for added space.
Wow! I would have never thought of that! Genius!
This is such a clever idea! I absolutely love this. Functional, and it looks great!