Love a cozy Buffalo Plaid pattern? Here’s how to stencil Buffalo Check onto plain red cushions for an instant cozy cabin look! Super durable and easy to do!

As you may remember, I was recently on this epic little cabin in the woods getaway, where I fell in LOVE with their outdoor dining / living room. So much so, as soon as both my feet were planted on home ground, I started planning and plotting some new patio changes.
First up… I had to get rid of the obvious white (chrome) elephant in the room.
The big fat in-your-face grill.

That I never used. Because I’m not a very good griller and am a better oven baker.
I liked the grill. It was not an eyesore, but the scale of it was a little too big for this small patio. Since I never used it, there wasn’t any point in storing it.
So… I buffed it up all pretty and sold it.

And that’s when I hit Lowes, to check out a pretty resin wicker table and 4 chairs I was rather smitten with.
I liked the traditional look of timeless wicker, that it was resin, that the chair pads were minimal in size (easy storage) and that this particular style had a bistro table AND dinner table options, well, that just sealed the deal!
You’ll soon see why.

As for the chair pads, I snagged the simple red ones in about 5 seconds, because I had the PERFECT plan to ramp them up with a little cabin charm… so let’s start here first!
Be sure to also view the video at the bottom of this post!
This post contains some affiliate links in which I earn a small percentage from qualifying purchases through these links, at no extra cost to you. Thank-you for helping to support my blog!.
How to stencil Buffalo Check on plain red cushions
..
Supplies used:
Red chair pads with a smooth, flat surface
Buffalo Check stencil (find it HERE)
Fusion Mineral Paint’s Coal Black (get 10% off HERE)
A small empty picture frame

Buffalo Check Stencils are HERE
Buffalo Check stencils
In order to achieve my desired cozy cabin feel, a Buffalo Check stencil was required. This is a very intricate pattern to achieve, however having a stencil to do most of the hard work made this little outdoor cushion revamp effortless, creating a quick and easy buffalo check fabric!
Buffalo Check stencils come in two sizes. Buffalo Check – Medium, and Buffalo Check – Large. Medium was used for these chair pads.


Shop for the Buffalo Check stencil HERE
How to stencil with Buffalo Check
1. Centre the Buffalo Check stencil onto the chair pad, starting along the front edge.
2. Use masking tape to keep stencil positioned if it works! But if it doesn’t… here’s what I did…
I found the outdoor fabric repelled any type of tape, so I had to come up with another way to ensure the stencil didn’t move while I painted.
I located a small picture frame, then removed the picture and glass.
Turning the frame backwards, the frame was positioned over the stencil.
Holding the frame gently, but not too tightly otherwise the cushion would pucker, I started to stencil a framed section at a time, until the entire cushion was complete.

Kaboom! What a difference a little paint (and a clever stencil) makes!
I used Fusion Mineral Paint’s Coal Black (get 10% off HERE) for a super traditional Buffalo Check look, however you could use a buffalo plaid pattern on any colour cushion painted in any tone to create your own twist!

Stencil Tips while using Buffalo Check

.
Because this stencil has such a high level of detail, this is what worked best for me…
a) I dampened the stencil brush with water, then dried it. This helped the paint glide off a little easier, giving the image a more transparent printed look.
b) The brush was then loaded with Coal Black paint, then off-loaded to create a dry-to-the-touch brush tip.
c) Using small swirling motions, the big empty squares were painted first, then as there was less paint on the brush, I moved to the finer lined squares for less chance of bleed.
d) When finishing the stencil, self-align the pattern against itself to continue until the entire surface is covered.
e) Ask kitty if he approves… if you can wake him up…
And be sure to watch the video at the bottom of this post! It’s really helpful.
Suggestion:
I did mess up two cushions before I got the hang of the 3rd and 4th. Just take your time, (I rushed) and use very little paint. (I used too much) So I suggest to practice on the wrong side before doing the right side. Lesson learned!

Patio sitting area
And here’s the pretty new wicker set, mixed with some windsor chairs I already had.
I really like the mish-mashed look with a shot of buffalo checked red. They remind me of red geraniums in full bloom… without having to water a thing. : )
But… didja notice the old new-to-you windows and oars?

During my little cabin getaway, I went antiquing and came across this cool old window and oars, so they are both new finds.
For the windows, cup hooks were screwed into the window and patio header above and a lightweight chain holds them together.
There is no glass in this window. I really love how it defines the area without obstructing the view.

In fact, I look forward to this ever changing view with the seasons!


Learn how to make stenciled fabric HERE
Remember the Farmhouse patio table?
I removed the elevated boards, then just placed planks on top to create more of a side table height.
And the oars are just propped into place, enhancing that cabin on the river summer theme.
As for that little side table…

It gave me a new brainstorm.
I’d really like to create a custom side table that will house the propane tank and propane firepit behind closed doors until I need them. And if I’m creative enough, I may even be able to hide a portable grill inside it too!
But I’m going to test out this summer without a grill because I really don’t want one very badly. Perhaps when they go on sale in the fall or something…


I am in LOVE with the new patio changes! The patio feels so much more inviting with the table and chairs, and this little location is turning into my dream outdoor living – dining room more with each passing minute!
So… what happened to the other two matching wicker chairs you ask?
Let’s go downstairs into the yard…

The wooden wall sitting area
.
This wall and strip of sidewalk resides against the back of my house.
I’ve always longed for this space to become a sitting area. The view is wonderful, and would offer a place to sit down in the yard without having to move everything to mow the grass.
But there always seems to be boards stacked against the house for storage.
So… I joined them!

Literally. I lined the boards up beside each other, then attached others on top with screws to secure them into place.
When I get tired of the wall, I can simply remove the screws and have my boards back.

Two Buffalo Checked chairs outdoors
Then down went the other two chairs and the bistro table, and BOOM! It’s coffee time down below!
I love the fact that two more chairs can either be carted upstairs or brought down below for more seating. It’s really perfect.
A close-up of the Buffalo Checked cushion
As you can see, the buffalo checks look mighty fine here too! In fact, the pop of colour and pattern interest really enhance this entire look.

I stole the cute moss-gone-wild from my potting shed flower display. And this is why I ADORE potted plants!
Learn more about the reclaimed wood stenciled coasters HERE
VIDEO – how to buffalo check a chair pad
.
.
.
.Click above to learn how to stencil with Buffalo Check for exceptional results every time!


There are so many cabin-cozy places to sit now, I may have a hard time getting any work done…
Think you’ll try this look on some plain red cushions?!
.
Find the Buffalo Check stencil HERE
Other Buffalo Check Projects to make:

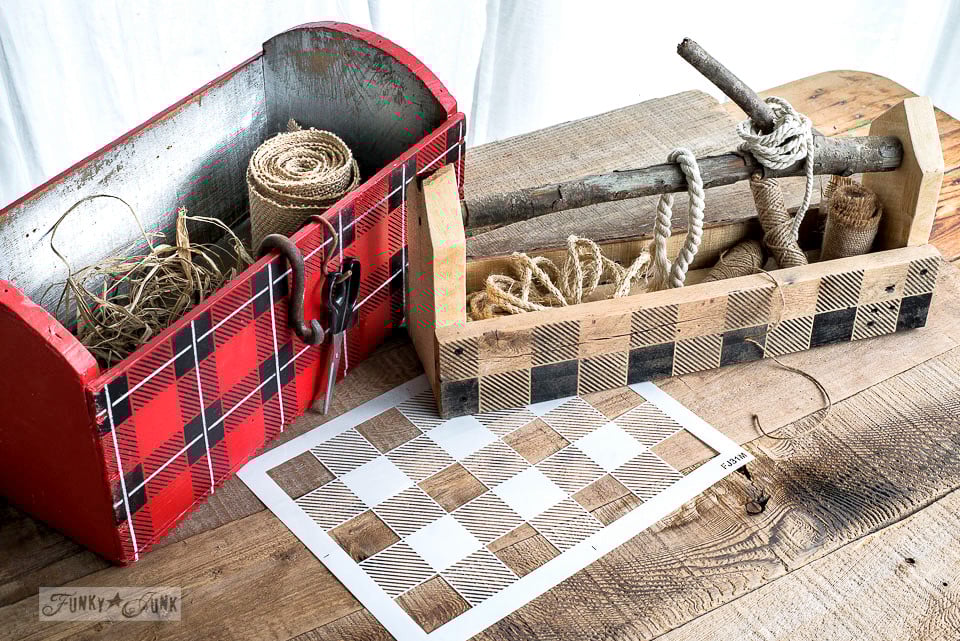
DIY a Buffalo Check checkers game


Visit many other creative Buffalo Checked projects HERE
Visit many more creative outdoor projects HERE
You are so talented and I just love the new looks and spaces you have created, all because you took a little get-away vacation. Way to go!
FlowerLady
I simply love the feel of your new outdoor spaces. I must say, the boards along the back wall really “makes” that space. What a wonderfully creative idea. Storage in plain sight that adds a HUGE amount of character.
These areas are so inviting. And those oars… oh, my.
As always, your artistry has notched it all up. Now, for some coffee and some chilling time.
I just love what you did!!!! The bistro set w/the red buffalo check cushions is fabulous!!!!
Everything looks amazing!
*Smiles*
Just received your buffalo plaid stencils. Looking forward to stenciling green faded patio cushions to give them extra life. After our indoor painting project it is next on my list. Thank you for your clear instructions and tips. I will let you know how they turn out.:) N
It is so hot and muggy here right now, that set while i water is all i want to do. Love your setting arrangements and those beautiful cushions.
Everything looks so fresh and fun! Good for you! I think the best part of vacation is what we take home with us. A rested new you, fresh ideas and something to remind you of the place you stayed. Enjoy!
Donna I just love both of these amazing seating areas! I thought the stenciled couches were the best ever until I saw these! Red was the perfect color to pair with that table set!!!! Just gorgeous!
These are SO cool and patio looks fantastic. I never knew there was such a thing as a buffalo check stencil – so many project possibilities 🙂
Best,
Kelly
I love it!….what a great idea and amazing job you did (as always) … love that you came up with that great idea of using the small frame to secure the stencil….you always find a great solution….and the little seating area that you created is perfect!
Great re-do! We just got rid of the barely-used grill on our deck too, and I’m so much happier with the space now! I love your stenciled chair pads! Brilliant!
You’re a “Design Wonder Woman”. I just found your site. It’s so up my alley, how you take simple things and put your “stamp” on it is inspiring. Love your explanations it’s like your having a conversation with me. Please don’t quit. It makes me want to try some of these projects only with my twist? Thank you!
Both of your patio spaces are amazing, and the chairs look wonderful Donna!
Oh Donna, I really, really like it! Boy, do I wish you lived closer, or vice-a-versa, and you could help me do the same thing. Love the checked cushions, the hanging window(I have a passion for windows), and the boards stacked and secured at your wall in the backyard. Awesome job Donna! Thanks so much for your post. I am so glad God has blessed you with such down-to-earth creativity.
I wanna have coffee with you on your adorable porch! Love the backdrop of old boards too. So simple, yet so appealing.