
Transform your plain card table into a stylish, rustic, removable wood-top masterpiece with this simple, step-by-step DIY card table makeover anyone can tackle!
As a Fusion and Amazon Influencer, this post contains affiliate links in which I earn a small percentage from qualifying purchases at no extra cost to you. If you shop Fusion Mineral Paint products through this post, you will get 10% off. Thank-you for helping to support my blog!
I’m still getting adjusted to my newer office since my son has moved out!
HERE is where my office use to be…

Visit my new office with ladder bulletin board shelf HERE
And HERE is where the office is now! It’s all working great! It’s cozy, with just enough space for everything… except I really need more desk space for paperwork. As-is, I’m constantly shoving the keyboard and mouse pad to the side.
I debated on ordering another identical IKEA desk system for the other side of the room. In fact, it’s in my cart as I type!
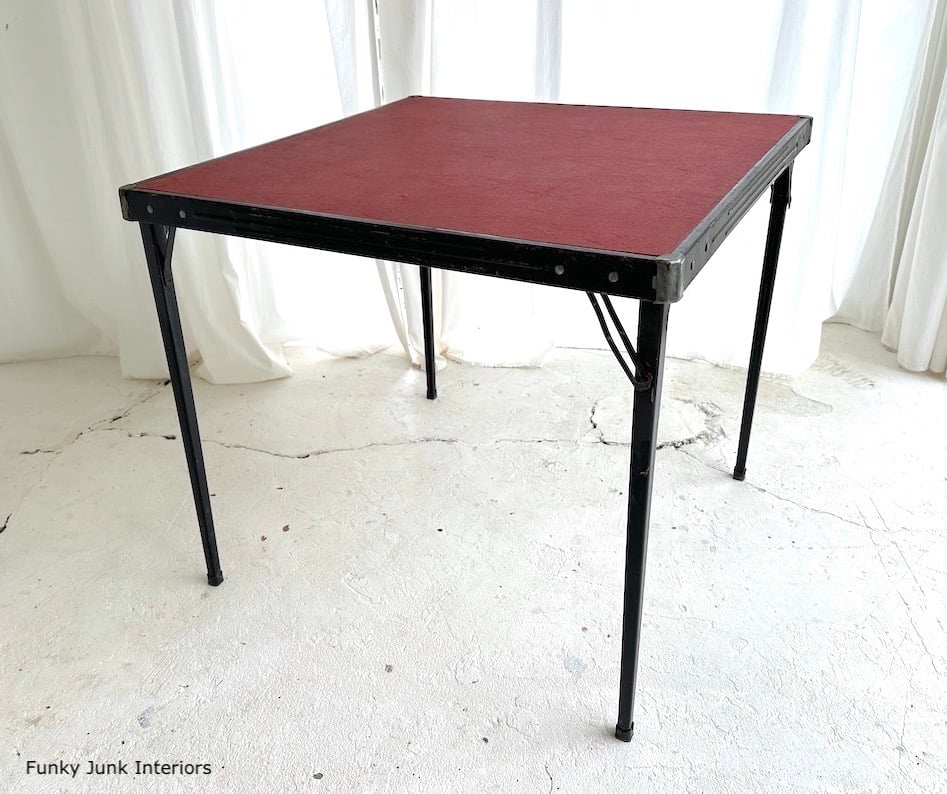
Red and black vintage card table – before
But when this little vintage card table entered my life with a challenge to create a decorative top for it, that all changed in a heartbeat!
I landed this card table from someone on marketplace. While a little banged up, it was in very sturdy condition with functioning legs. And while I can appreciate a card table in its original vintage condition, a red table isn’t something I’d be thrilled to look at all the time as-is. Time for a makeover… of sort!
The challenge was to give the top a makeover. So I thought, why not build a reclaimed wood top that could be removed when needing to collapse and store it? Then while you use it, it would have all the rustic farmhouse charm I desire!
Well now… only did my little plan fly, it turned out even better than I imagined! And it was quite easy to make!
So if you too have an old card table that you pull out on occasion, here’s a way to enhance it to make it WAY prettier! So much so, you won’t want to put it in storage. Ask me how I know…
I can’t wait to share how this one turned out! It’s SO COOL!
Easy-to-make removable DIY wood Top Card Table Makeover
Supplies I used:
Vintage square card table in good, sturdy and workable condition
Tongue and groove planks for table top
Smaller solid wood boards for frame
Dollar store drawer and shelf liner in a pretty pattern
Fusion Mineral Paint in Casement and Cast Iron (get 10% off)
Variable speed orbital sander (Bosch)
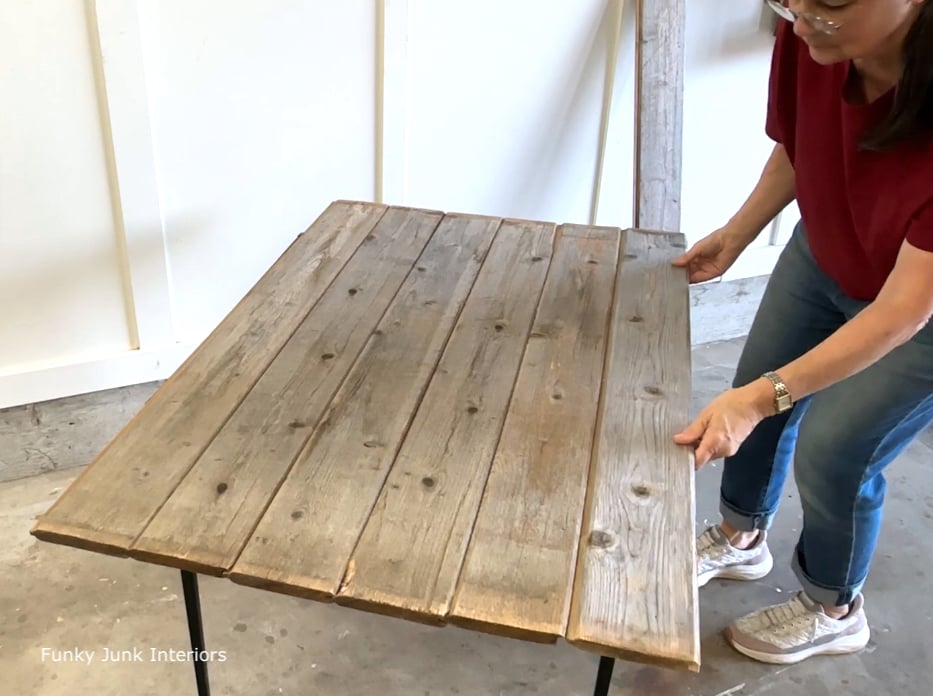
Covering the card table with wood planks
1. I gathered enough wood planks to cover the card table top with some overlap so I could give it a farmhouse look.
I chose tongue and groove cedar planks, so the boards had a nice tight fit to each other with a lighter profile with a flat surface so the top didn’t end up too heavy to carry.
Table and lumber sizes used:
- Card table top measurements: 30″ x 30″
- Top boards: 7 boards measuring 5″ x 35.5″
- Finished table top total: 35.5″ x 35.5″
- Frame boards: 4 boards measuring 3.25″ x 32″
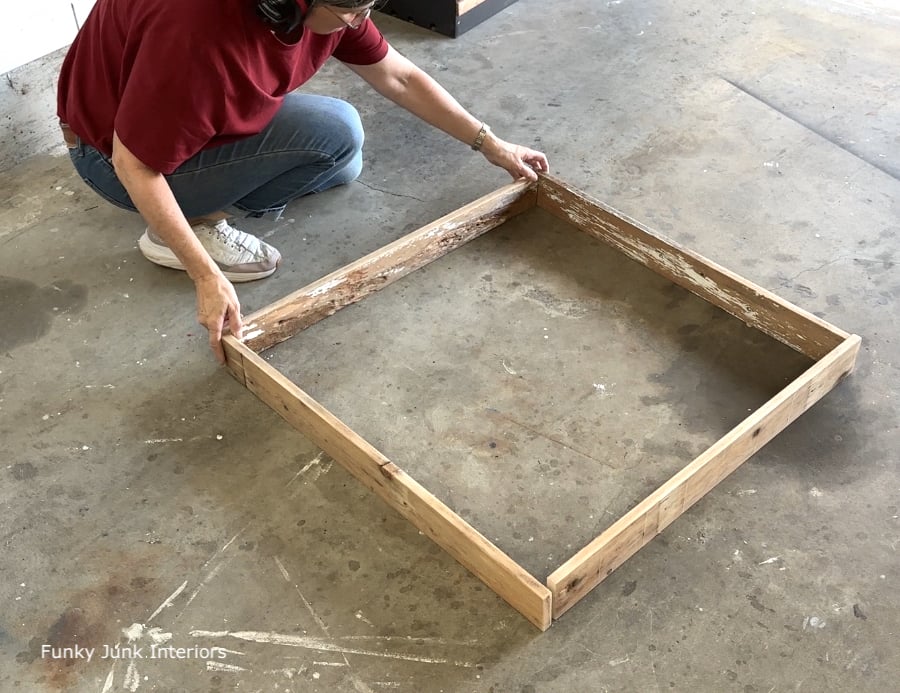
Building a square frame that clears the table top
2. 4 boards were cut to create a square frame about 1″ larger on all 4 sides than the card table top, so it cleared the surface.
I chose 4 solid wood planks with a slimmer profile. Each one was cut to the same size, then I placed them on the floor and rotated the overlapped corners, ending in a perfect square.
3. Attach all four corners with screws.
Each board end was pre-drilled two holes per board, then attached with screws using small gentle pumps to avoid splitting the wood.
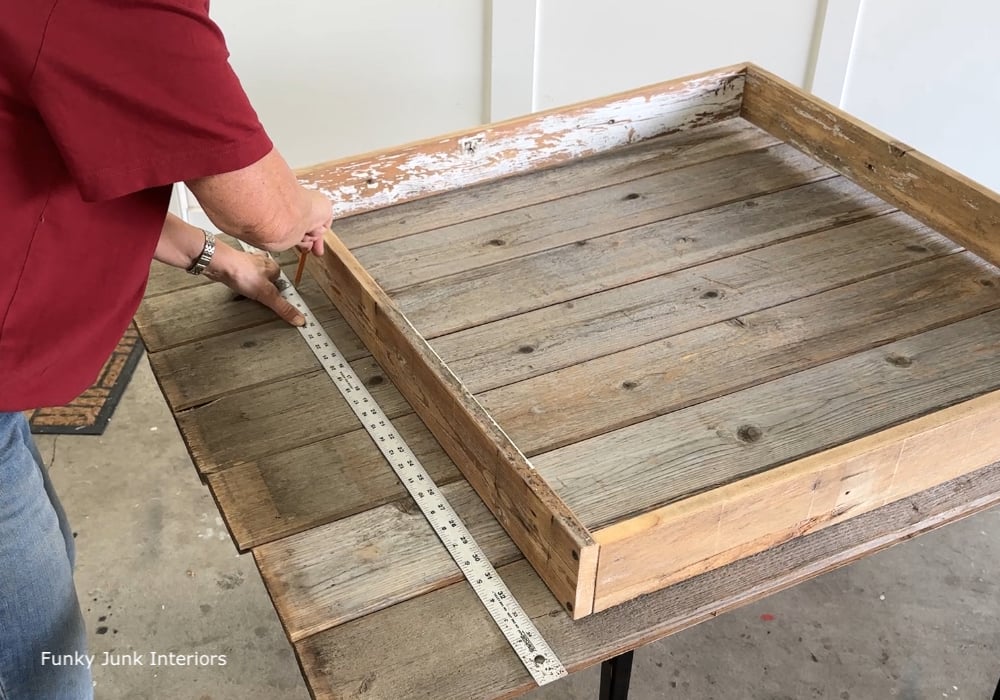
Measuring the table top planks for cutting
4. Place frame in the middle of the top planks, then mark where to cut to create a perfectly square table top surface with equal amounts of overhang on all sides.
I cut each board down to the same size on the miter saw.
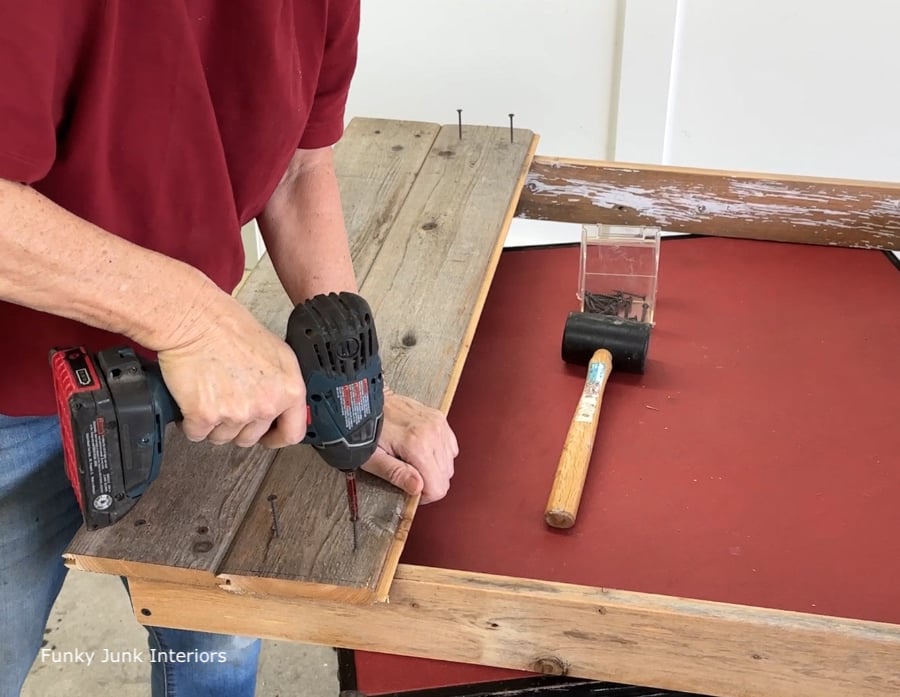
Securing the table top boards to the frame
5. Position the boards back on the frame, one at a time, while attaching with screws.
I used a rubber mallet to help position each board for a snug fit. By installing one board at a time, you can see exactly where the frame is below.
6. Sand entire top and sides where needed.
I only sanded enough to remove roughness so I didn’t also remove all the wonderful old greyed out patina of the wood! However if you wish for a newer look, just sand deeper.
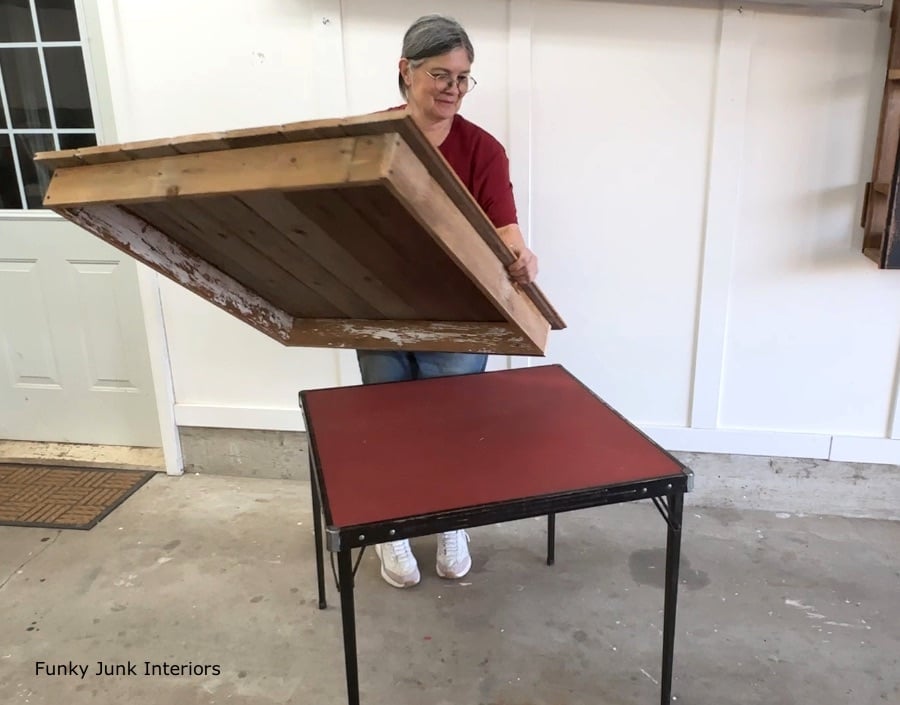
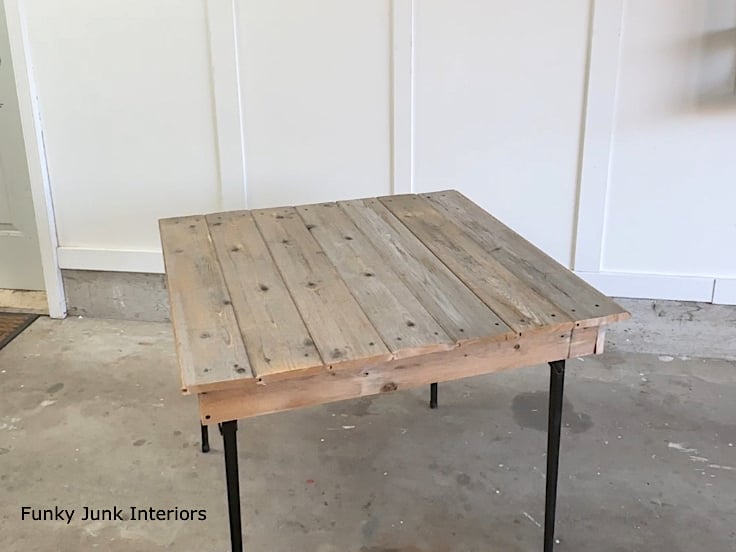
Removable wood table top for card table
Now you are left with basically a fully-intact lid for the card table you can lift on or off anytime you wish! I may or may not have gasped when I first tried it out…
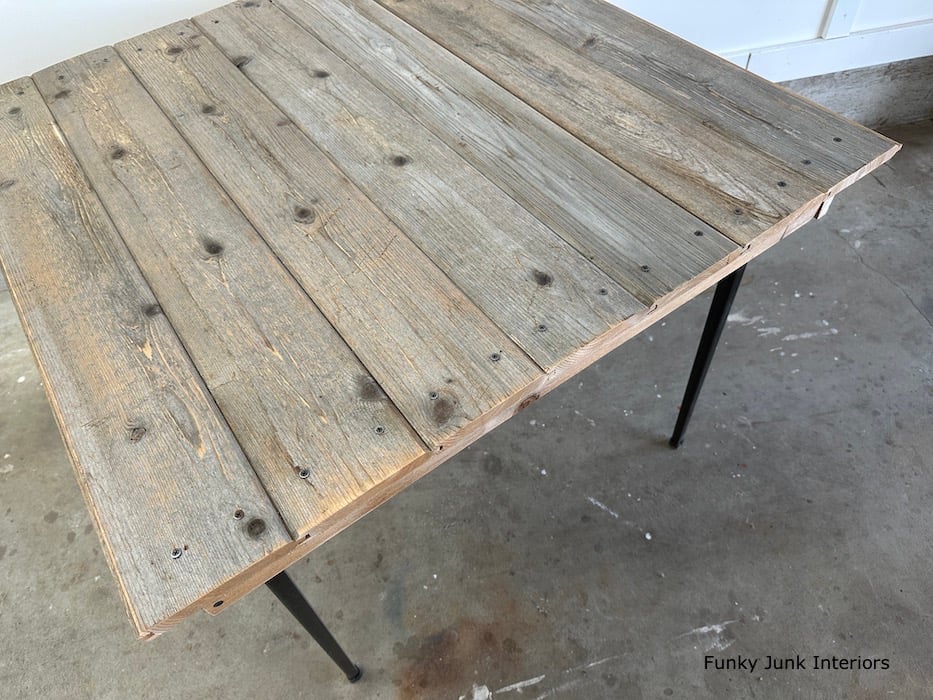
It was even prettier than I imagined it would be! And while the wood top looked fabulous as-is, I decided to take it one step further to turn it into more of a statement piece!
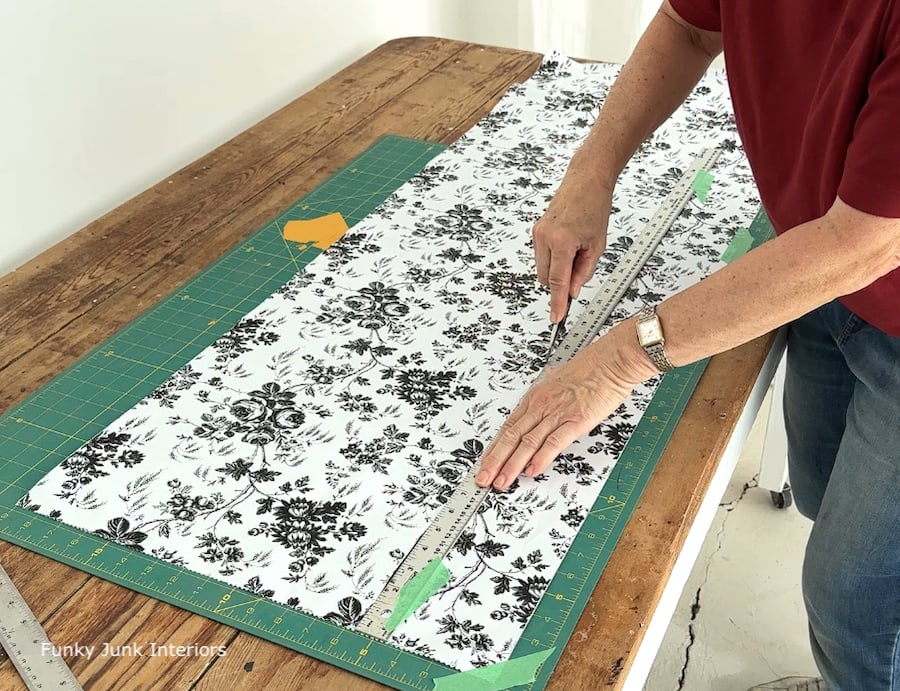
Adding a strip of shelf paper for a decorative touch
7. To add a decorative stripe, cut a strip of shelf liner to the size of one board using a cutting mat.
I landed this pretty patterned shelf paper liner from the dollar store! I loved the black and white floral pattern that resembled fabric to give this wooden surface an elevated feminine touch.
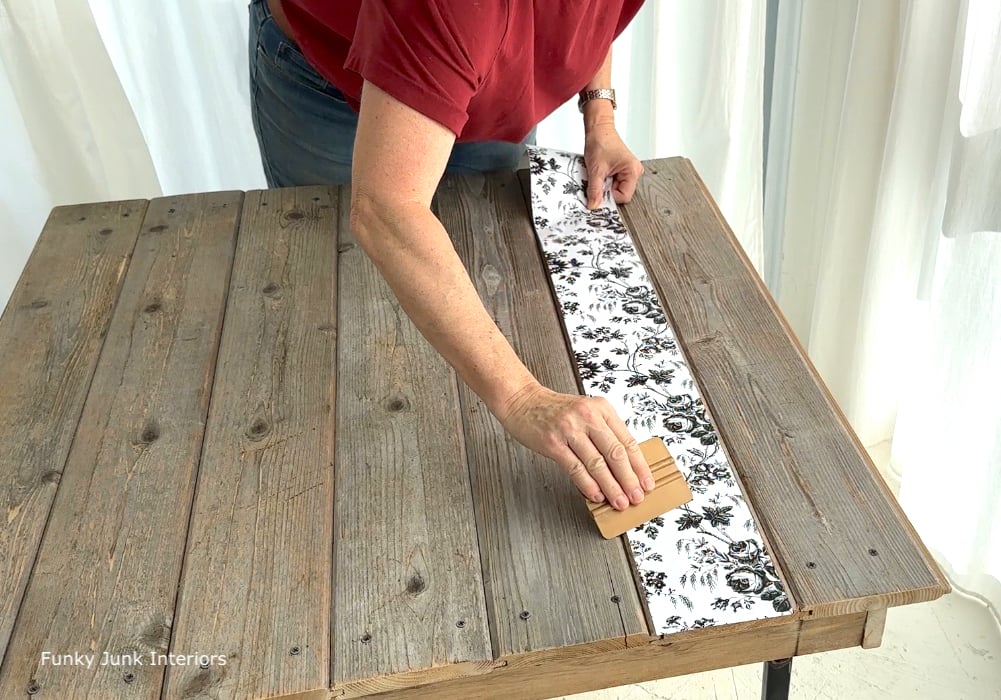
Applying the shelf paper to one table top board
8. Apply the liner to one board, while smoothing it as you work. Then trim off the ends using a knife and straight edge.
I was really surprised how easy the liner was to work with! No bubbles or ripples, and it was easy to reposition if needed.
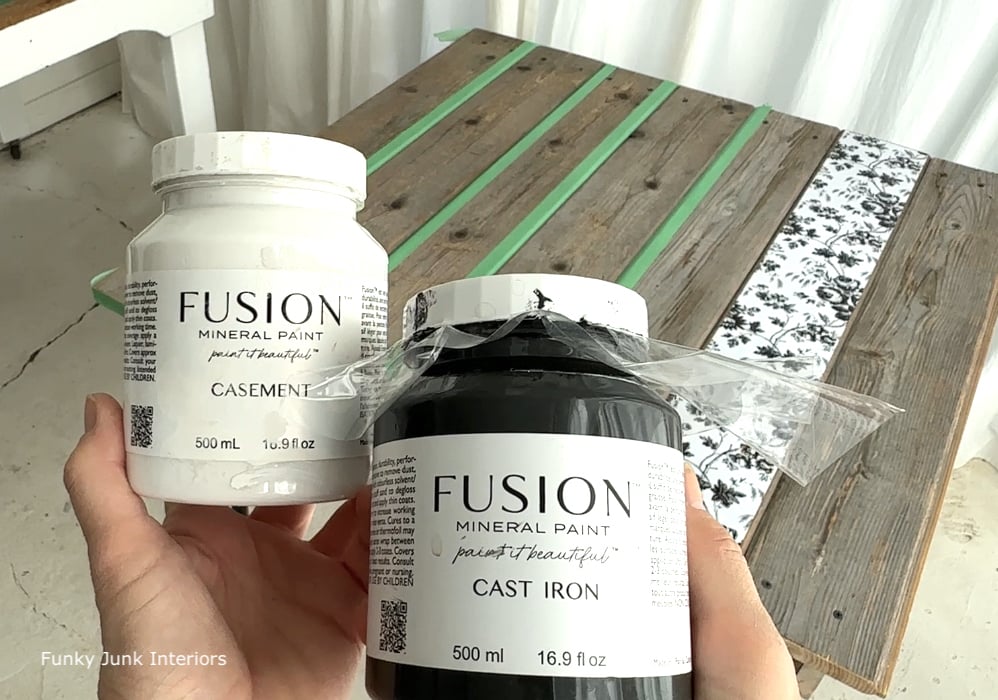
Fusion Mineral Paint in Casement and Cast Iron (get 10% off)
Painting stripes in Casement and Cast Iron to coordinate
9. I then painted two coordinating stripes of Fusion Mineral Paint in Casement and Cast Iron (get 10% off).
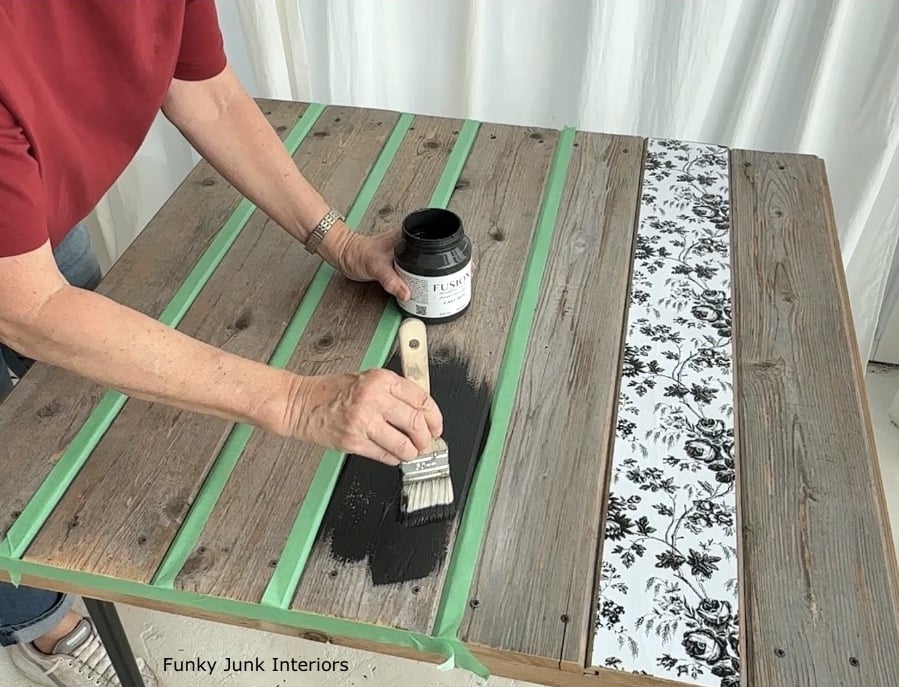
Two boards were taped off, then I painted one stripe in Casement and one in Cast Iron to coordinate with the patterned liner paper.
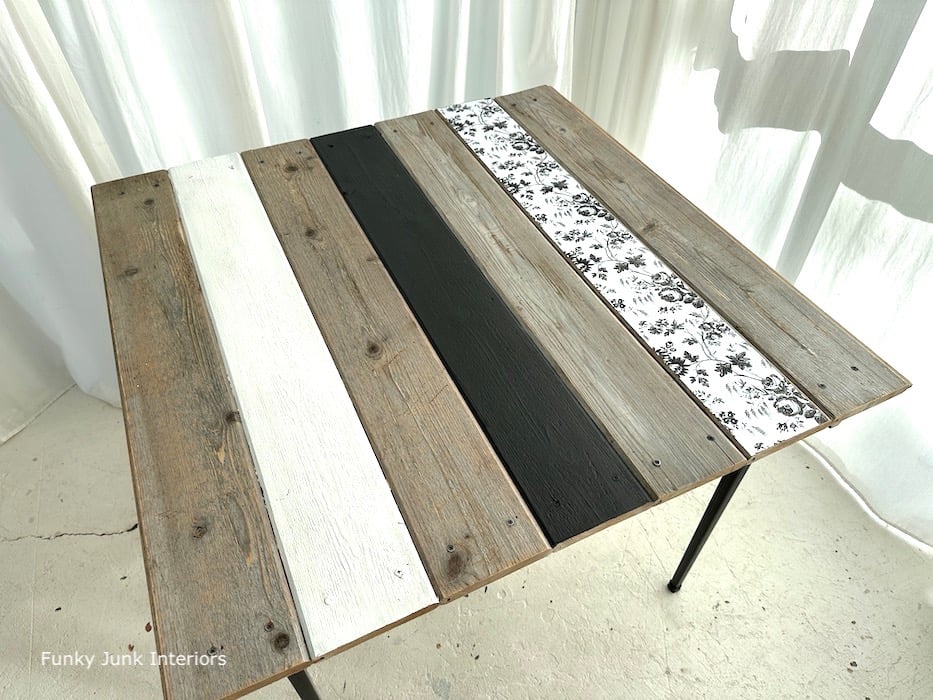
The decorated painted and striped wood table top
And this was the pretty result which coordinated so well with the black metal legs of the card table, I didn’t even bother to repaint them!
Tip: Should you ever wish to go back to just a plain wood top, simply unscrew the boards, turn the decorated boards over and you’re back to just wood! This opens up a ton of fun options should you wish to decorate a table for Christmas, or any other look you desire!
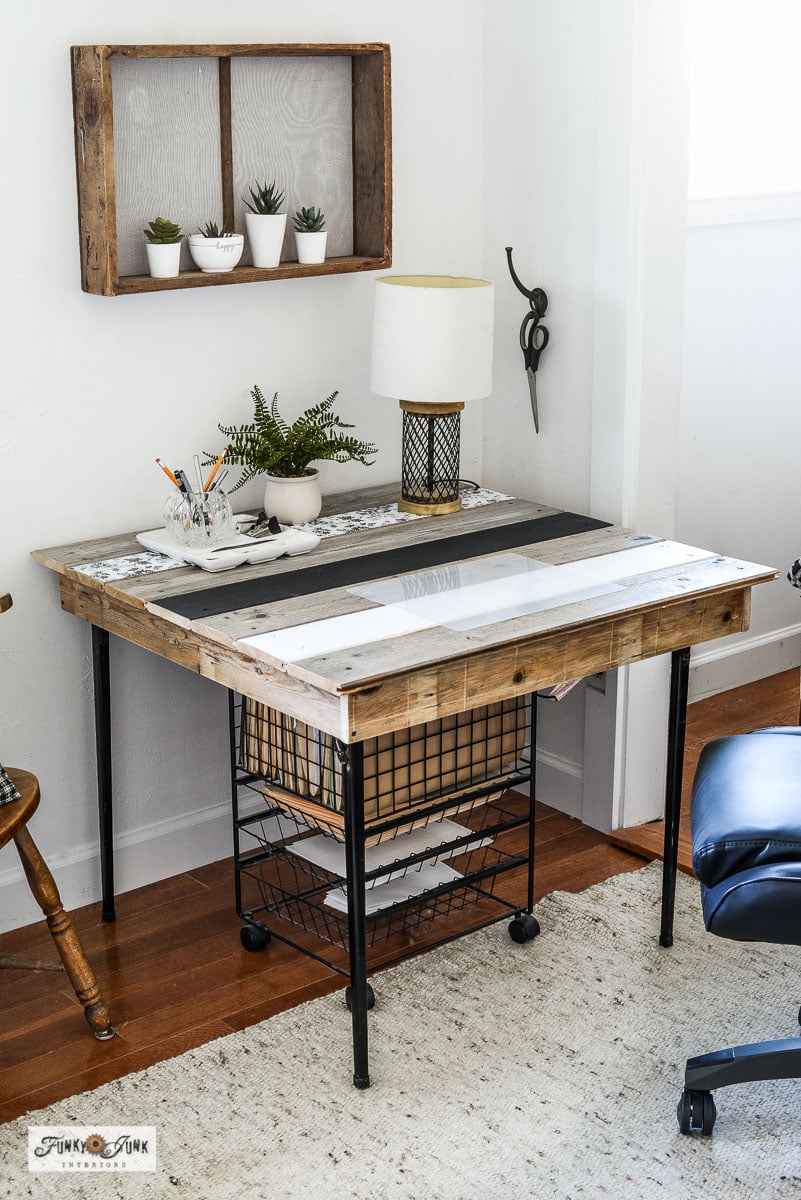
Completed DIY wood top card table makeover
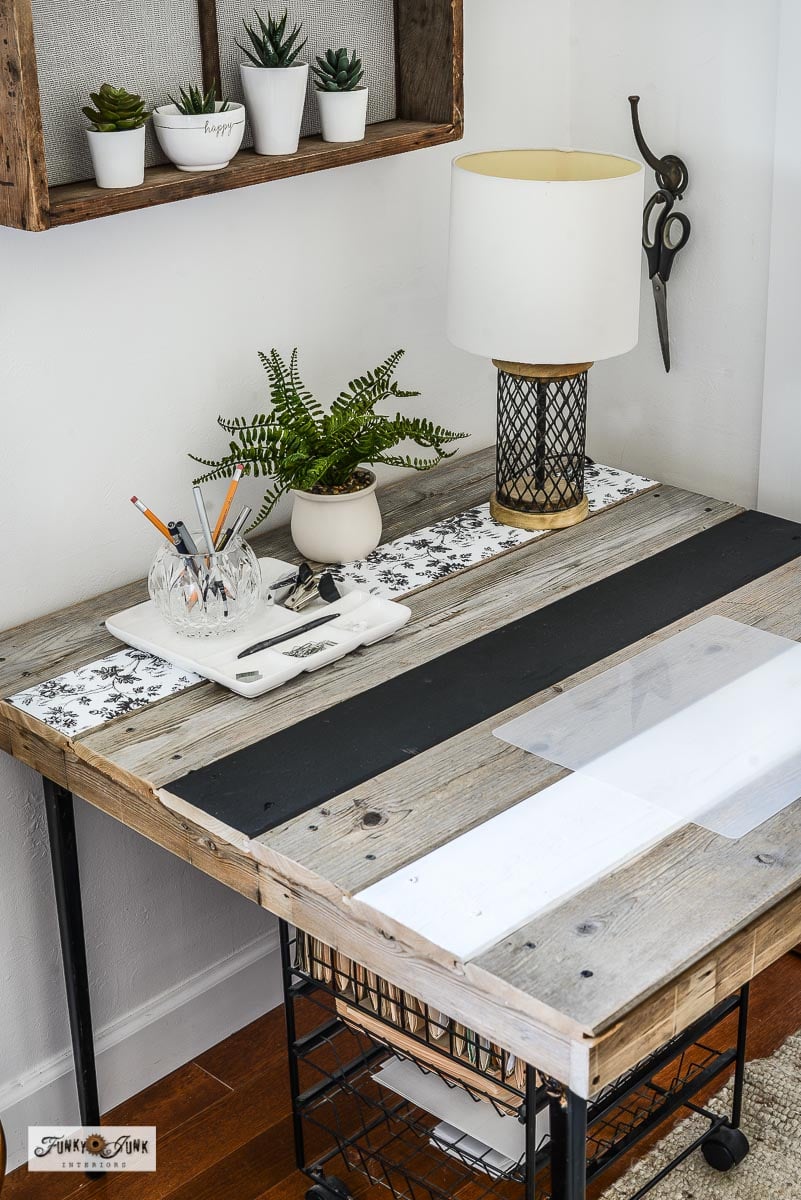
Then I moved the card table makeover into my office, to set up and enjoy a nice little paperwork desk that fit perfectly!
To create a smoother writing surface, I also picked up a dollar store cutting mat! Perfect. Or you could go full throttle and get a proper desktop mat. I rather like this clear desk mat HERE.
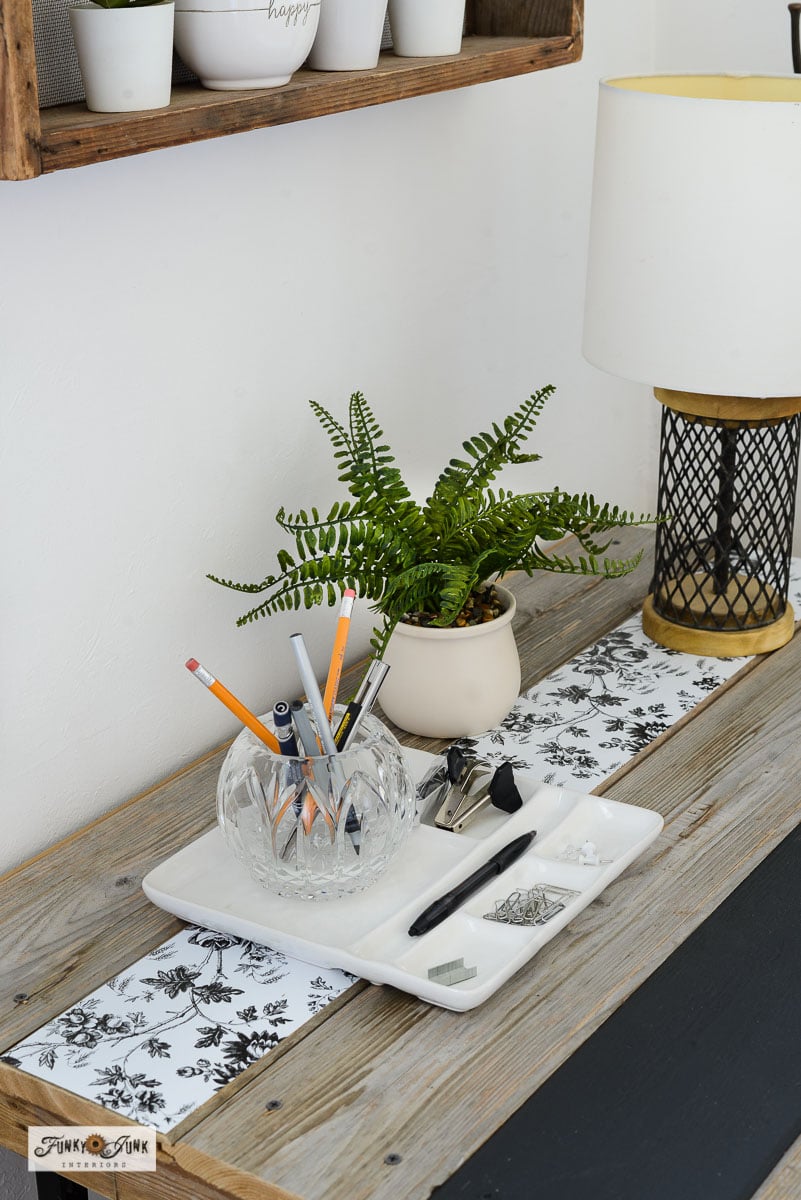
Decorative office supplies that match the card table makeover
To play up that pretty black and white floral pattern, I gathered up a ceramic office sorter, with a crystal bowl for pens for an elevated office look. I feel so fancy now!
Here’s a few very pretty white office organizers that may fit your vibe!
Shelf liner and painted boards as built in coasters
As for the lined and painted boards? They also act as protectants from cup watermarks on the wood surface! Kinda like hidden coasters that are actually just part of the design. What a bonus!
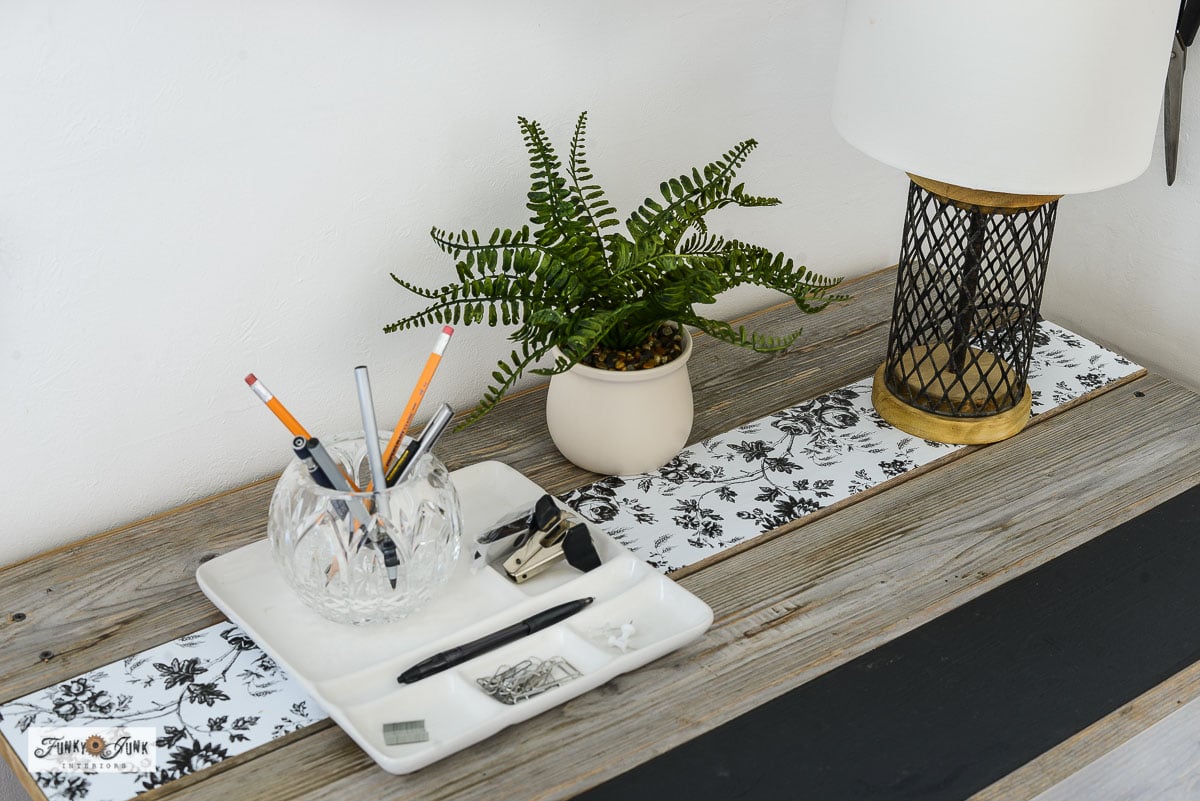
Teamed up with a small faux fern plant along with a coordinating lamp, I have everything I need to get my paperwork done, with a pretty looking space as the bonus!
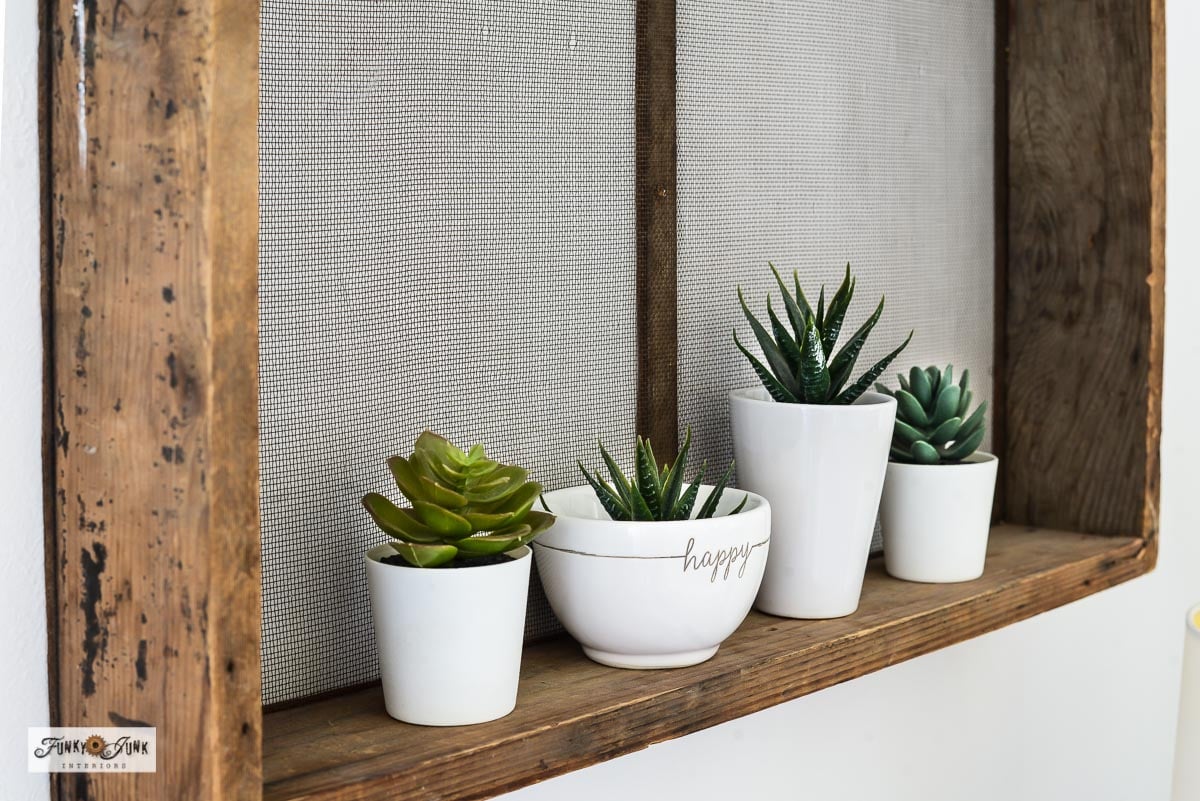
Faux succulents as wall decor
For abit of wall interest, an antique sifter hung on the wall was lined with faux succulents in white pots for a grouped gathered-over-time look.
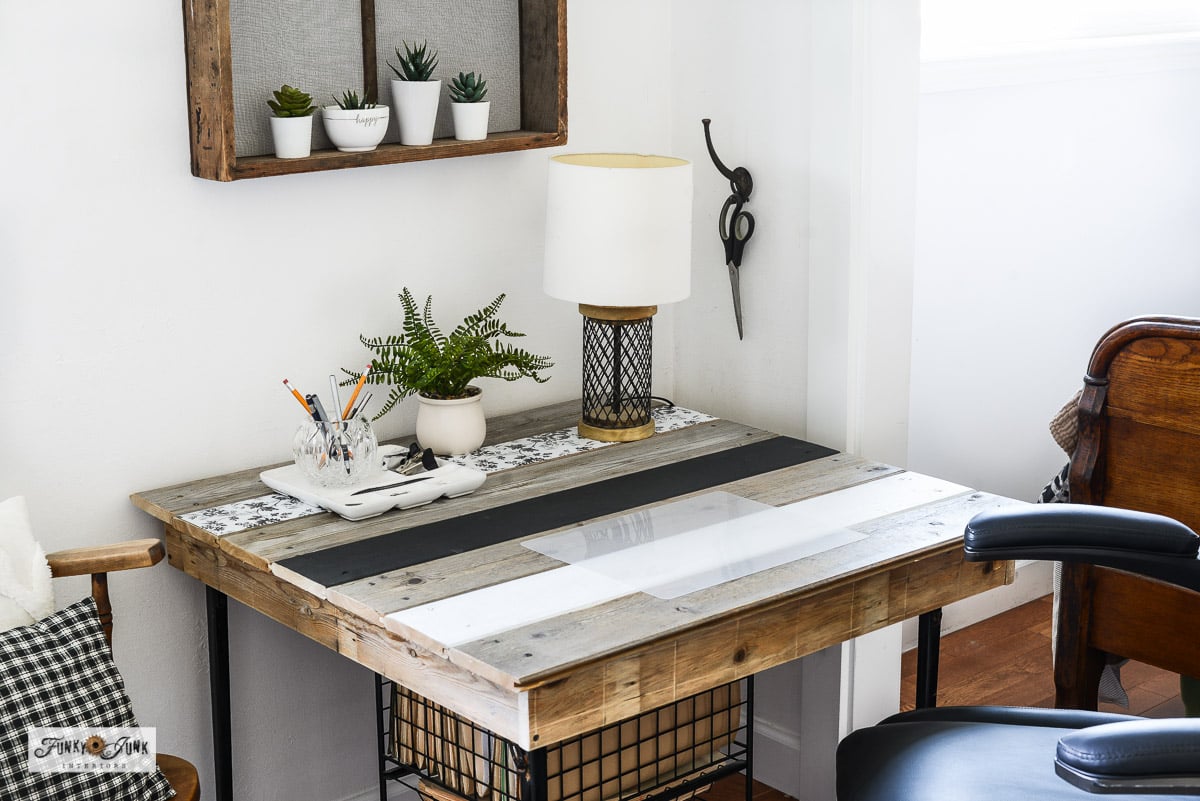
All I know is, this cute little card table makeover coordinates with my existing office perfectly, thanks to the elevated decorating elements! It’s functional, SO pretty to look at, and can be used as more table space any time it’s needed when extra guests arrive!
And while it can easily be stored separately if desired, I personally think it’s way too pretty to hide, if I do say so myself! Worthy of a Pinterest pin… so thanks if you do!
Isn’t it fun?!

Other unique office projects:
Budget-friendly office decor ideas: DIY desk and painted floors
Ladder shelf with bulletin boards for an office
Turn a coffee table into a flip top desk
Check out all my creative office projects HERE
Thank-you for pinning my work!
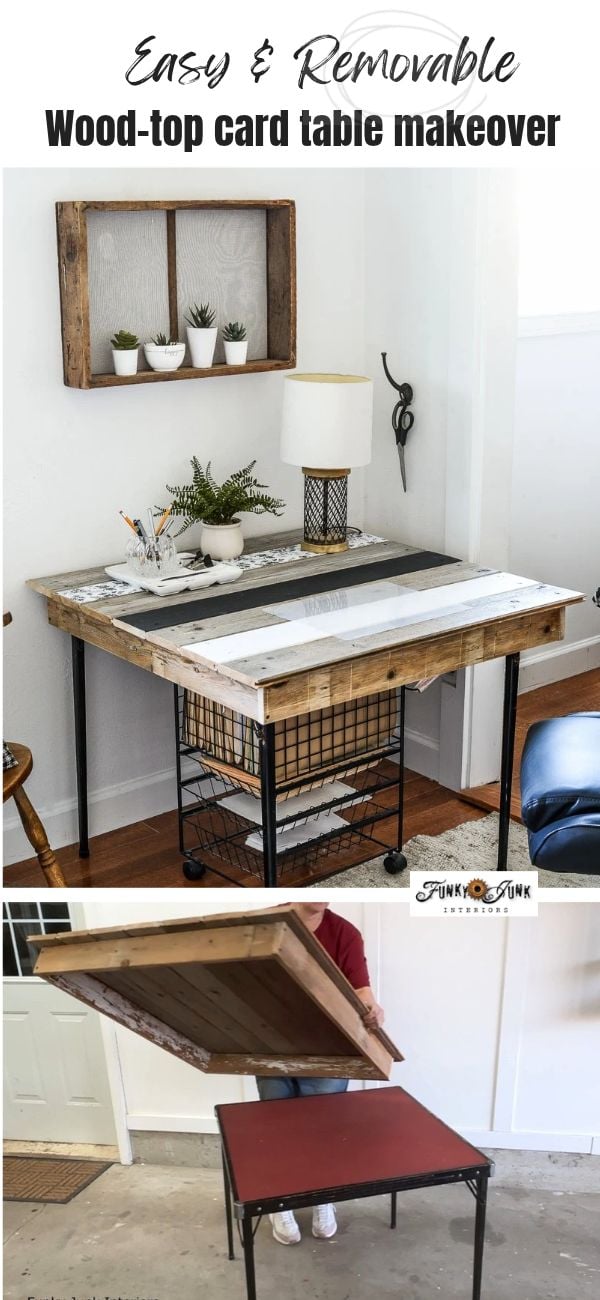
Thank-you for pinning my work!
DIY wood top card table makeover
Supplies:
Instructions:
- Lay planks across the top of a card table until covered with some overlap.
- Cut, then assemble a square frame that is approximately 2" larger than the card table top.
- Place frame on top boards, then measure around frame to create a square top with a 1.5" overhang on all 4 sides.
- Cut planks, then replace on top of the frame, and attach one at a time with screws.
- Give entire surface and sides a light sanding.
- Cover one plank with pretty shelf liner for a fabric look.
- Paint two other coordinating stripes to match the liner.