
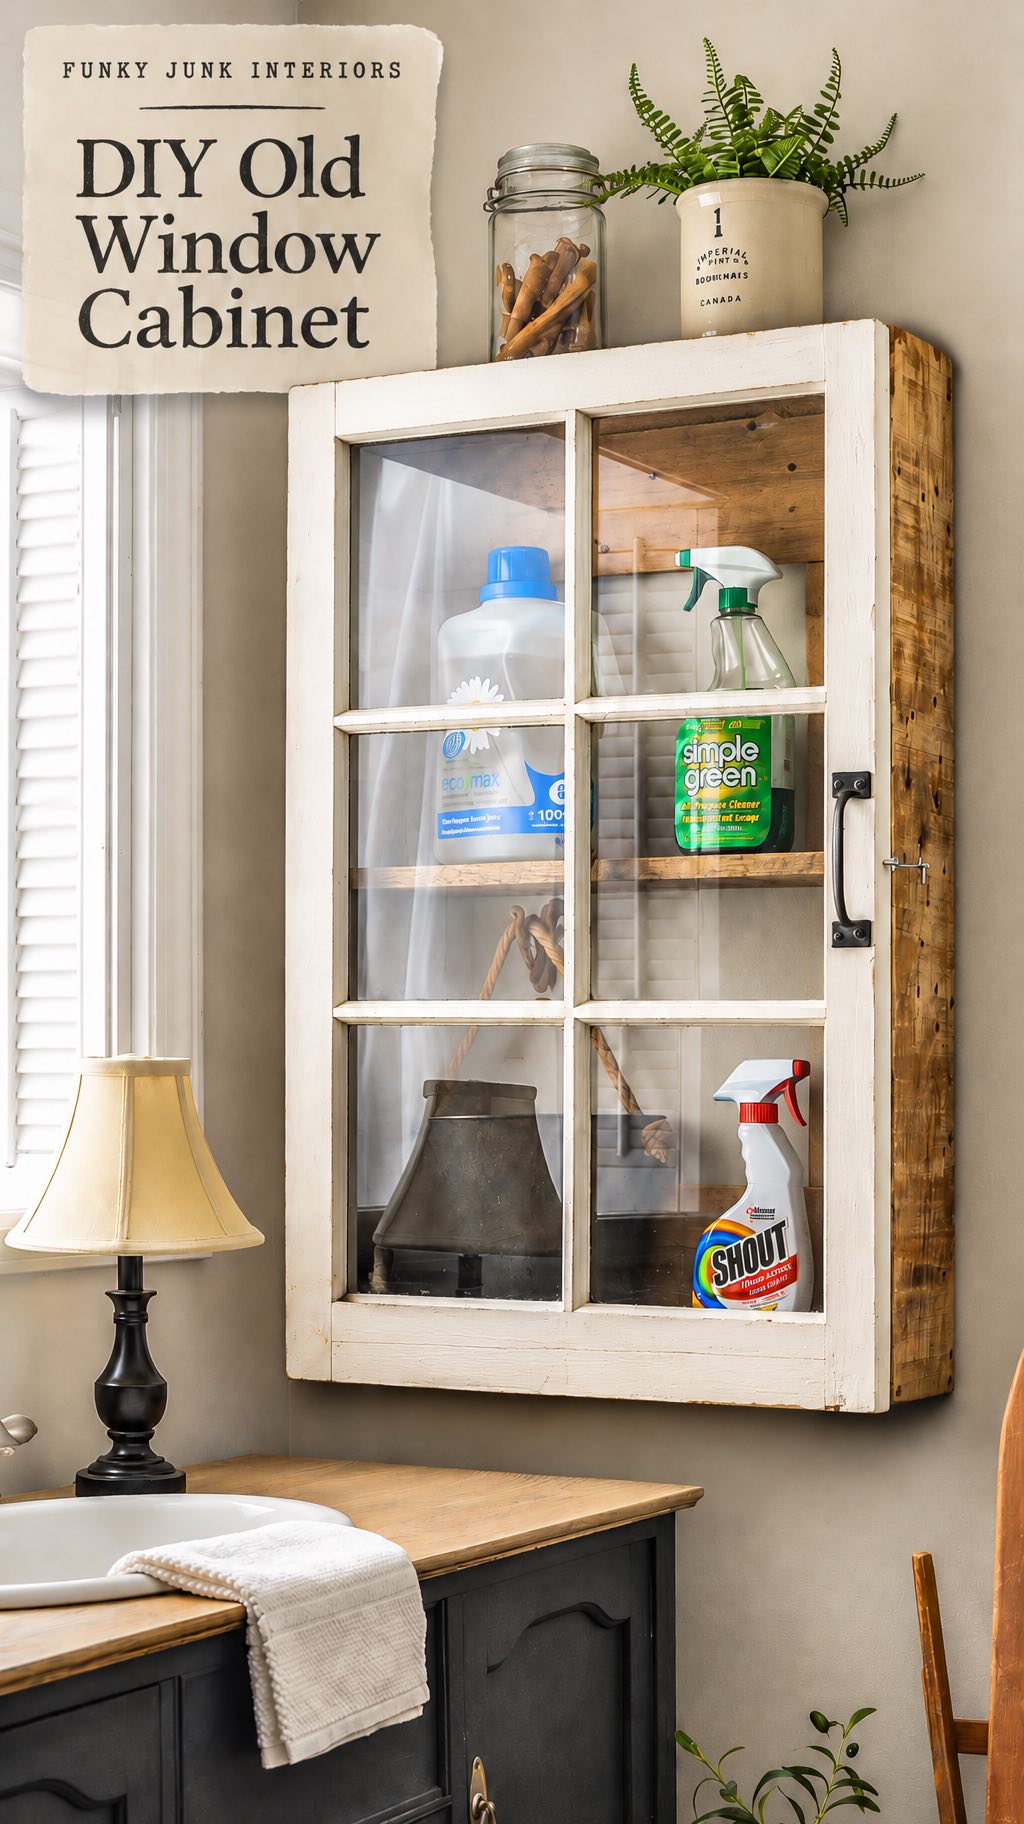
Transform your laundry room with a charming DIY rustic old window cabinet, combining vintage character and practical storage to keep your space organized and stylish!
As a Fusion and Amazon Influencer, this post contains affiliate links in which I earn a small percentage from qualifying purchases at no extra cost to you. If you shop Fusion Mineral Paint products through this post, you will get 10% off. Thank-you for helping to support my blog!
My laundry room room appears to be on fire right now, in all the right ways!
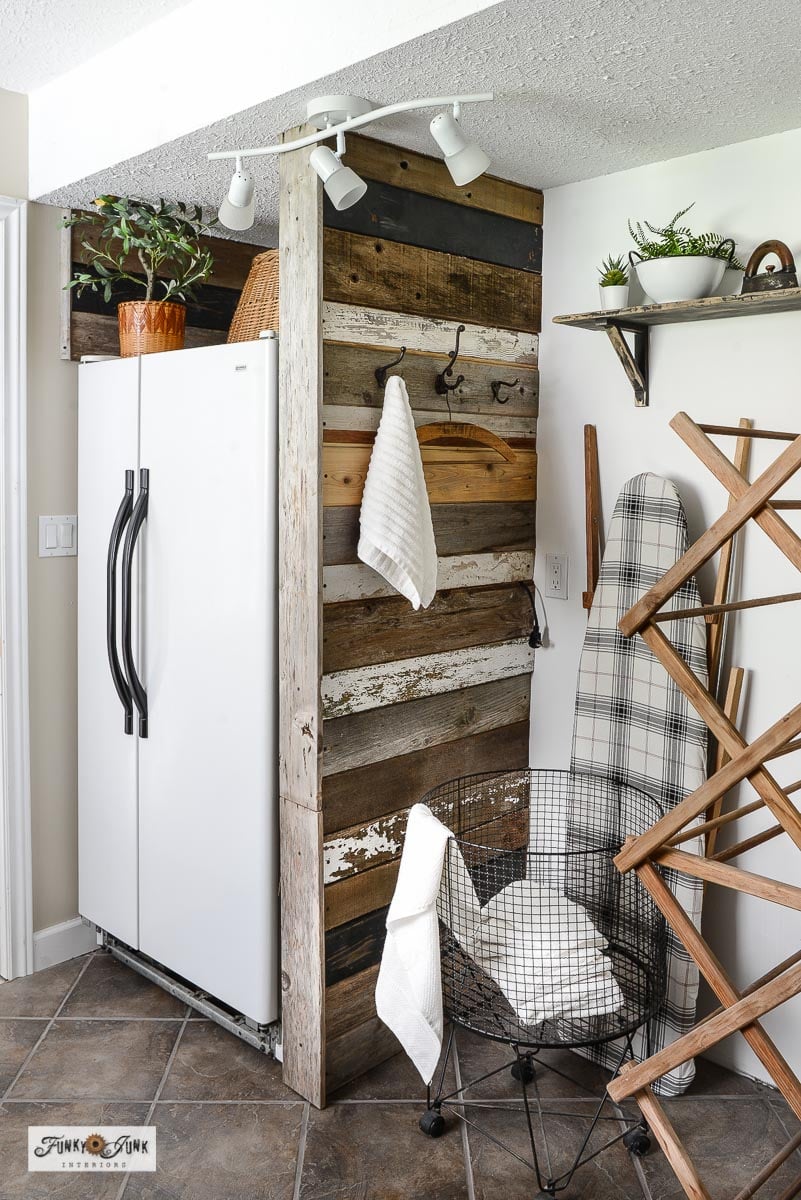
View: How to create a built-in fridge wall out of reclaimed wood
I recently just created this amazing addition to make a spare fridge look built-in, which turned out SO cool!
But now that this side of the laundry room is organized and looks so intentional…
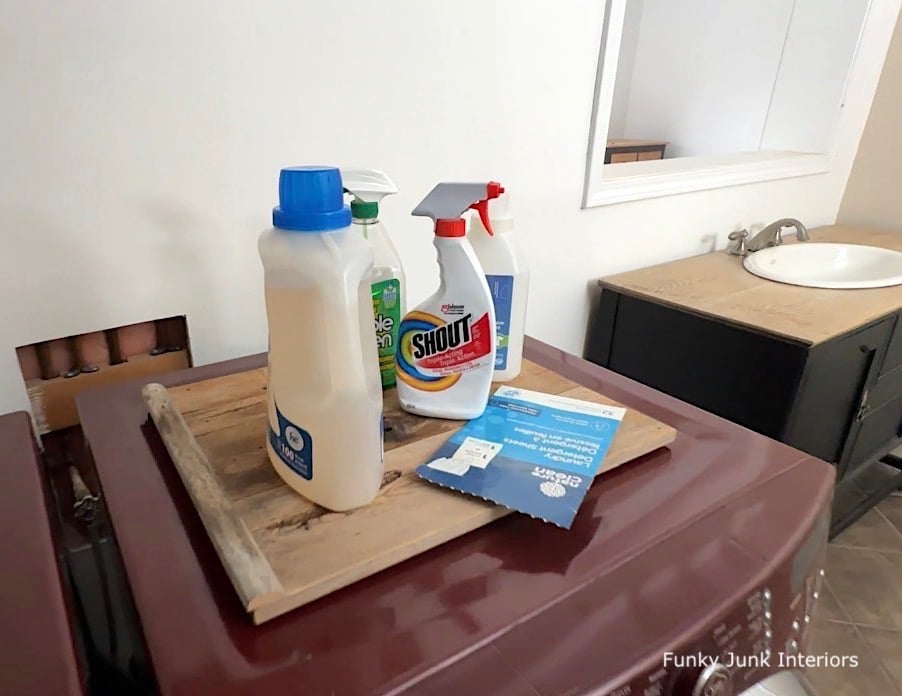
The other side does not! In fact, there’s no storage cabinet in all in this room. So laundry supplies sit on top of the dryer in plain sight and always look messy.
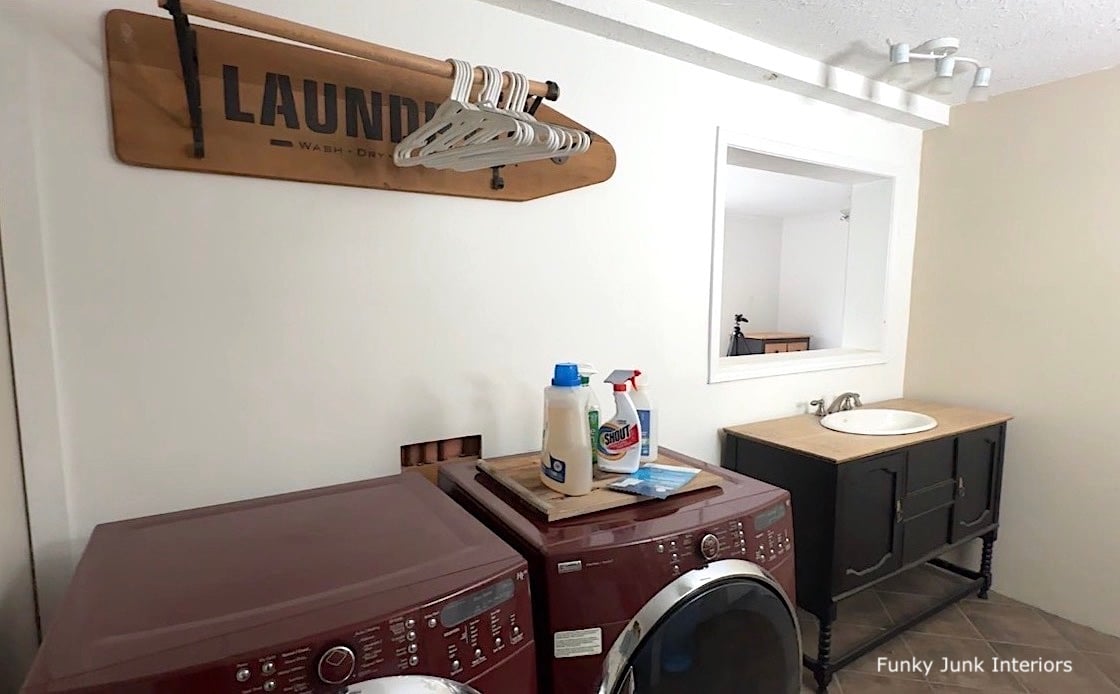
View: Vintage ironing board drying rack HERE
The vintage ironing board drying rack is totally cool and staying put! However, being that it required the main place where you’d normally install some kind of laundry room storage cabinets, I needed to come up with another plan.

Which I’m sharing today, along with a few of my friends from the Thrift Store Decor Team! Be sure to check their new thrift store flips at the end of my post!
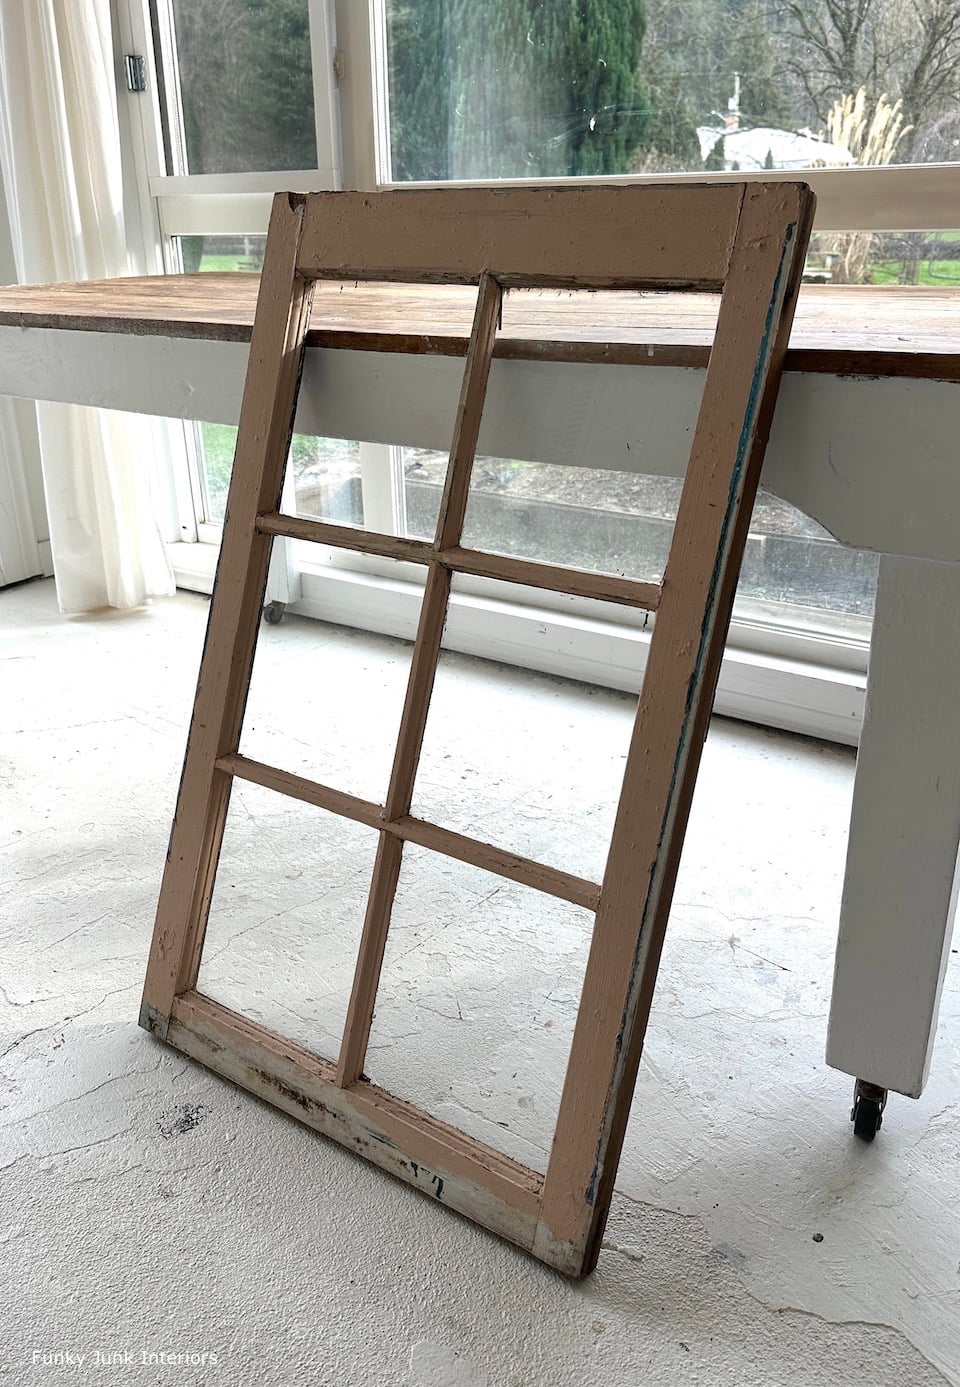
Old window – before
So today, I’m using an old window I had in my stash.
You may remember a past project of flipping a window into a coffee table HERE.
That project was indeed really cool! However, this window was the perfect size for what I needed for this project, so I needed it for this! Haha
I realize this project is far from being new to the internet. However, it’s the first one I’ve built and there’s a reason people keep building them…because they work and look SO cool, compared to a standard cabinet you buy from a big box store!
So don’t toss those old windows quite yet, until you see how easy this one came together!
How to DIY an old window cabinet for laundry room storage
Supplies I used:
An old wooden window that fit my space
Reclaimed wood
Stud finder (optional but handy)
Fusion Mineral Paint in Raw Silk (get 10% off HERE)
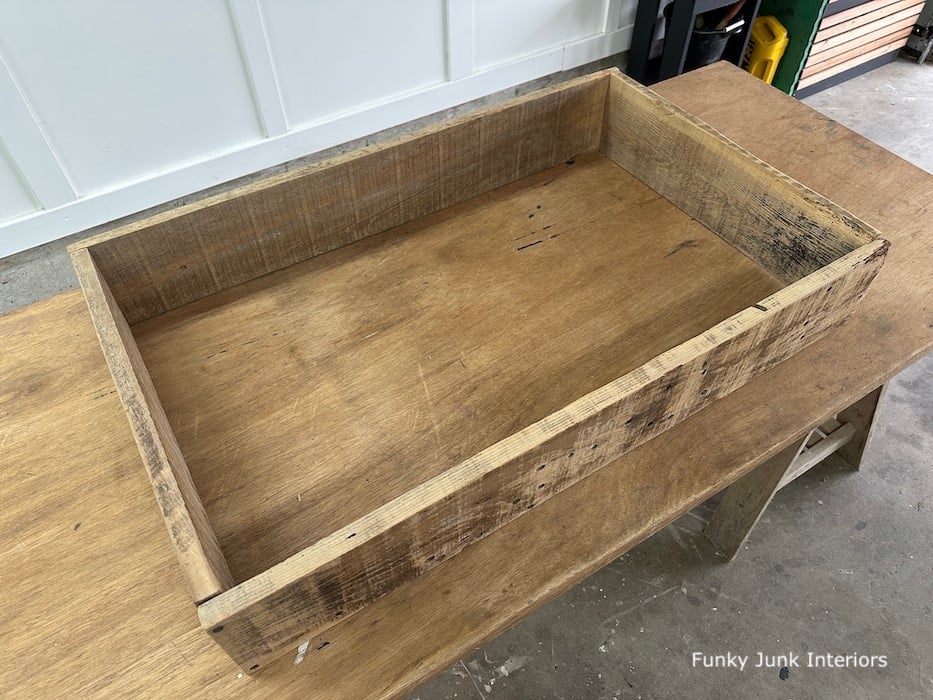
Building a frame the same size as an old window
1. Measure the window dimensions, then cut boards to build a window frame to the exact same size.
In my case, I cut two boards to the full longer length of the window, then 2 shorter end boards to enclose the frame.
While I chose to leave the wood natural, you could also stain it.

Paint colour: Fusion’s Raw Silk (get 10% off HERE)
Painting the window
2. Paint the window in a colour desired.
I had previously painted one side of the window so it could be white! Each window pane was taped off, then I painted the window frame in Fusion’s Raw Silk for a vintage white vibe.
You can see the full painting details in the old window coffee table project HERE.
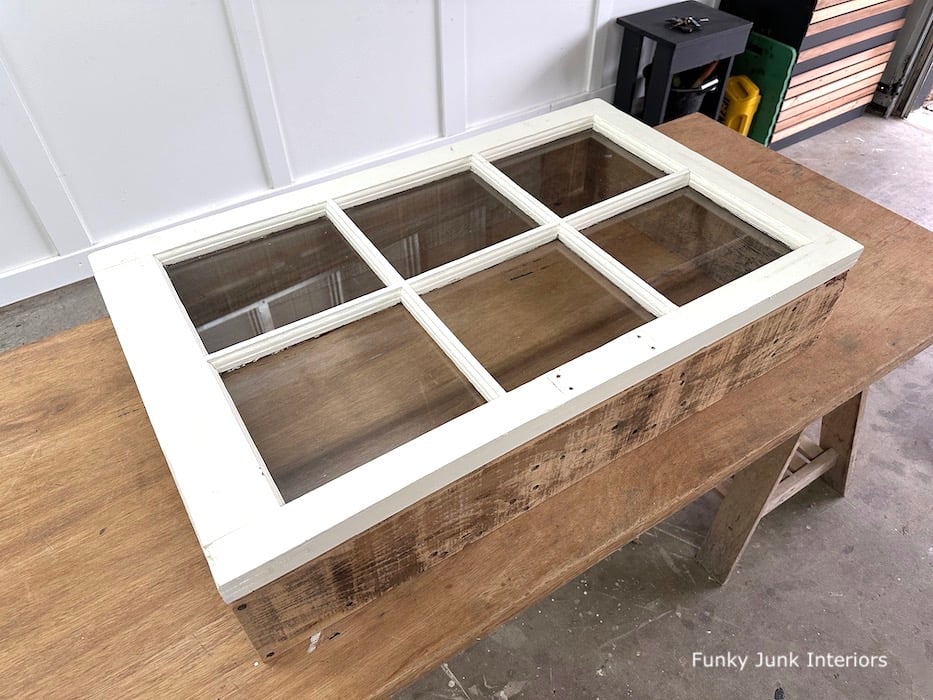
Assembling the cabinet frame
Once the frame is dry-fit, I predrilled holes on both sides of the longer boards only. Then inserted screws to fully assemble together.
The window fit perfectly!
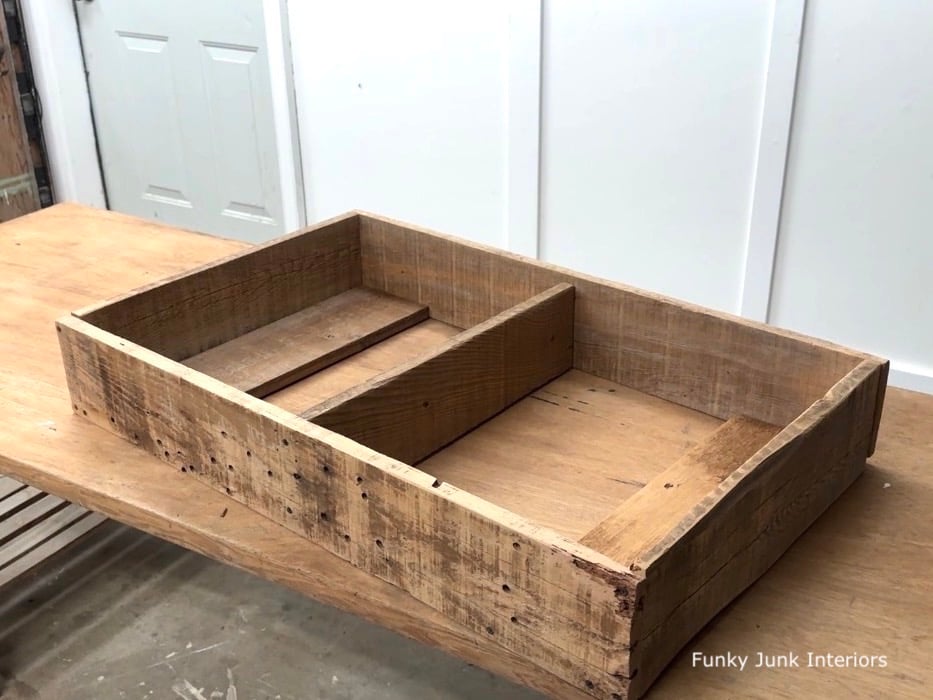
Adding support boards and a shelf inside the cabinet frame
2. Cut 2 support boards and 1 shelf board for the inside of the frame.
Next up, I needed to come up with a way to install the frame to the wall. So I cut two more boards the same length as the 2 shorter end pieces, plus one more to create a middle shelf.
The support boards were positioned at the top and the bottom of the frame, with the shelf in the middle.
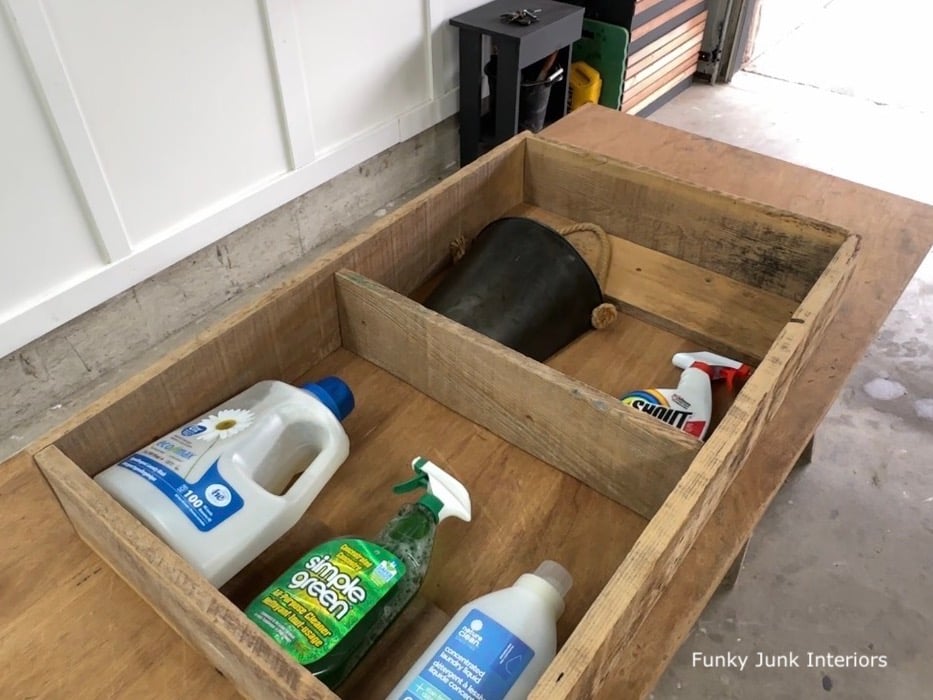
Dry-fitting laundry room supplies before attaching the shelf
Before installing the supports and shelf, I dry-fit the laundry supplies inside the frame to ensure they would fit. I also added a handy bucket on a rope with a flat back to store loose rags.
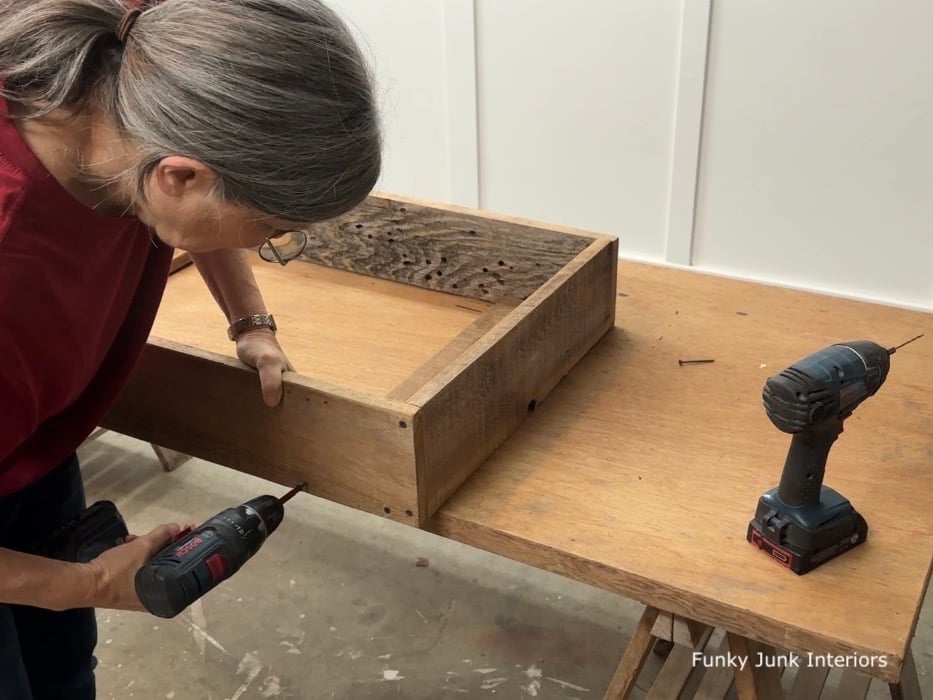
Installing the support boards and shelf from the outside of the frame
3. Install the supports and shelf by pre drilling holes into the sides of the frame, then attach with screws.
The cabinet side was moved to the edge of the work table for easy access. Then I predrilled holes and inserted screws. Using 2 drills at once to do this makes for much quicker work!
Since reclaimed wood can be brittle, I like to predrill holes before using screws when possible.
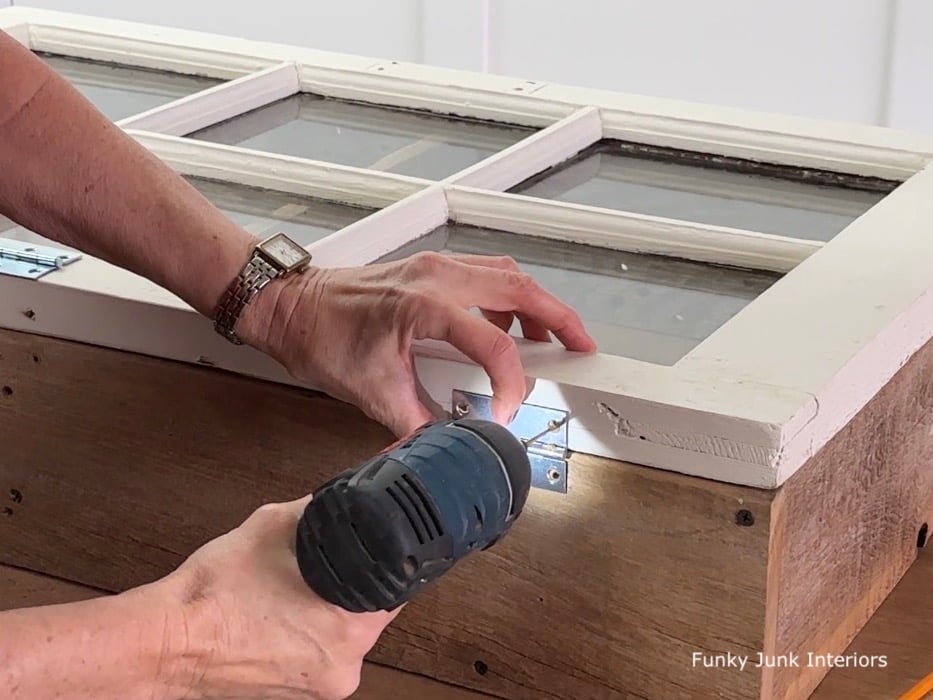
Installing butt hinges to connect the old window and frame
4. Install 3 butt hinges along one side of the window and frame.
With the window in perfect alignment to the frame, I predrilled, then attached 3 simple butt hinges along one side to connect the window and frame. Just make sure that the center of the brackets land where the two join.
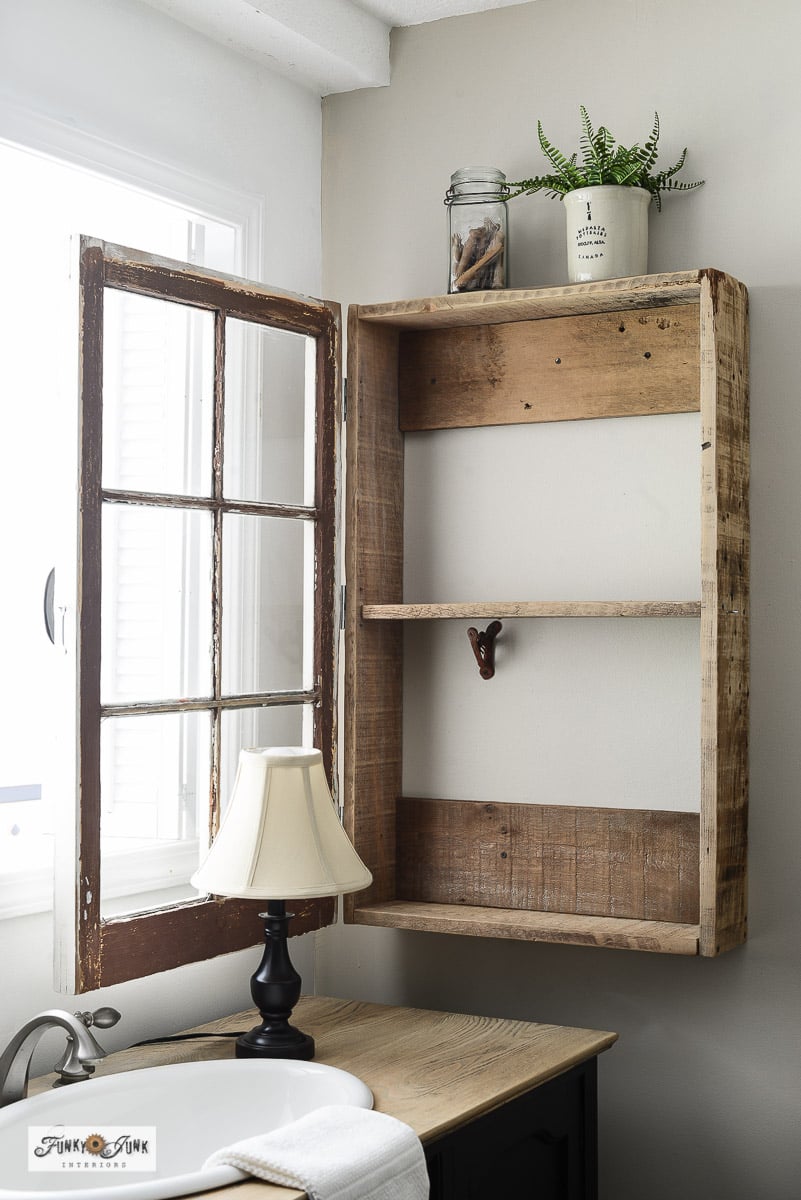
Installing the old window laundry cabinet to the wall
5. Install the cabinet to the wall where desired.
Since this cabinet has a decent amount of weight to it because of the window, it’s a good idea to attempt to drill into a wall stud for extra weight support. A stud finder can help.
However, thanks to the support boards along the back, there’s plenty of opportunity to secure the frame to the wall wherever you wish.
I started with one screw in the middle, then pivoted the cabinet with a level on top, then further secured it with more screws. Worked out great!
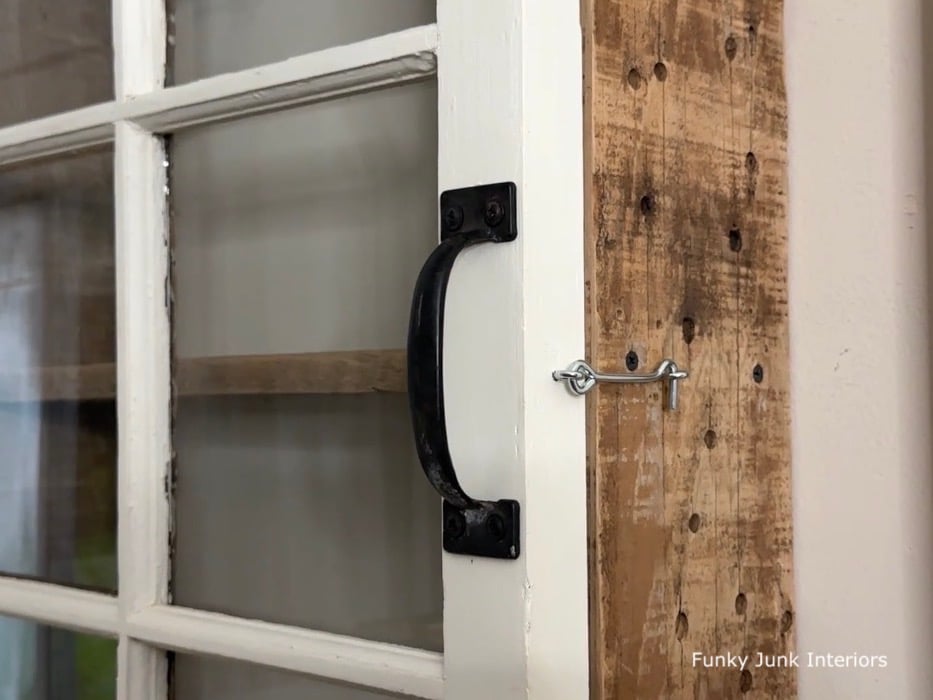
Installing a door pull and hook to keep the window closed
6. Add some kind of door latches (a door pull and latch) so you can close the window shut.
To finish things off, I added a large black door handle I had in my stash, then installed a simple hook and eye latch to the side for that old school vibe to continue! I pre-drilled the holes, then screwed in the hardware. It worked perfectly!
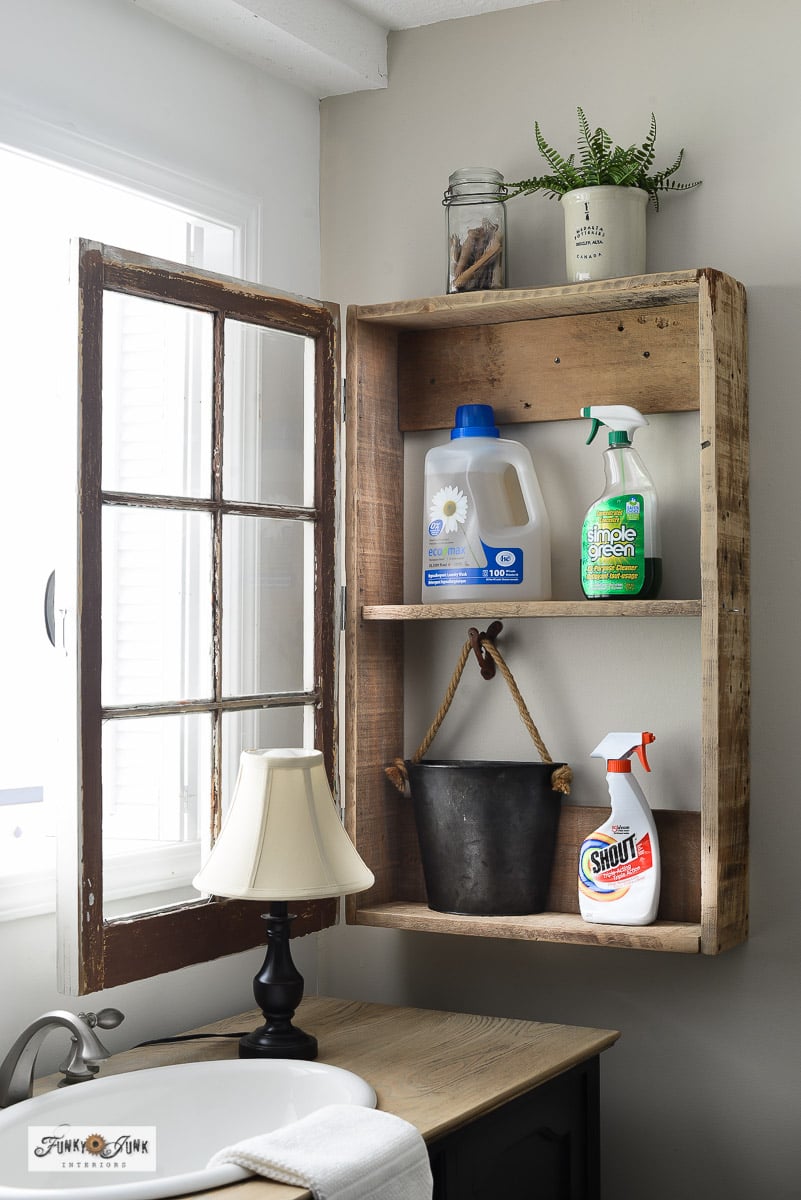
Loading up the old window cabinet with laundry supplies
And then it was time to load up the old window cabinet with laundry supplies I reach for most! Plus, I also have all the space I need to stash a bunch of rags! What a perfect fit that was!
Here’s a similar flat sided planter!
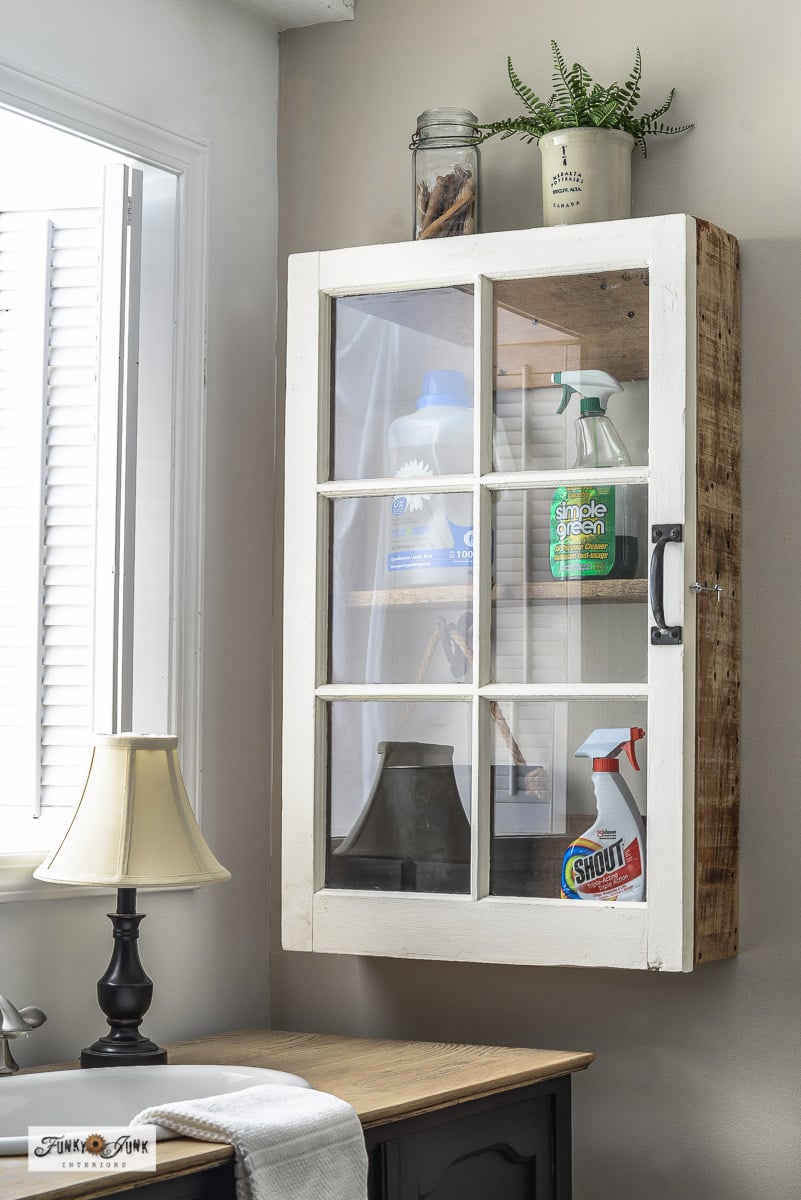
Completed laundry room old window cabinet
Then boom! My new old window diy cabinet working mighty fine in the laundry room with just enough space to store my most reached for items near the washer and dryer!
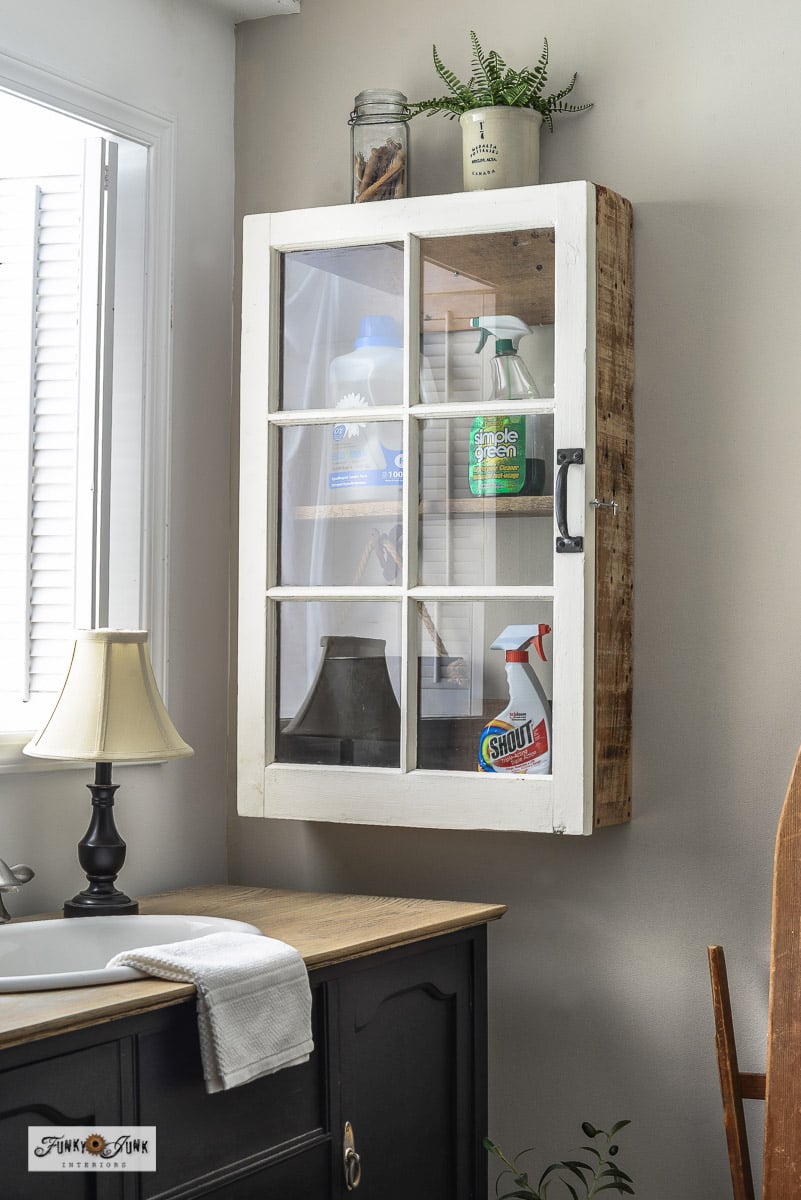
I also love that the clear window glass allows you to see everything in plain sight! No guessing what’s inside this cabinet. But if you wish to hide the cabinet supplies moreso, you could add a curtain to the inside or some frosted glass film.
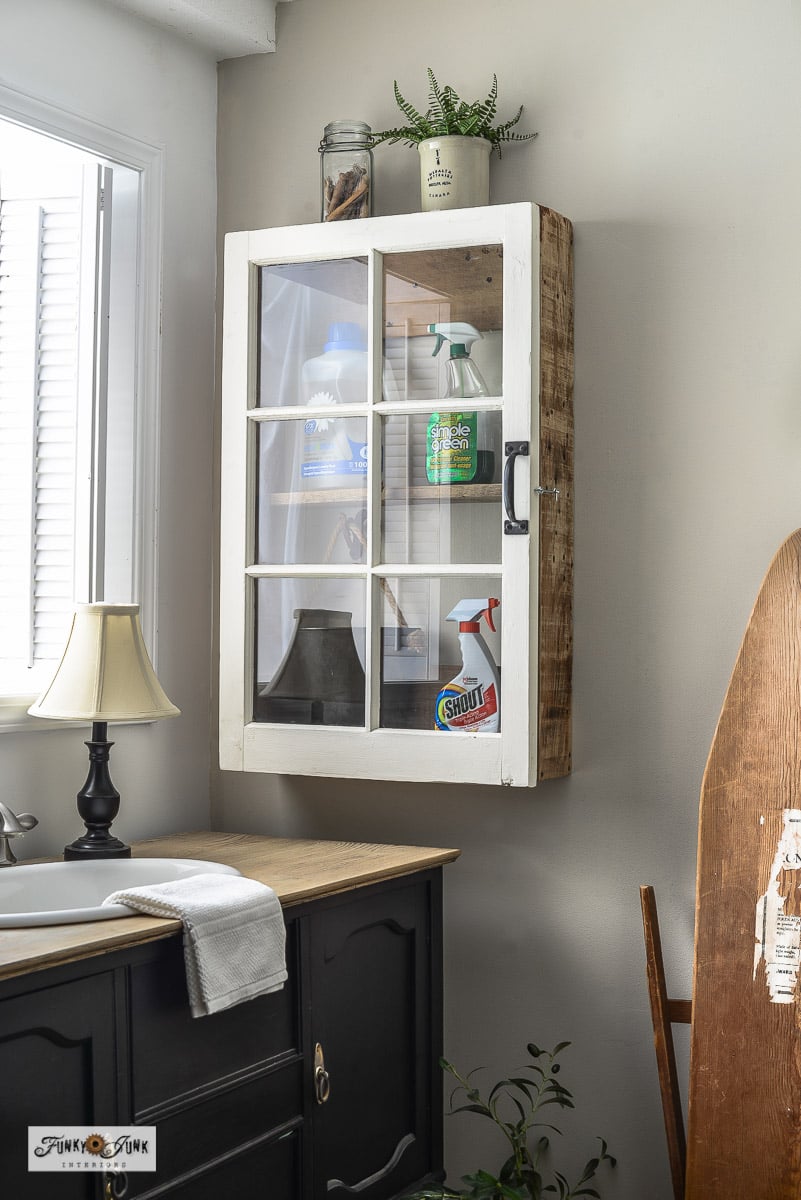
And that’s when I really stood back and admired just how great the vintage window cabinet features looked against my other laundry room vintage items! There’s just so much personality and story building in this space!
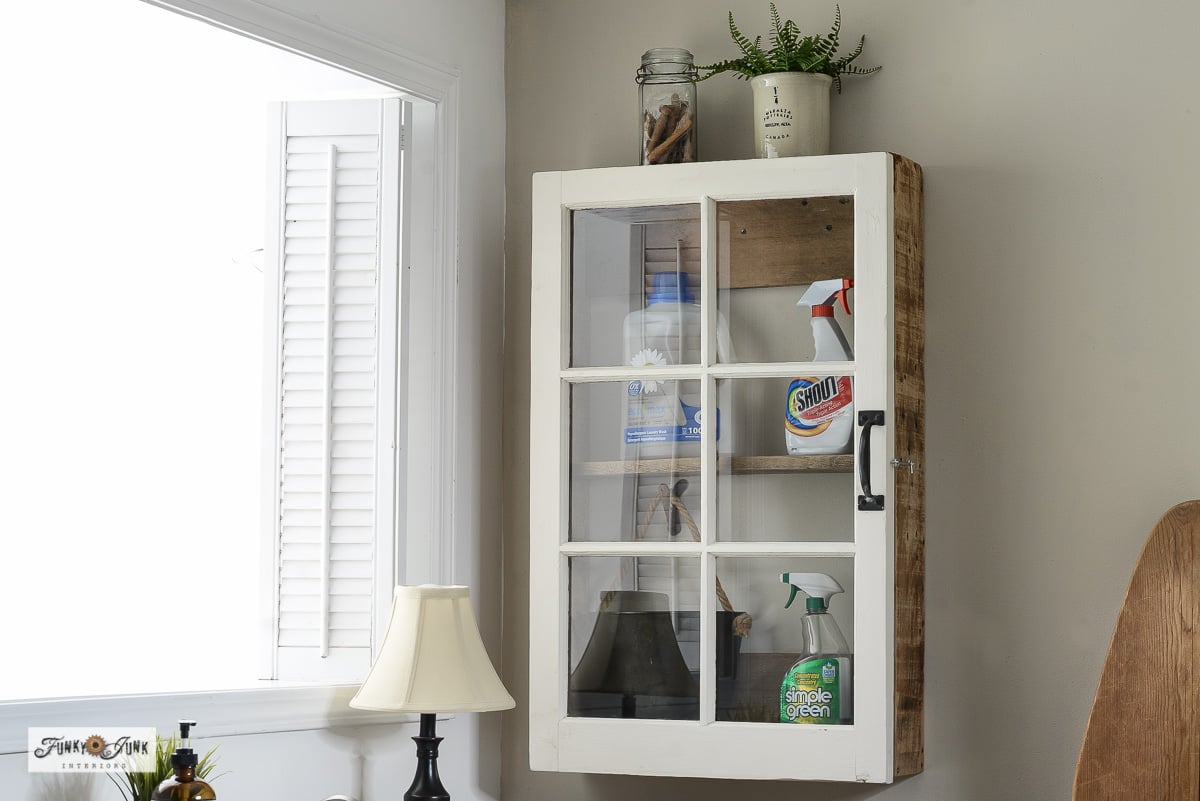
This tends to be a dark room, so I’m fortunate to gain lots of natural light on the cabinet thanks to the window to the left that leads into my photo studio!
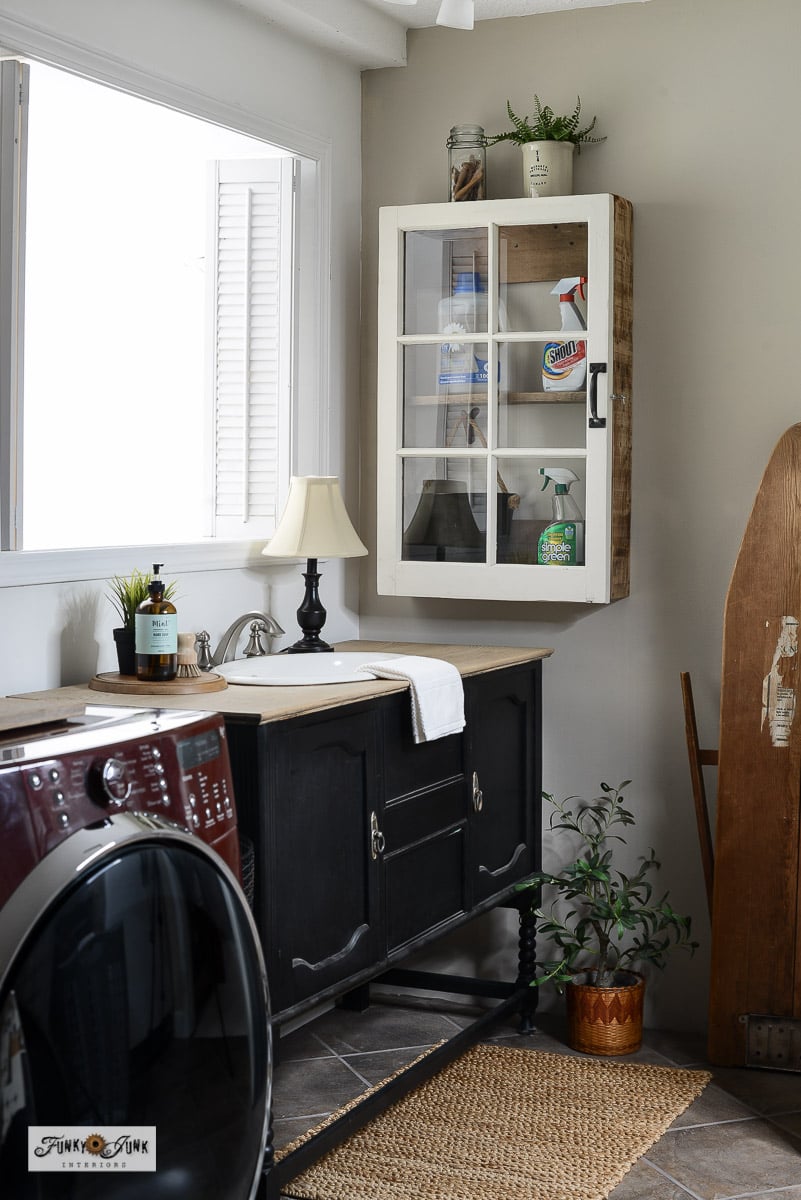
See the vintage vanity project HERE
And then I dressed up the old vintage vanity (you can find that project being done HERE) to polish up this space!
No more clutter on this washer and dryer now that I have this beautiful old window cabinet on full display working hard while looking beautiful!
But now I need a medicine cabinet in my salvaged farmhouse primary bathroom…
Fair warning… build one cabinet, and you’ll want MORE. Mark my words…
Other unique storage cabinets to copy:
Vintage suitcase medicine cabinet
Coffee-themed storage cabinet with bulletin board
Side table makeover with log storage inside
Old crate storage cabinet for paint from an old dresser
See other unique old window projects HERE
And now it’s time to visit my creative friend’s projects!
Check out what they flipped below!

1. DIY Picture Frame Christmas Ornaments
See how Marianne Songbird combines vintage mini frames and old postcards into the cutest Christmas ornaments!
2. Thrift Store Lazy Susan Holiday Update
See how Suzanne from Shop at Blu updated a large lazy susan with dollar store supplies!
3. DIY Waterless Snow Globes | Thrift Store Finds
Check out how Gail from My Repurposed Life turned thrift store glassware and little Christmas figurines into charming waterless snow globes!
4. DIY old window cabinet for laundry room storage
4. See how Donna from Funky Junk Interiors flipped an window into a cool storage cabinet for the laundry room!
How to DIY an old window cabinet for laundry room storage
Supplies:
- Old wooden framed window with panes intact
- Reclaimed wood - enough to build a frame the size of the window, plus 2 supports and an interior shelf
- Fusion Mineral Paint - Raw Silk
- Wider paint brush like this Palm Pro
- Masking tape
- 3 Butt hinges
- 1 Door pull
- 1 Hook and Eye latch
- Stud finder (helpful)
- Construction measuring tape
Instructions:
- Paint window by masking off the glass panels, then painting with a brush.
- Measure the full dimensions of the window.
- Cut 4 boards to the exact size as the window. Assemble the boards together with screws at all four corners.
- Cut 2 support boards and 1 shelf board that fit inside your frame. Install the supports on the top and bottom, and the shelf where desired.
- Place the window on top of the frame. Install 3 butt hinges along one side of the window and frame.
- Install the cabinet to the wall, attempting to screw through a wall stud.
- Install a door pull plus a hook and eye latch to the front of the window.
- Load up your new old window storage cabinet and enjoy how cool it is!