Learn how to make simple and adorable wood Christmas trees in present tree skirts for an extra festive look!

This post contains some Amazon affiliate links in which I earn a small percentage from qualifying purchases through these links, at no extra cost to you. Thank-you for helping to support my blog!
I’m happy to report, I have SO many things to share, there will be a new project post every day of this week! Thank goodness for a Christmas deadline, huh?
And today is one of my fav things to make…. scrap wood Christmas trees! But this round, the bases are wood block presents!
My goodness this project turned out so cute, and honestly could not be simpler to make! These scrap wood Christmas trees in presents are the perfect little Christmas decorating shelf sitters or would look adorable lined up on a wintery window sill sprinkled with faux snow. And being that the scrap wood trees are small, they are easy to store too!
Have a little scrap wood handy? Here’s how to make them!
Scrap wood Christmas trees in present tree skirts
Supplies I used:
.
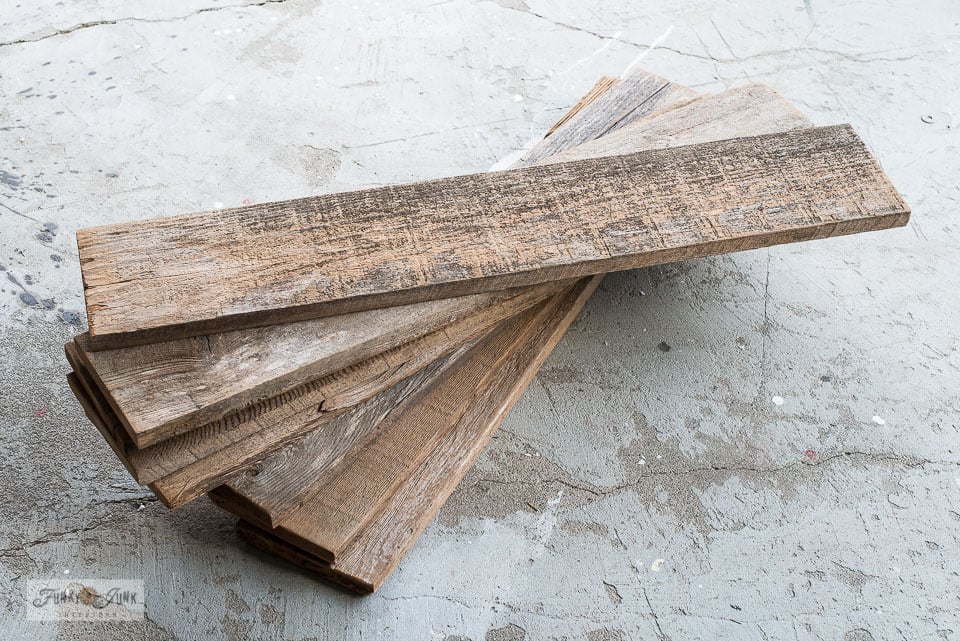
Reclaimed wood fence plank – mine measured 6″ wide.
3″ square post cut into present sized boxes.
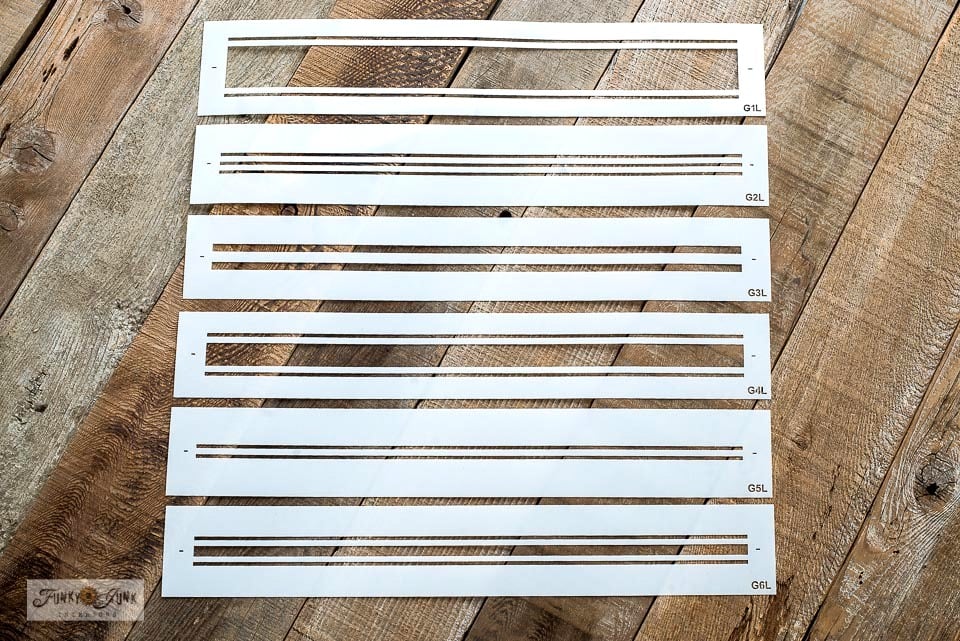
Grain Sack Stripe stencils – G2 / G3 / G6
Various paint – more info in the post.
3/8″ wood dowel for the tree trunks
3/8″ drill bit outfitted to a cordless drill

Creating the Christmas trees
1. Place plank inside miter saw (see mine HERE), and cut at an angle of choice. Flip the board over, and cut it again to create a triangle. Keep going with however many trees you desire. Lightly sand edges.
You can paint the trees if you wish, however for this project, I left the trees in their natural wood tone. I’ll be sharing what I made with the black trees soon!

2. Cut a 3″ square post into ‘presents.
Consider different heights to add some variation.
3. Tree trunks: cut small wood dowels to around 2″ long.
I got mine in bulk from the local hardware store.
4. Team up a drill bit to your chosen dowel (I used 3/8″) and do a test run with scrap wood to ensure the dowel fits into the drilled hole.
5. Drill a hole on the bottom of each tree, and on top of each wood block.

Painting the presents
5. Paint a base coat on the wood blocks for your present background colour.
I desired a black, sage green and white color scheme so I used the following 3 paint choices:
Bayberry by Homestead House Milk Paint
Picket Fence by Fusion Mineral Paint
Trophy by Miss Mustard Seed’s Milk Paint
Note: Milk Paint is in powder form and is easy to mix! Visit the videos in THESE posts to learn how!

Adding Grain Sack Stripe ribbons
The Grain Sack Stripe stencils made adding ribbon images so easy! Simply select the combo you desire and go for it.
Visit all the Grain Sack Stripe listings HERE
I selected Grain Sack Stripe stencils G2, G3, and G6.

How to stencil the present ribbon
- Add masking tape to help stabilize a Grain Sack Stripe stencil on both sides of a block area.
- Hold stencil where desired with finger, then stencil the images.
- Continue down each joining side.
- Cross the stripes on top, then continue down each side until complete.
The finished scrap wood Christmas trees in presents!
Then insert the dowels into the trees and presents and you are done!

The outcome is adorable! My colours this year for Christmas are sage green, black, and white so I used the same colours for both present bases and ribbon.

Visit all the Grain Sack Stripe listings HERE
I chose to leave the trees natural so the presents remain the main attraction. However, imagine the possibilities! Decorate the trees, add ribbon to the presents, and of course in any colour choices desired.
Video tutorial: How to create DIY wood trees in presents
.
Click above to watch a short video of the stencil process!

These scrap wood Christmas trees in presents are very fun to customize! How would you style yours to suit your home?
See ya tomorrow for another new and easy project you will LOVE!
Other DIY wood Christmas trees to make:

Scrap wood Christmas tree farm

Christmas and winter scrap wood trees in a toolbox

String wrapped trees with junk bases
Visit many other DIY tree projects HERE
Check out all my up-cycled Christmas projects HERE
I love the gift base idea! You are so awesome with scrap wood!
Thanks Carlene, I had fun with this one!
Very cute idea for scrap wood tree bases!
Thanks Marie! They were going to turn into crates or presents. This was easier! haha
These are so cute! I Love them! I cut out some of the trees a couple weeks ago using your tutorial. Stenciled them up with one of your stencils I won from you last year. The Christmas crate stencil. Love how they turned out. Now I will have to make these.
Thanks Sandi! And how awesome! Glad you gave that style a go! This idea could easily be added to the base of yours as well if desired!
i can’t seem to find the short video on the stenciling of the tree bases. i see the post that says “click on video above” but the bold type that says VIDEO has nothing to click on. nothing is there to view. but i am techno impaired so it’s just that i can’t find it. lovely craft. i’m going to give this one a try. thank you
Hi Debra! You likely aren’t seeing the video because you have an ad blocker turned on. If you turn it off, it’ll show up!
You can also view the video on Instagram in IGTV at: https://www.instagram.com/tv/CJEdMkrHlK3/
LOVE THESE TREES!!
Thanks Randi! It’s fun to coordinate the colors too!
Donna!!!
I couldn’t love this more!!
Thank-you Kim! You could easily add these to your own stash next year! 🙂