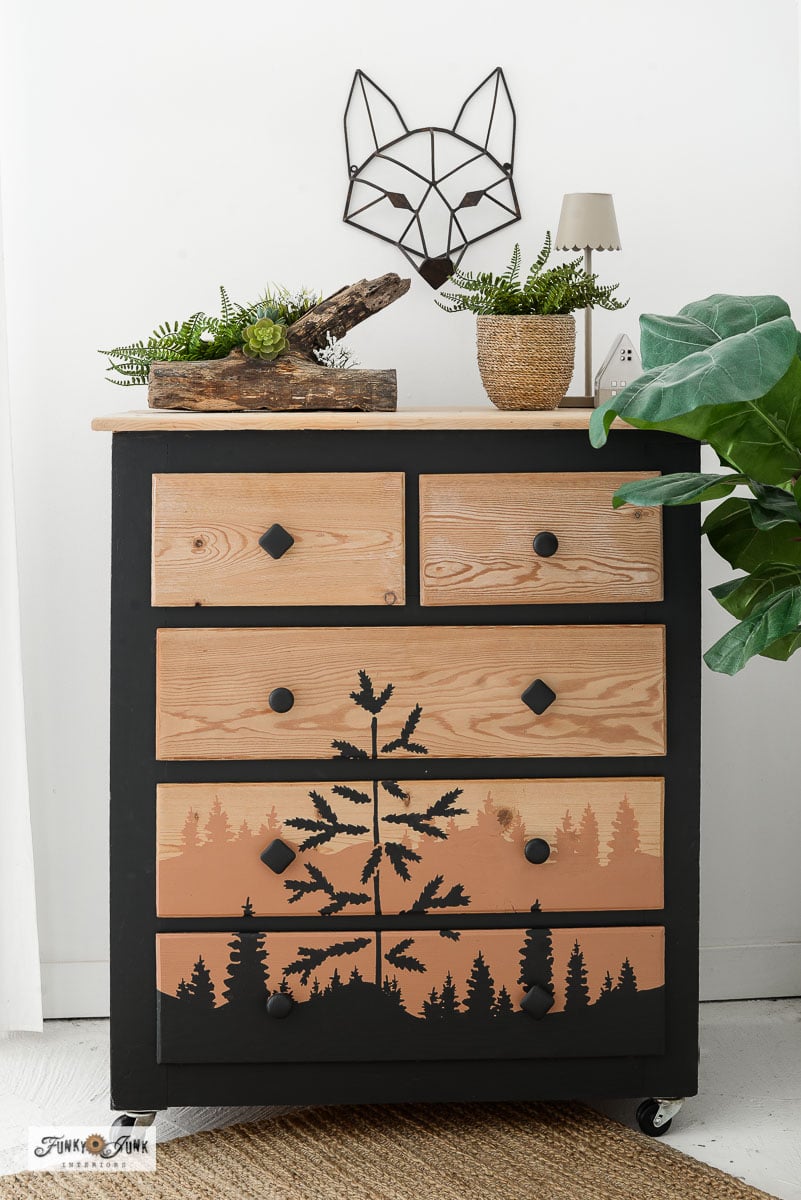
Transform a plain dresser into an enchanting forest scene painted furniture statement piece, using simple stencil techniques that make customization easy for all skill levels!
As a Fusion and Amazon Influencer, this post contains affiliate links in which I earn a small percentage from qualifying purchases at no extra cost to you. If you shop Fusion Mineral Paint products through this post, you will get 10% off. Thank-you for helping to support my blog!
I’ve always admired hand paint forest landscapes. They remind me of the forest trails I love to cycle on everyday!
However, I have never really thought to try painting one myself since I don’t regard myself as a landscape artist in any shape or form! Until this MUCH easier idea came into play… a method anyone can copy!

Not that long ago, I landed this wood grain toned dresser on the curb.
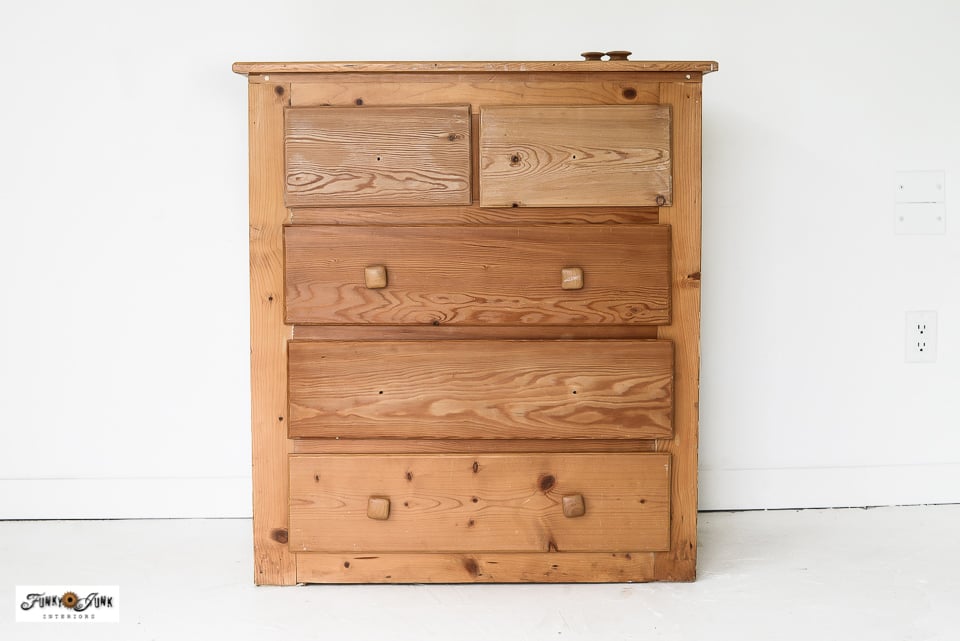
The lines were great! And I even loved the squarish wooden drawer knobs. Although not all were there…
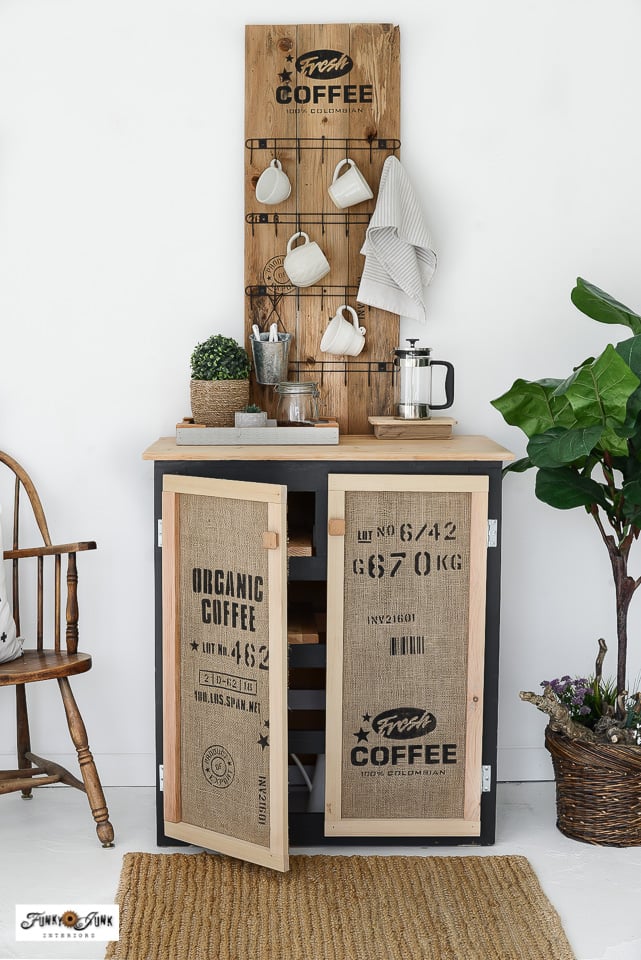
How to flip a dresser into a cabinet with two coffee-themed burlap doors
Flip a dresser into a cabinet
The first dresser makeover was to replace the dresser drawers with these rustic coffee themed doors, flipping the dresser into a cabinet with shelves which I felt turned out pretty cool!
However, soon after, the doors and shelves were removed and the drawers were installed once again since I needed the piece to store smaller craft supplies.
So I left the drawers wood-toned with the outside painted in Fusion Mineral Paint’s Cast Iron. LOVED the look! However, I always felt I could kick it up a notch. Plain is nice, but I wanted to try my hand at making a forest landscape statement piece that was easy for me and anyone else to do!
So after trying my idea with some stencils, not only did the outcome outperform my vision, it was like the dresser was waiting for this final touch all along! I now have a gorgeous forest statement piece that anyone can do!
Inspired to flip a boring dresser or furniture piece into something much more special? Here’s what I did:
Easy landscape painted furniture with stencils
Supplies I used:
Wood dresser with wood grain bare wood drawers
Fusion Mineral Paint in Cast Iron and Chestnut Mare (get 10% off)
Stencils: Christmas Trees and Christmas Tree Seedling from Funky Junk’s Old Sign Stencils
A roll of sign making vinyl (however shelving paper could also work)
Exacto blade (I prefer Olfa stainless steel for the nicest cutting)
Painting and sanding the dresser
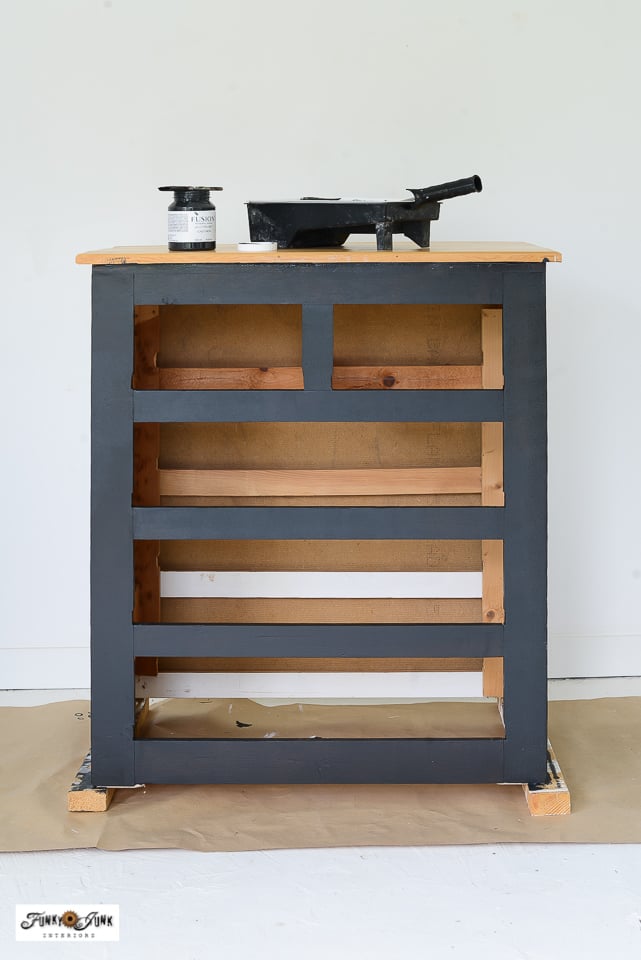
1. Remove the drawers, then paint the body of a dresser in Fusion Mineral Paint in Cast Iron (get 10% off).
I used a velour roller and small paint brush. You can get all the painting details from THIS POST.
You can also leave the entire dresser in a woodgrain tone to wrap the design around the sides if desired!
2. Sand the drawer fronts to bare wood.
I took the drawers outside, then used an orbital sander to remove any varnish. I didn’t document this part.
If you are working with a full wood grain dresser, I’d suggest to sand the dresser down to bare wood, removing any varnish. Or if you like the varnish, do a small paint test to ensure paint will adhere to it.
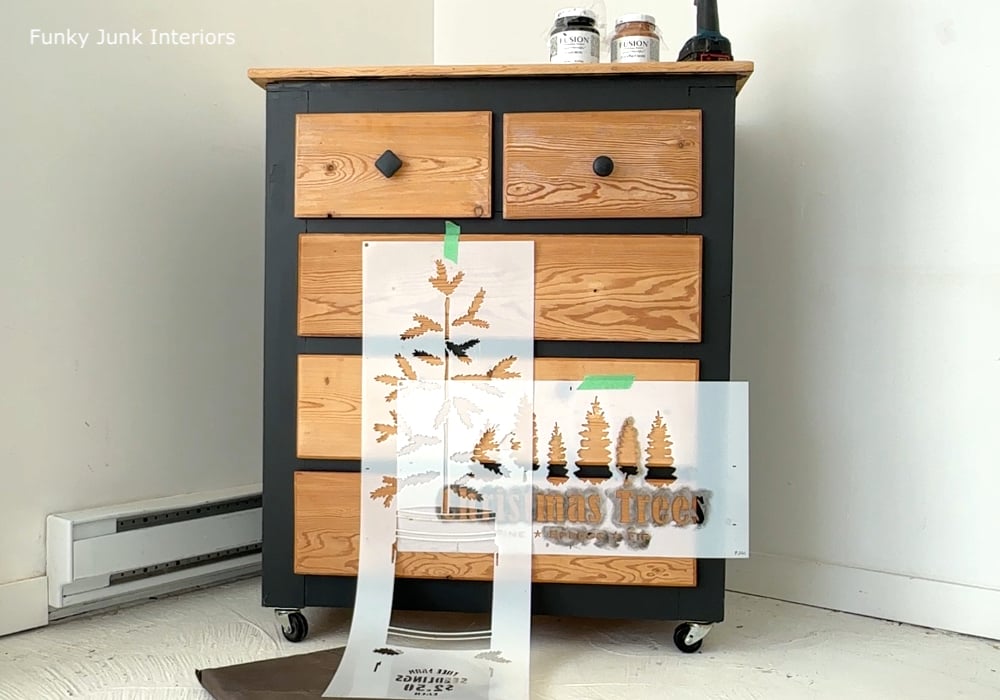
Designing a forest landscape with stencils
3. Layout some stencils with trees you can use for both horizons, with at least one larger tree that really stands out.
I selected the stencils Christmas Trees and Christmas Tree Seedling. I held where I wanted the largest tree, taking note where I would be positioning it. Then planned to use the smaller trees for the rest.
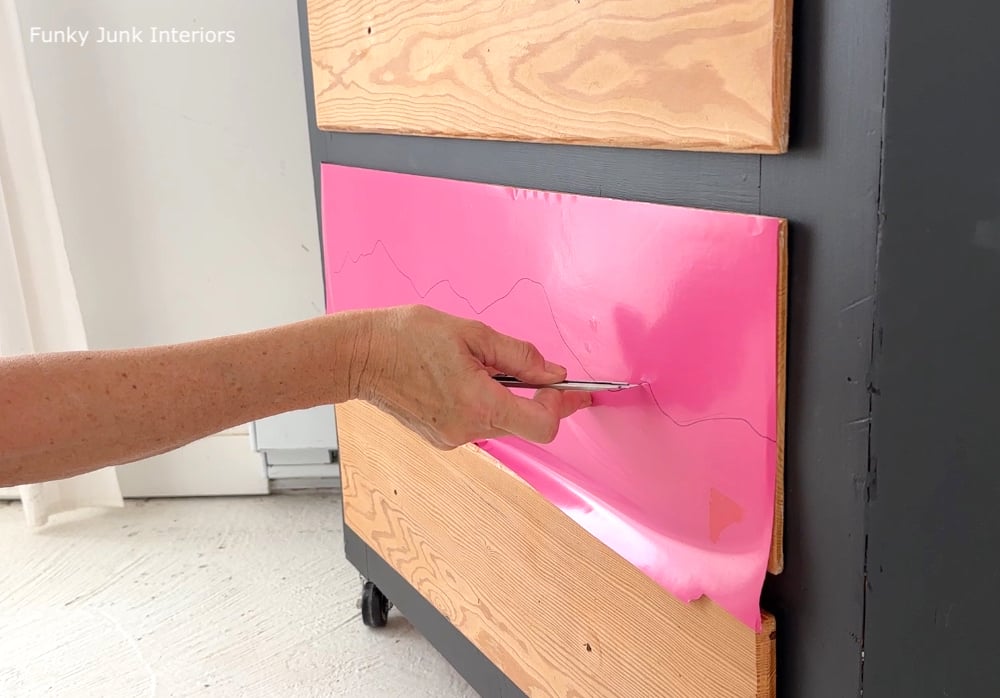
Creating a landscape horizon with hand-cut vinyl
4. Cut a piece of vinyl to the size of one drawer, and install it across the top of the drawer 2nd from the bottom.
5. With a fine-tipped Sharpie, draw a freehand mountain range about halfway through the drawer, allowing some height for added trees to fit on that one drawer.
Perfection does not matter! In fact, the more organic, the more realistic it will look.
6. Cut along the line with an exacto blade, taking care to just cut through the vinyl. Then remove the bottom part.
This has now become a mountain range stencil!
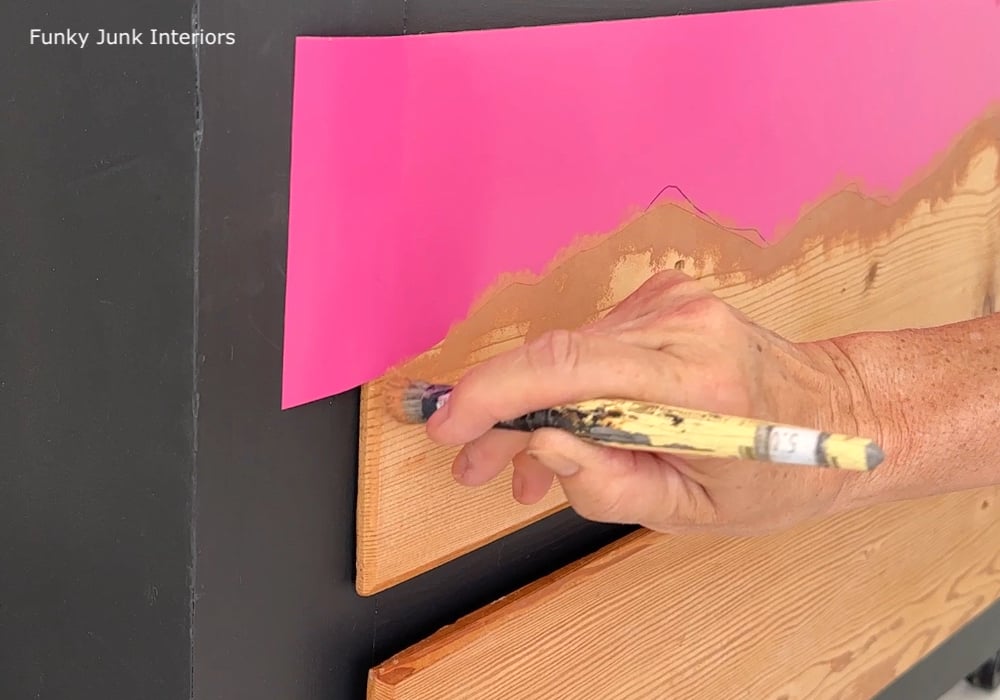
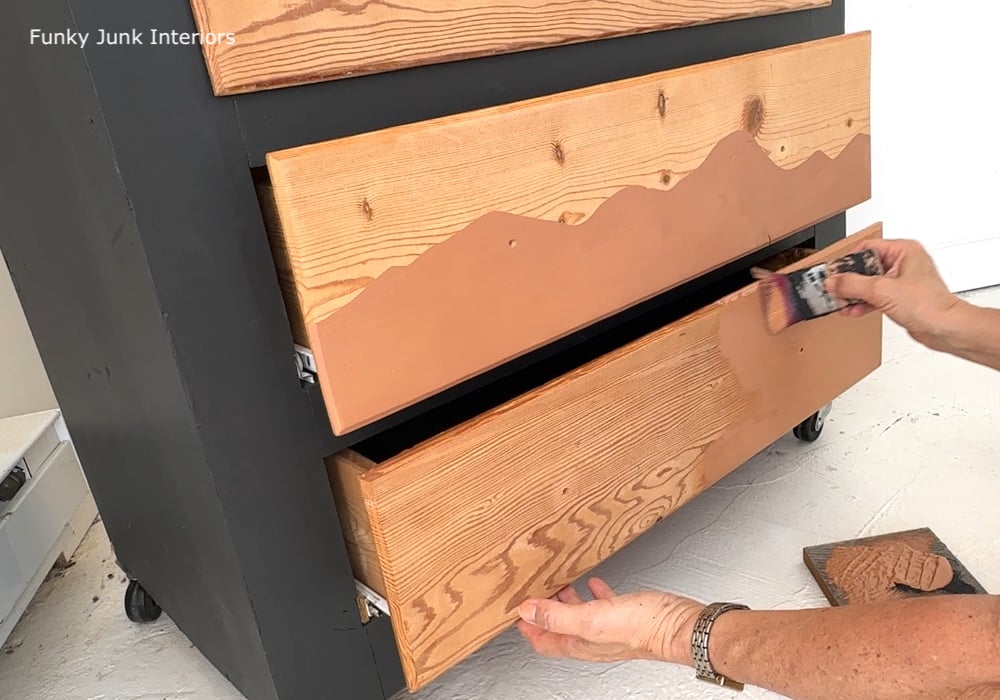
Stenciling and painting the lighter tone under the landscape mask
7. Burnish along the cut edge of the vinyl with your thumb really well for the best adhesion. Then stencil Chestnut Mare along the cut edge, and fill in the rest below using a paint brush, PLUS the full bottom drawer front too.
I chose this tone to create a horizon at sunset of sorts, plus I love how the tone married the raw wood grain.
Then remove the mountain range stencil, then set it aside until the bottom drawer is completely dry.
Adding a darker 2nd landscape on the bottom drawer
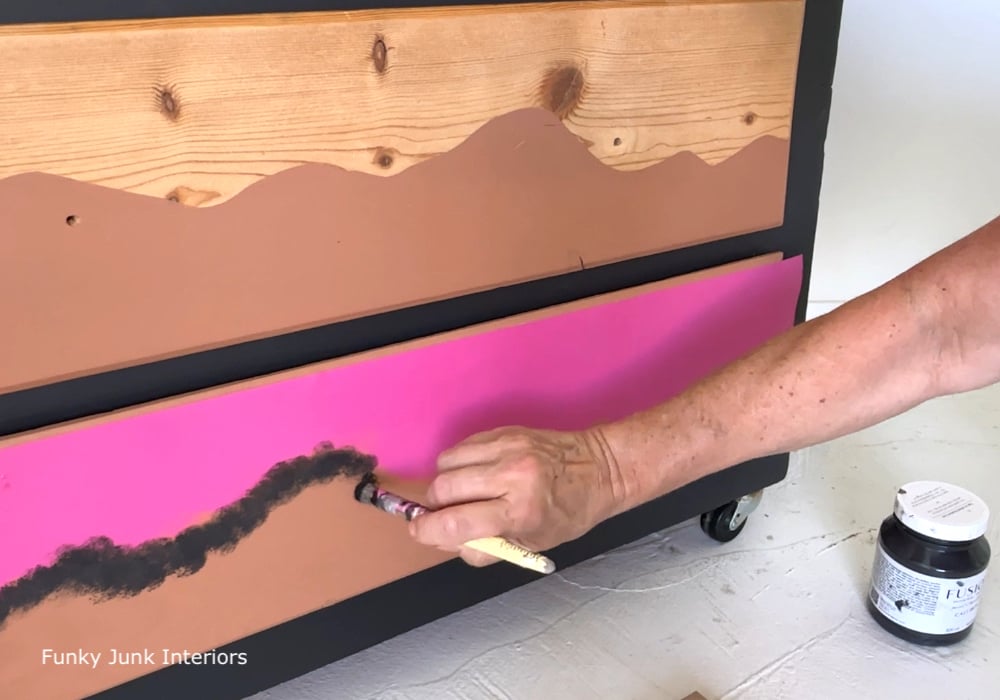
8. Reposition the mountain range on the bottom drawer, however move it more to the side so the two horizons don’t match exactly. Then rip the stencil to continue until the drawer is once again covered.
9. Stencil the lower mountain range in Cast Iron, then paint the rest of it with a paint brush below the stenciling. Remove the stencil once complete.
Stenciling forest trees along the lighter landscape
10. Start painting different sized shorter trees along the top horizon.
Moving the stencil constantly to create taller and shorter trees, I stenciled a treeline along the top mountain range, ensuring each tree bottom blended in with the painted horizon below. I avoided filling in where the larger tree would go last.
Stenciling the statement tree in the darkest tone
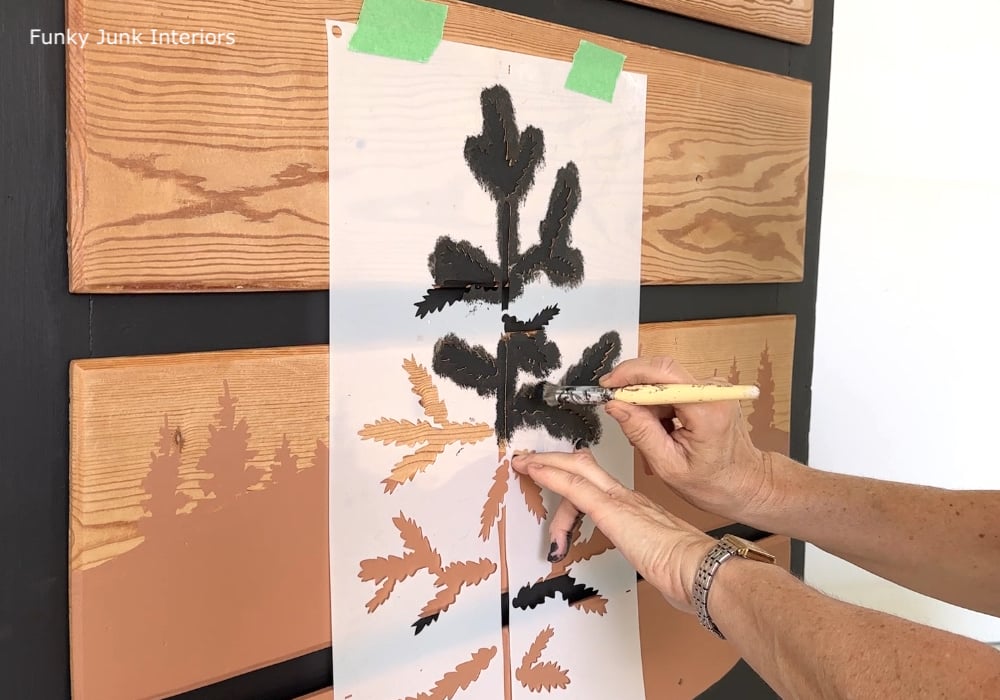
11. Position the largest tree along the Cast Iron lower mountain range, then stencil in Cast Iron.
Stenciling taller trees along the lower darker landscape horizon
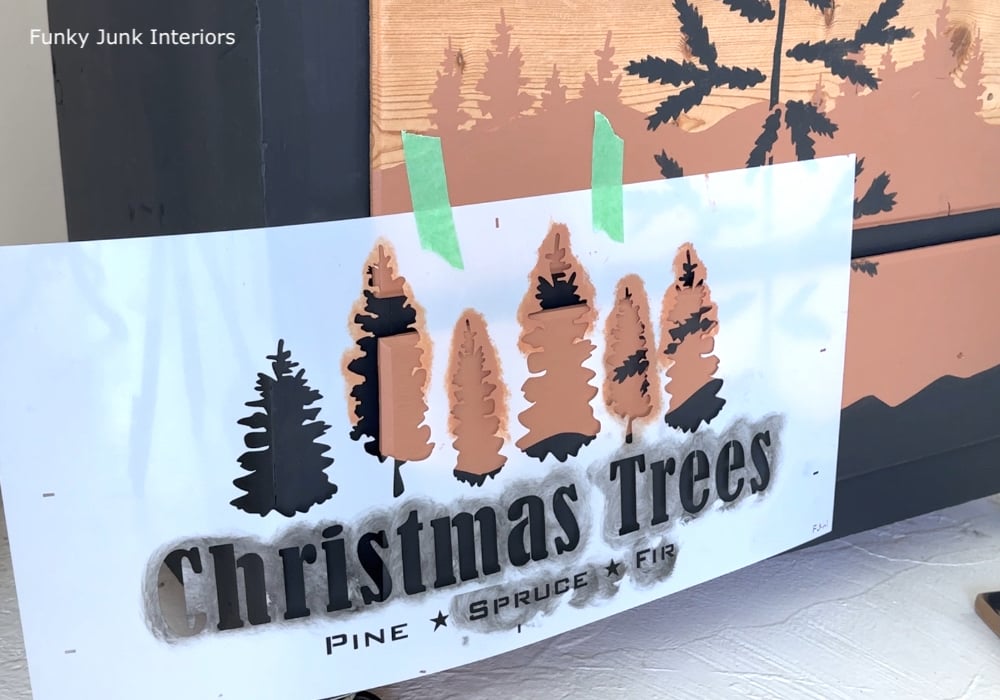
12. Stencil trees along the Cast Iron mountain range, but this time, make the trees a little taller than the last group so they appear to be closer to you.
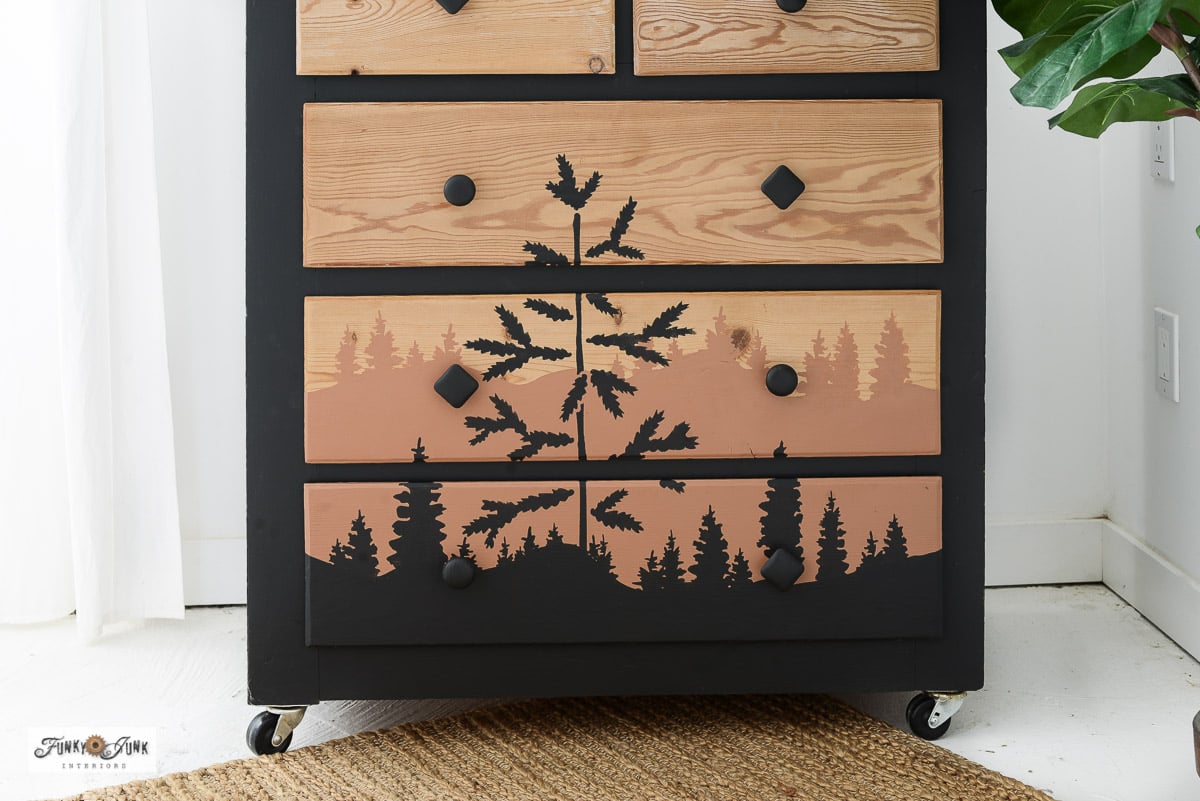
Two-toned forest landscape painted furniture piece
Isn’t that effect super cool?!
I then replaced and repainted the drawer knobs in Cast Iron so they blended in well with the rest of the design. Since I didn’t have enough of one drawer pull, I staggered two different styles of a round and square, positioned like a diamond. This is a great trick if you run out of one style, just have fun mixing 2 or more up!
Adding forest-themed decor
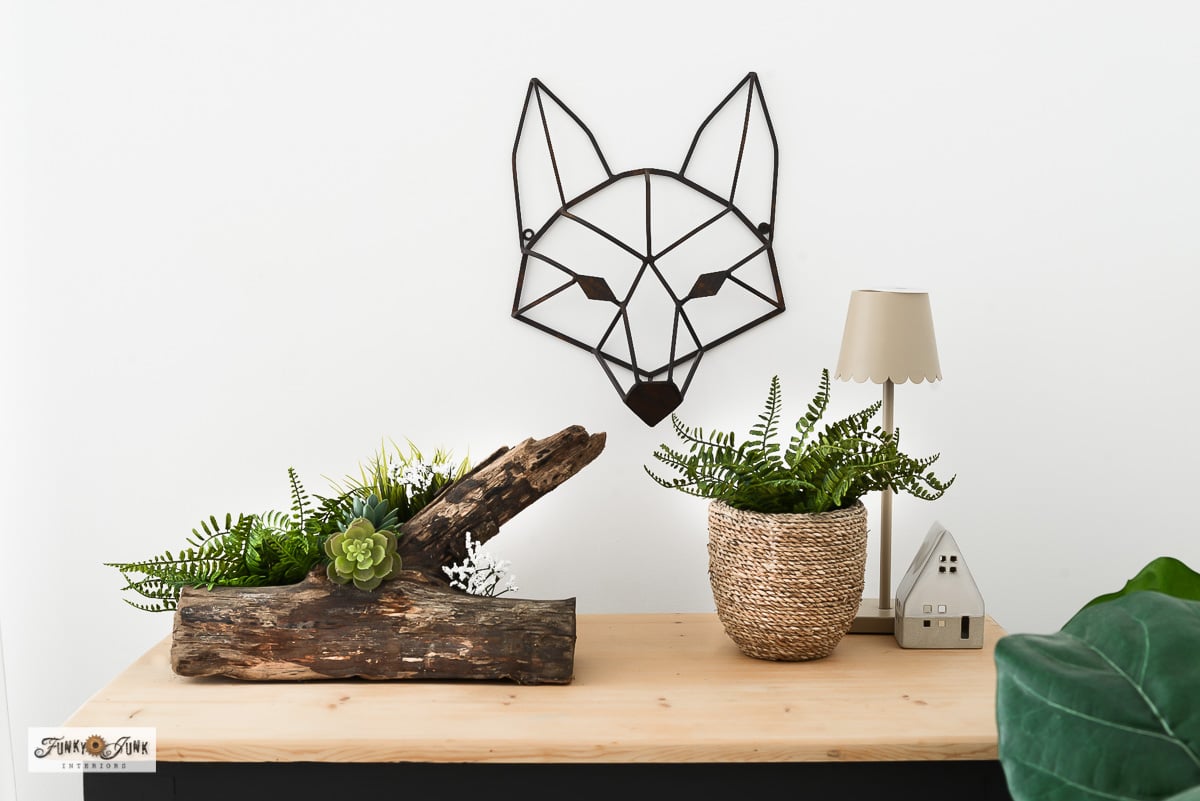
And then the dresser was styled to mimic a forest scene with a chunk of firewood, faux plants and the cutest little metal fox head in the land, which was perfect for this forest landscape vibe!
Completed forest landscape painted furniture statement piece!
And the final result flipped from a rather standard looking dresser to a full-out forest-themed landscape statement piece that couldn’t have been easier to do! The tones keep the dresser neutral while the design pops with interest and whimsey!
And bonus… I use this dresser to store my smaller craft supplies so kudos for hiding that mind of clutter behind a thoughtfully designed forest instead, right?!
Other places to paint a stenciled forest landscape:
Imagine this painted furniture look on other pieces such as:
- tv trays
- side tables
- headboard
- full wall mural
Isn’t it the cutest?! Think it passes for a higher end look? What tones would you use on yours to suit your home?
Other unique furniture ideas to try:
Rustic TV stand dresser makeover with wood strip drawers
Paint storage dresser with unique crate drawers
Create an easy picnic farmhouse dining table
Check out all my unique furniture makeovers HERE
Easy Customizable forest landscape painted furniture with stencils
Tools:
Supplies:
Instructions:
- Remove dresser drawers, remove knobs, and sand the finish until you reach bare wood.
- Paint the outside of the dresser without drawers in a deep tone. I used Cast Iron.
- Replace the bottom two drawers without knobs.
- Cut a piece of vinyl the size of one of the drawers and install it across the top of the 2nd drawer from the bottom.
- Draw a horizon landscape along the vinyl, cut along the line with a knife, then remove the bottom section.
- Stencil a mid-tone along the cut line, then paint the rest and the bottom drawer with the same colour. I used Chestnut Mare by Fusion Mineral Paint.
- Carefully remove the landscape stencil and save it for the next step after the paint is dry.
- Replace the landscape stencil on the bottom drawer, but move it to the side so both horizons differ. Rip the stencil to continue the image.
- Stencil, then paint the bottom drawer in your darker colour. I used Cast Iron by Fusion Mineral Paint.
- With a tree stencil, align the trees joining them to the lighter landscape, then stencil them in, working around your future statement tree. I used Christmas Trees.
- Stencil in a statement tree that is much larger than the rest, joining it to the lower darker landscape. I used Christmas Tree Seedling. Then stencil smaller trees along that landscape around it. Make the smaller trees taller than the other landscape since these trees are 'closer' to you.
- Paint knobs with one or two of the dresser tones, or leave them natural wood.
- Enjoy your new furniture statement piece, forest landscape style!
Love what you have done it looks fabulous and very stylish. I like the Scandi vibe.
Thanks Claire! Loving how this one turned out!
Wow! You are so talented, Donna! Love, love, love the finished look!