Learn how to make an easy stenciled barn quilt pattern on a rustic serving tray made from reclaimed wood, offering a perfect farmhouse or vintage tile look!

I personally love decorating with timeless patterns. And one that’s been on my mind a lot lately is a barn quilt star pattern.
Also known as a Missouri quilt star design or lone star, whatever you decide to call it, it’s simple, yet striking! This special traditional quilt pattern star is commonly seen on vintage fabric quilts or painted barn quilts on large barns. In fact, I even snuck one in with this Poinsettia Christmas Sweater stencil!
We don’t really have painted barn quilts on large barns in my area, however I first took note at how popular they were when I visited the World’s Longest Yard Sale along route 127 HERE. What. A. Ride. that was!
However this round, I desired to highlight the star pattern by itself, so it better mimicked either vintage tiles or a smaller barn quilt look suitable for smaller projects. So a new stencil pattern was born!

View Barn Quilt Star stencil HERE
About the Barn Quilt pattern stencil
(actual stencil photos will soon follow!)
Barn Quilt Star is a star pattern stencil with two sizes of rotating stars, that can be used alone or as a repeating star pattern stencil to easily achieve the look of either a painted smaller barn quilt or vintage tile.
Love the geometric designs! I immediately visioned a black background with white stars on the top of TV trays, drawer fronts, or a simple serving tray or just a pretty wall art hanging on a large piece of wood.
Hmmm… so what did I have in my stash ready to go?
View how to make this tray HERE
How to build a wood serving tray
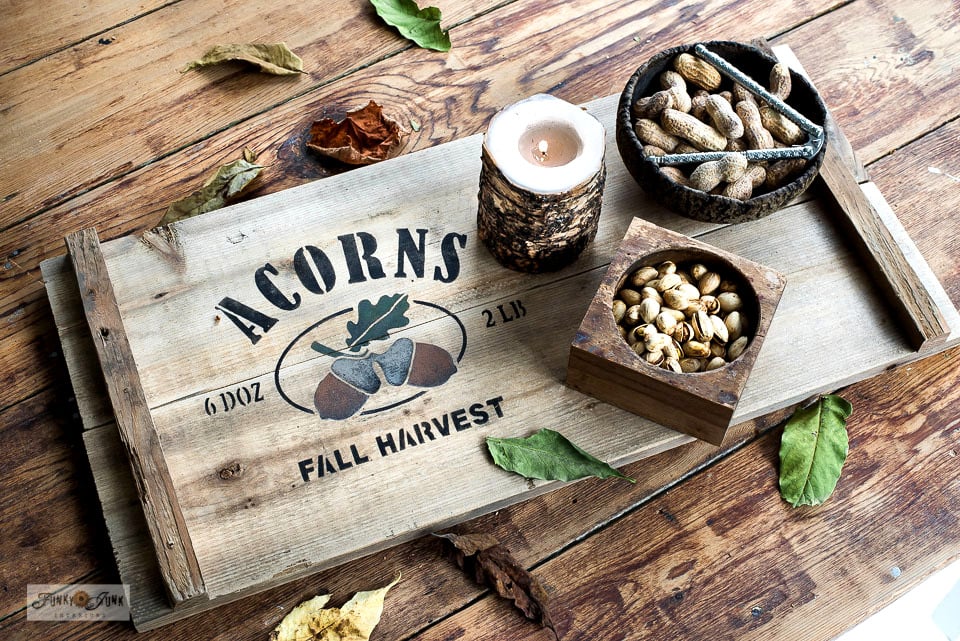
And that’s when my eyes landed on THIS Acorn nut-themed serving tray I made last fall. That would do!
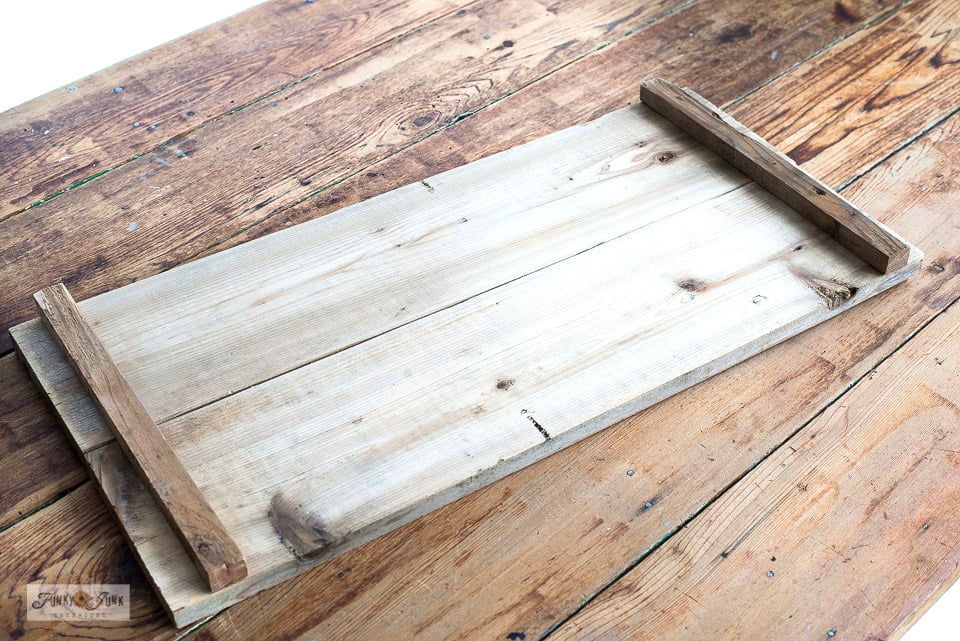
You can either visit the original post linked above, or here’s how to make this tray in a nutshell:
- measure and cut reclaimed boards to length desired
- sand well
- assemble boards by attaching support boards with screws, or assemble using a Kreg Jig pocket hole maker
- add handles if desired
I personally love making and using wooden serving trays as an ottoman tray or use as a giant beverage coaster to protect furniture from cup rings. Plus, they’re fun to look at and make fabulous bases for seasonal vignettes that are easy to move around.
How to sand off an existing stenciled design
In order to use this tray, the entire board was sanded to get it ready to stencil on a whole new look! Nothing quite like repurposing a repurposed project I say…
- Using an orbital sander, try various sandpaper grits and apply just enough pressure to remove the stenciled design.
- End with a finer grit sandpaper to finish off the removal.
So now that the tray is prepped and ready to stencil again, let’s add the cutest star pattern with a modern farmhouse twist!
DIY barn quilt pattern serving tray
Supply list:
Fusion Mineral Paint’s Ash and Raw Silk DIY paint
(locate a local Fusion merchant HERE)
Painting the tray
1. Position the stencil in the middle of the tray. (I will share a picture of the actual stencil as soon as I have one!)
2. Pencil-in straight lines both side of the straight edges of the stencil to ensure the desired pattern will fit.
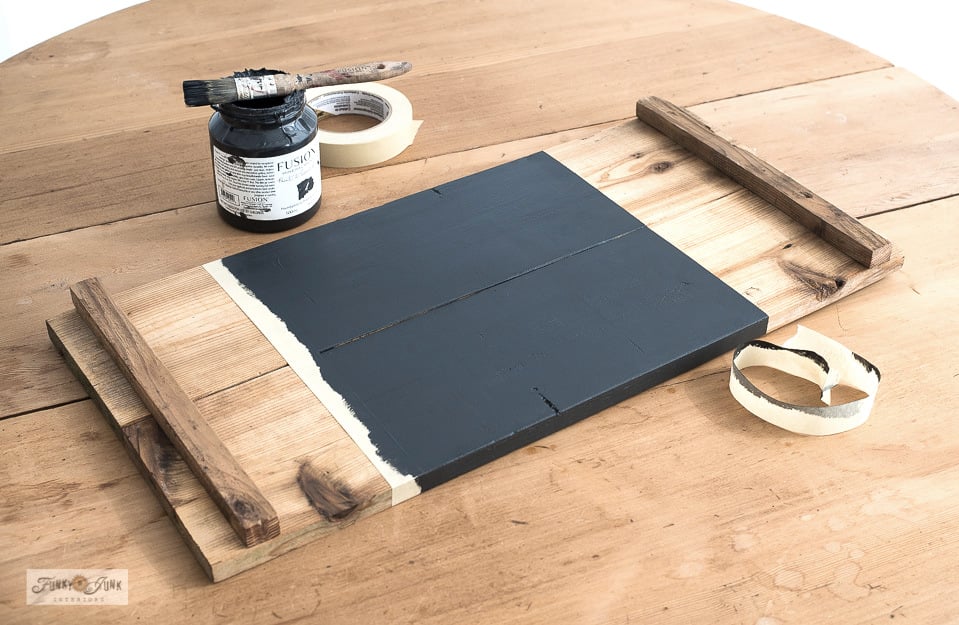
3. Decide where you’d like your borders to be, then draw in pencil lines, and tape them off with masking tape.
4. Paint the background in a dark color with paint of choice.
I painted the background in one coat of paint using Fusion Mineral’s Ash, which is a very deep grey resembling a softer black. LOVE this paint tone which offers a neutral modern farmhouse vibe!
No primer was needed.

Stenciling the star pattern
5. Once background has had enough drying time, reposition the Barn Quilt Star stencil in the middle of the painted area and tape into place.
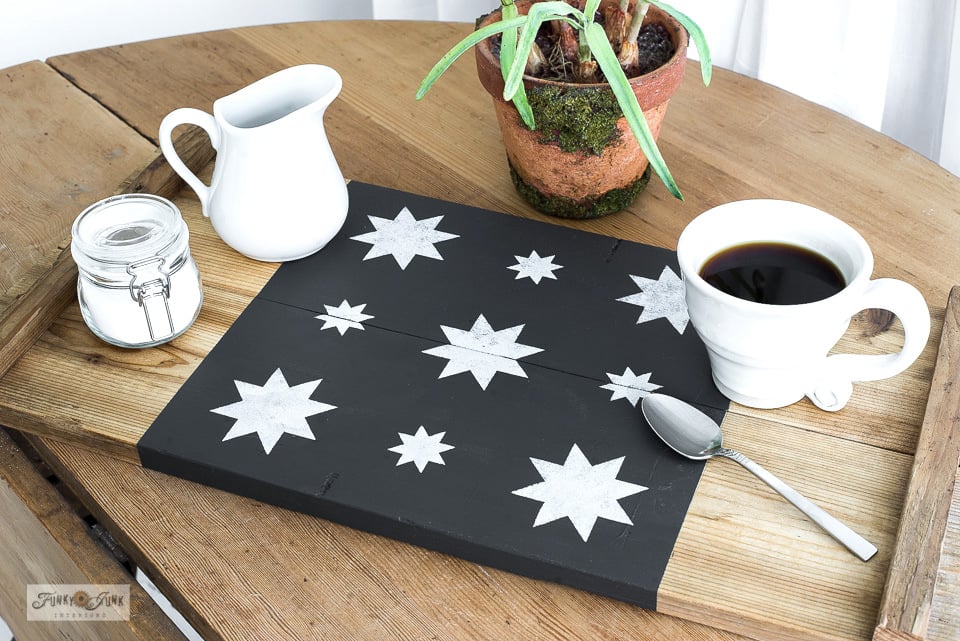
6. Stencil the stars in lighter colors with paint of choice.
I stenciled white stars using Fusion Mineral Paint’s Raw Silk. This tone is a warm white beige, which creates a nice slightly aged antique white look.
A white star on a black background may require 2 coats of paint. I liked the slightly worn look of 1 coat of paint so I stopped there.
Video on how to stencil
.
Above is a short video of a basic stenciling process. Visit the full garden labels post HERE

How to stencil to avoid paint bleed
I like to use dome-tipped stencil brushes to achieve the cleanest effect. There’s something about the dome tip that offers more even coverage. Try them if you haven’t yet!
View dome-tipped stencil brushes on Amazon HERE
1. Load the stencil brush with a little bit of paint.
2. Remove most paint onto a rag until the brush feels dry.
3. Tap or swirl paint through the stencil to achieve the desired effect.
Learn more tips about how to stencil for flawless results HERE
How to add a sealant for protection
The tray can be sealed for added beverage protection and more washability if desired.
- Ensure paint is dry to the touch.
- Coat the entire tray by painting on Fusion’s Stain and Finishing Oil in either clear, or a wood tone.
- Allow stain to sit for a few minutes, then wipe off the excess with a rag.
- For a higher level of sheen, give it another coat.
- Wait for the tray to dry overnight before using.
The finished barn quilt serving tray
Isn’t the outcome the cutest?! Love how the warm white stars pop against the darker background. And the neutral black and white color scheme chimes in perfectly with a modern farmhouse vibe.
The serving tray design can be viewed as a traditional fabric quilt for the quilting community or vintage tiles! What you choose to see is what you get!
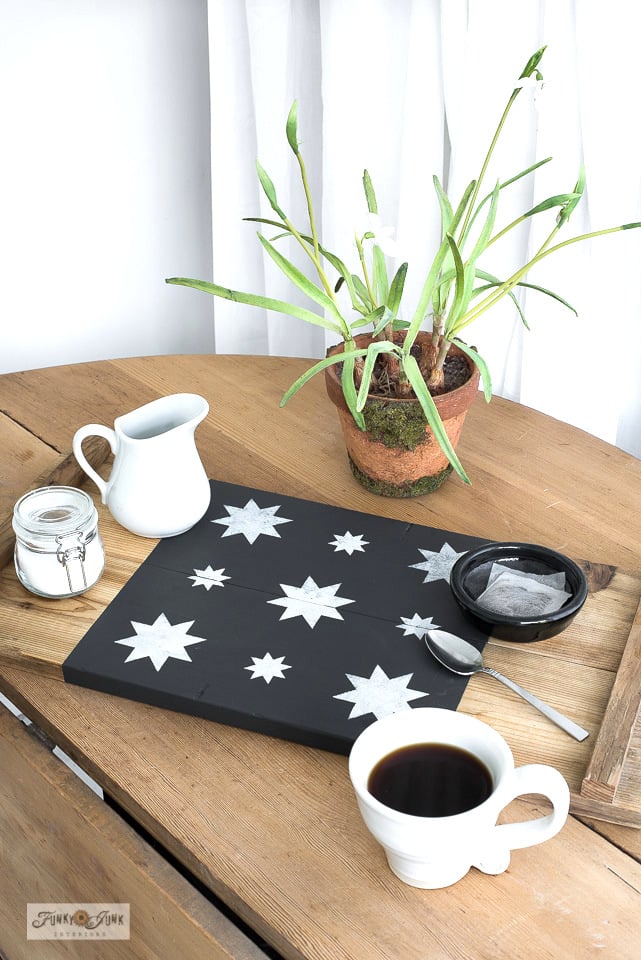
Love how the reclaimed wood further enhances the whole barn board look with this design. It really fits!
Other ways to use this stencil:
- to stencil serving trays
- decorate beverage coasters
- furniture tops
- dresser drawer fronts
- paint a plain table runner
- stencil a kitchen backsplash
- stencil area carpets or front door mat
- as art with a frame
- add details to a large barn quilt
- create a barn quilt sign for a shed
- paint and stencil floor tile
- wooden lazy susan
Are you getting the idea of it now? There’s so many universal ways to stencil with this star pattern! Can’t wait to play with it more!
But for now, it’s coffee time with my pretty new tray!
With a matching cat.
All that’s missing is the farmhouse front porch at this point…
How would you use this stencil design?
View Barn Quilt Star stencil HERE
Check out many other pattern stencils HERE
Other unique wooden serving trays to make:
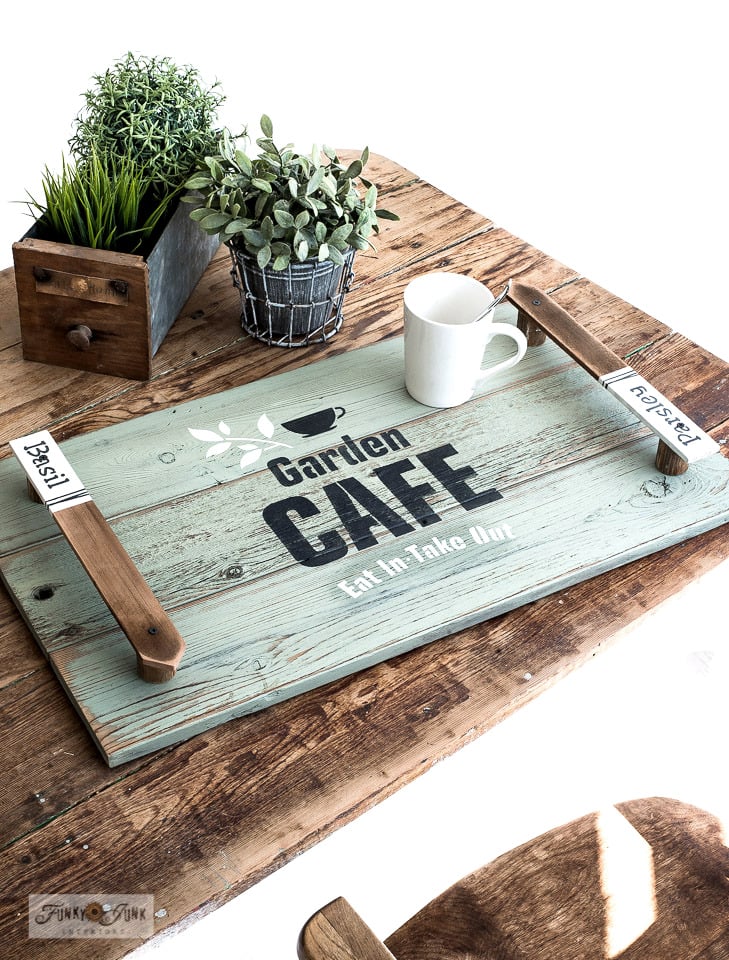
Garden-themed serving tray for summer

Tic Tac Toe serving tray and game

Pallet style cutting board tray
Visit many other unique serving trays to make HERE
Check out other stencil pattern projects HERE
I’ve been following you for awhile now and just love everything you do! I wish I was handy with the tools like you. I love decorating and crafting but not so familiar with tools. Just love everything you create and make. Love your shed as well. Just adorable!
Than-you Kimberly! I appreciate your kind words! Looking forward to giving that shed a fresh new look this year too!
I love this idea. Super cute