Love the look of a fabulous retro star pattern? Here’s how to get the look on any project using a stencil! Includes full tutorial and where to find the stencil.

Have you also been drooling over the retro stars that are showing up on floor tiles? (affiliate link) HERE is an example of a floor tile I’m referencing. Goodness I’ve fallen hard for the look!
The star patterns have been commonly used as vintage tiles in bathrooms or entryways.
However I didn’t really want to do up a full-sized floor. But rather, how could I get that decadent vintage tiles look on smaller projects?
I was dreaming of stenciling a retro star pattern on furniture drawers, trays, coasters, or even a cute little rustic side table I happened to already have…
First up was to create a retro star pattern stencil as part of the Funky Junk’s Old Sign Stencils collection!
So no need for endless masking tape, vinyl, construction paper star templates, printables nor endless measuring this round. Here’s how to get the retro star pattern look instantly with a ready-made reusable stencil you can use over and over again!
Let the retro stars decorations begin!
This post contains some Amazon affiliate links in which I earn a small percentage from qualifying purchases through these links, at no extra cost to you. Thank-you for helping to support my blog!
DIY retro star pattern side table

How to make a star pattern with a stencil
First up was to create a retro style of star pattern stencil as part of the Funky Junk’s Old Sign Stencils collection!
Retro Star is a reusable, repeating pattern stencil with 2 sizes of retro starbursts. The star shapes offer an instant retro stars tile look on any desired project, including wood, fabric, furniture and more.
The simple star outlines really give off the retro star vibe well!
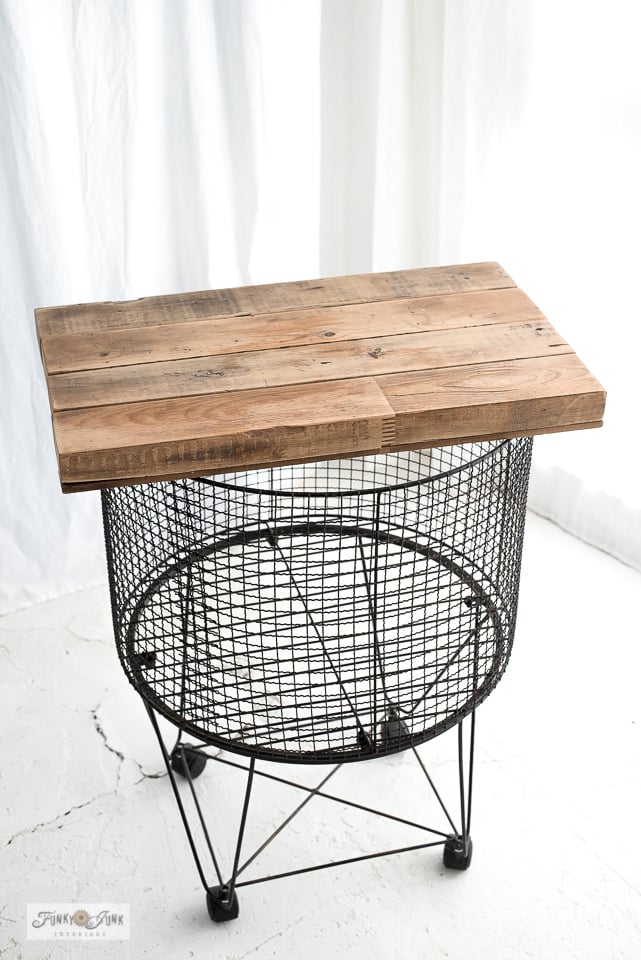
So let’s make this little rolling vintage laundry basket with a 2×4 wood top really sing!
This cart came from Decor Steals a while back. See how I originally used the vintage cart HERE
And with its black base, it was the perfect candidate to try the new stencil out.
Here’s what I did.
Supplies used:
Fusion Mineral Paint – coal black

How to prep a surface for stenciling
1. Prep the surface you plan to stencil.
In my case, since the wood was already raw, I lightly sanded over the wood side table surface using an orbital sander, and it was ready to go.
Just ensure your surface is clean and free of any products that could cause your paint to resist sticking, such as furniture wax. Here’s how:
Steps for prepping a surface
- Clean the surface well. I like using Fusion Mineral Paint’s phosphate free TSP found HERE or Fusion’s odorless solvent HERE
- Lightly sand surface so it creates some additional tooth for the paint to stick to.
- Remove all dust with a tack cloth.
- Paint surface first, if desired.
2. Position the stencil in the middle of your surface.
Much like tiling, repeating stencil patterns look best when you completely center the pattern in the middle to start. Or count the number of rows your project will entail and custom-position as desired.

How to stencil to achieve crisp images
3. Load the stencil brush with black paint, then remove most paint onto a rag until the brush feels dry.
The secret to achieving no paint bleed with your stenciling is to ensure your paint brush feels dry, otherwise the paint may seep or bleed underneath the stencil.
4. Tap or swirl brush through the stencil for the desired effect.
5. Lift stencil, ensure the back is dry, then reposition the stencil by overlapping like-minded pattern along all 4 edges to continue the pattern.
Learn more tips about how to stencil HERE
How to stencil a repeating pattern is HERE
How to stencil video
.
Visit above to watch a short video on the basics of how to stencil

Then all that’s left to do is grab your vintage coffee carafe to feel all retro-like, and pour yourself a fresh cup of your favorite beverage and enjoy!
How I LOVE this star pattern on a raw wood surface! Isn’t it fabulous?
And by the way, that retro coffee carafe is used every single day. My coffee is brewed in a french press, then immediately pour it into the carafe to keep it hot for my 2nd cup.
HERE is a vintage coffee carafe from Ebay that is similar to mine.

Other ways to use this star pattern
I just adore this retro stars pattern, and can’t wait to stencil it on other surfaces I have in mind! I think it would also make a fabulous TV tray makeover too!
I’m also eyeing up my kitchen backsplash which could be a fun, unexpected addition! It’s only paint, so if you change your mind, simply sand, paint over it and start over again when you want a change!
This star pattern is versatile enough to also look equally awesome on Christmas crafts!
Here’s a list of project ideas that would also work:
- plain wood beverage coasters
- furniture drawer fronts
- furniture tops
- kitchen backsplash
- wood serving trays
- wood lazy susans
- book covers
- Christmas ornaments
Anyway, I’ve been enjoying morning coffee downstairs in my photo studio lately since I landed a cute little love seat (I’ve yet to share on the blog), so I’m going to be scooting up this cute vintage cart coated over with this decadent retro pattern to enjoy each morning!
How would you put this cute retro star pattern to work?
Other unique furniture makeovers:
Check out creative furniture makeovers HERE
Visit many other unique TV tray makeovers HERE

Visit other pattern stencil projects HERE
I like this, but I haven’t noticed any retro star patterns in anything I’ve been looking at online. Do you have some links? I’m interested.
Thanks Teddee! If you google search ‘retro star tile’ you’ll see them all over your screen in the preview.
Here’s an example of someone painting a floor with one on HGTV. https://www.hgtv.com/how-to/home-improvement/how-paint-stencil-ceramic-tile-floor-diy
The Retro Coffee Carafe immediately caught my eye! Did you get it on Amazon? Did not see it listed. Everything you do is so cute!! Thanks!
Thanks Janet! I think my own carafe came from my childhood home! I’ve had it forever so I don’t even remember. Still use it daily, they are keepers! It’s glass-lined inside which is my preference because I feel metal changes the flavor of coffee a little. Keep searching the thrift stores, one is bound to show up!
I found two similar carafes on Ebay! https://rstyle.me/+3QxWQn8rWTBNvvSGWhtBgA https://rstyle.me/+1-K_U4u7CLTNYXB3LjZo7A
Thanks! Will check out eBay and keep an eye out for one at my antique shops. Isn’t it nice to use something from your childhood home? I do the same.
I too love the retro star tiles! I had wanted them in our laundry room, but… I am not so sure about my skills at entire room. I like the idea of it on a smaller piece like you did here! Thanks for sharing!