Looking to add a touch of industrial style to your kitchen? This step-by-step guide will teach you how to create your own DIY industrial pantry kitchen shelf for a unique and functional storage solution!
This industrial style shelf utilizes pipe fittings to create the shelf brackets, which makes a super fun statement and so easy to make!
As a Fusion and Amazon Influencer, this post contains affiliate links in which I earn a small percentage from qualifying purchases at no extra cost to you. If you shop Fusion Mineral Paint products through this post, you will get 10% off. Thank-you for helping to support my blog!
If you were to ask me what my dream pantry would look like, I envision this walk-in type of bright white space, housed with reclaimed wood pipe shelves from floor to ceiling. Complete with a repurposed screen door, sporting a quaint PANTRY sign.
Since I don’t have space for that dreamy pantry concept, I DO have space for the look and feel on a smaller scale… with handy kitchen shelves made from reclaimed wood and pipes!
And you can bet a pantry sign came along for the ride!

Does this shelf look a little familiar to you? I just showcased another way to display it in my revamped for fall front entry HERE.
But this version was the original I stole it from, piece by piece. THIEF with a reason. 🙂

Where to find a Pantry stencil
This Pantry stencil is bold, yet timeless. Upper and lower case letters with a logo vibe that is designed to fit perfectly on a typical pantry door or area!
However this little kitchen shelf makes a great statement for kitchen decor as well! So let’s whip up a handy AND cute kitchen shelf with added hooks for even more universal appeal!
Here’s how I made it…
Easy DIY Industrial Pantry Kitchen Shelf
Supplies I used:
reclaimed wood
3/4″ pipe fittings for shelf brackets
cordless drill and screws
Fusion Mineral Paint in Coal Black (get 10% off)

Preparing the planks
1. Cut three planks to the same length, then give them a light sand.
Note: the top plank shelf will need to have more depth than the other two boards so the pipe fittings fit and to give you more space for dishes, display and lots of good things. (see 2nd picture above for an example, tutorial is HERE)

Positioning the top shelf plank with the pipes
2. Screw together the appropriate pipe fittings as shown. Dry-fit with loose boards to ensure the top plank fits and is positioned correctly.
I used 3/4″ pipe fittings. These were purchased brand new at a local hardware store.
And I do suggest going deeper with the top plank if you wish to use the shelf to store items rather than just for kitchen decorations.

Stenciling the Pantry sign
3. Position the Pantry stencil on the 2nd board, however a little higher from the bottom board to allow for hooks underneath.

4. Load a stencil brush with paint in black, then remove most of the paint until the brush feels dry. Tap the paint through the stencil until your desired coverage is met.
I used Fusion Mineral Paint’s Coal Black for my paint of choice. It dries so quickly, and leaves the perfect crate effect imprint on reclaimed wood!
More tips on how to stencil are HERE


Distressing the Pantry lettering
5. Once paint has had a chance to cure, lightly sand to distress if you’d like your lettering to appear slightly aged.
Tip: If you use a light hand in stencilling, you may be able to achieve this effect without sanding.

Assembling the shelf
6. Dry fit the top shelf to help position the pipe fittings, then attach the pipe bases to the sign plank with short screws. Then attach the top shelf board to the tops of the pipe fittings.
The bottom plank is not joined to the others.

Installing hooks to the shelf
7. Install random hooks along the bottom board for great hanging opportunity for pots and pans, tea towels or utensils.
Just for fun, I bounced different style of hooks along the bottom for a unique touch.
8. To install the shelf to the wall, position the top part of the shelf above your counter or where desired, then install directly to the wall with screws. Screw the bottom plank to the wall separately.
Install was easy, everything was just screwed directly into the wall, one board at a time. But be sure to check out how I installed the shelf, and revamped it to suit my entry HERE.
If you plan to add a decent amount of weight to the shelf, I would suggest to use wall anchors for added durability and strength.

The finished pantry kitchen shelf with sign and hooks!
Isn’t it the cutest?!
I love the functionality of the pantry kitchen shelf with the top space for display and the hooks to hang. However it’s super decorative as well, giving your kitchen space a rustic-industrial vibe!
It would make the perfect kitchen decorating accessory, don’t you think? Hang up aprons, pots and pans… etc!

Or use an old ladder to hang up pots or kitchen accessories. No building required for this idea!

Random or straight hooks?
I personally love the randomly placed hooks. It makes your things bounce around like they’re having one big happy pantry party, all beating to their own drum. Weekend party hooks!
But even if you don’t need a kitchen shelf, here’s a number of unique benefits and inspiration on ways to use this shelf! Simply theme it the way you desire with other stencils, then load it up!
Other ways to use this shelf
- Craft room storage – to hang paint brushes
- Front entry to hang coats and purses
- Hang up keys
- Handy bathroom towel storage
- Coffee station shelf with one of the coffee stencils HERE.

It’s a very fun pantry sign shelf with loads of industrial farmhouse charm that is so easy to build!
I also love that the top plank resembles a floating shelf of sorts… it’s definitely a unique twist!

Add more kitchen storage space with a pre-made cupboard
To up the kitchen storage ante, try positioning the kitchen shelf above an open cupboard. Remove the door, add planks along the top to extend the surface, and casters on the bottom, for easy moving and more of an antique look.
The original cupboard tutorial is HERE
All I know is, this fun project just about makes me think I could rebuild my entire kitchen with this look!
Don’t even encourage me…
Could you use this cool shelf in your home? How would you use it?

Shop the Pantry stencil from HERE.
Other unique kitchen or shelving projects to make:
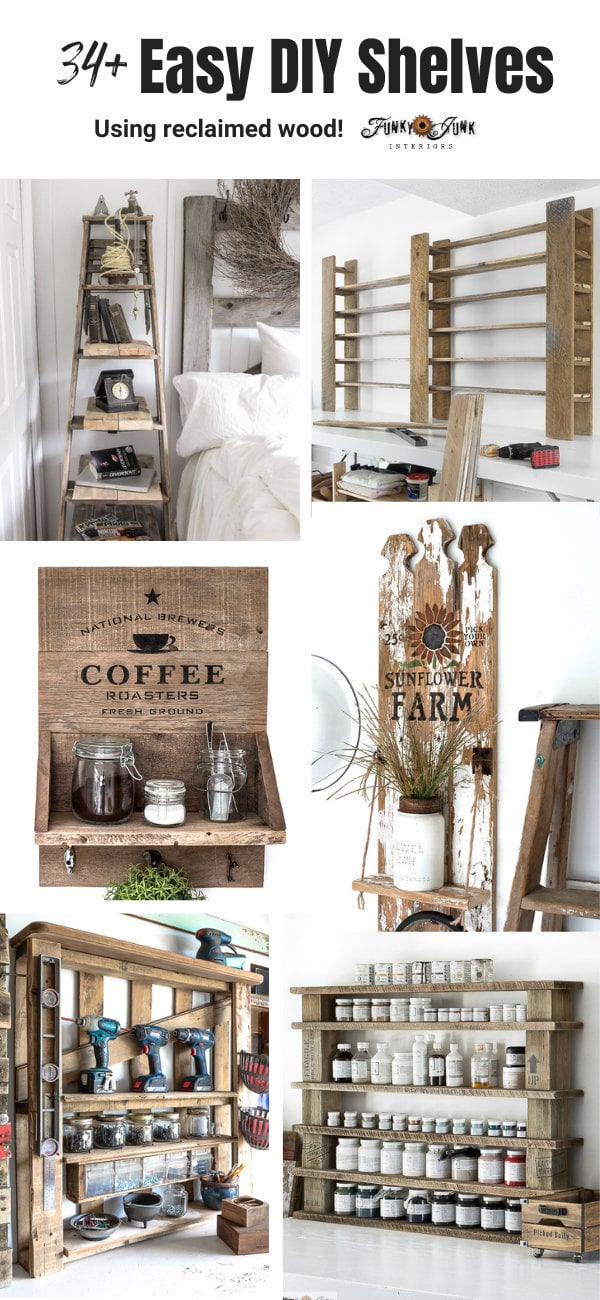
Check out 34+ easy-to-make shelving to suit any given space!

View this interchangeable kitchen sign HERE
Visit many other unique kitchen accent projects to make HERE

Easy DIY Industrial Pantry Kitchen Shelf: Step By Step Guide
Supplies:
Instructions:
- Stack 3 reclaimed wood boards on a table top.
- Twist the pipe fittings together to create two shelf brackets.
- Dry-fit the pipes and Pantry stencil onto the wood boards to ensure they will fit.
- Stencil Pantry onto the 2nd board, positioned slightly upwards to allow for hooks underneath.
- Install the pipes to the first and 2nd board.
- Screw hooks along the bottom board.
- Install the shelf onto the wall by mounting the joined boards first, then install the last board with hooks separately by screwing it into the wall.
That looks fantastic Donna, and I love the neutral and red items on display. Nicely put together.
Love it! Looks great!!
Now I must make me one
Your dream pantry sounds pretty awesome to me! Gorgeous display as always and I love the new stencil! I was working with your stencils tonight!
Wonderful Donna! The reclaimed wood and pipe fittings really are suited to each other. Love it!
Donna this is a fantastic idea, I would love this in my kitchen, keep up the inspiring work.
SO cute! Now I need some of your stencils! Is this piece screwed right into the wall? Wondering about that…. THANKS!
Hi Nina, yes! Each board was screwed directly onto the wall. Nothing fancy. Worked great!
Hi there. Love your posts..Two questions on this project 1-when you say “Cut three planks to the same size” but then you say “the top shelf plank will have to be deeper” does this mean that they are not 3 planks of the same size? what exactly do you mean by deeper? The width should be longer?
2-The 3rd plank on the bottom..the one you attached all the hooks to..I do not see as part of the steps that you have attached this to the rest of the project in any way? is this just a separate piece? I would have thought it would have been nailed together from back or attached in some way? thanks for the lovely tutorial ! 🙂
Hi Loanna! Thanks for asking, my original writeup was confusing. I’ve reworded the post and have also included another photo to better explain.
The top shelf plank needs to be deeper from front to back than the other planks, in order to incorporate the extended pipe fittings. If you visit the post, you will now be able to see what I mean. 🙂
Thanks so much for clearing this up! Your blog is my favorite <3