Have you been curious about an upcycled dollhouse update?
Visit the entire dollhouse series HERE
I wasn’t completely sure if I should just hang tough for a final reveal, or take you along for more of the ride. I decided a few steps may be worth sharing, so I have ‘more room to get wordy’.
You know how I get. 🙂
Today, I’m going to show you my brainstorm for the floors.

I’d like the unit to remain as lightweight as possible, so I’m going to try and make the shelves work as is for floors. Being solid wood was a total bonus.
3 different floor finishes were applied so the ‘little artists’ could decorate their way.
White wash – 1 coat of ceiling paint, topped with Miss Mustard Seed Furniture Wax
Pine – lightly white washed with Miss Mustard Seed White Wax
What? Ceiling paint? Yup!
Did you know ceiling paint is bullet proof on raw wood? I’ve had exceptional wear on my ceiling painted stairway sections, so I decided this ought to work. And it did! A nice even coat of paint went on both sides, then it was lightly sanded with a Bosch variable speed palm sander (LOVE this thing!!) until smooth.
Two coats would have been needed for total coverage, but since I wanted to see the woodgrain slightly, one coat was good.
The paint was applied the same way to the shelf supports as well.

Wood grain – Miss Mustard Seed Antiquing wax, 2 coats
These Barbies are getting some hardwood floors too.
The first coat faded in a little too much, so another application proved to be perfect.

Yes! This will work.
Now don’t look too close… it still needs touch ups. 🙂 But I wanted it assembled so I could tell exactly what needed additional tweaking.
A real perk with these types of shelving units is that they all come predrilled, with hardware included. The shelves can be easily spaced accordingly.
And I LOVE the fact that this would be easy for a child to put together too… talk about pride of ownership! It’s very similar to the Ikea Gorm shelving.
Some other ways I’ve used this kind of shelving:
My blogging office
Toy room storage
Junk storage room

So, this is the concept I’m thinking of, so the house is super low and can easily be played by all ages, and while sitting on their knees.
I’m also considering having it accessible from both sides should they desire to move it into the middle of the room. But maybe removable wall panels in case it stays put… hmmm…
I also like the concept of storage underneath. Maybe shallow drawer styled crates on casters?
Now… to figure out how to style it…

Hmm… ideas popping up left, right, and centre. Unexpected turns too. This is gonna be FUN!
The ultimate goal is to have the house and furniture ‘flexible’, so everything can become anything their imaginations desire.
(And then I don’t have to make any final decisions myself… we all win!) 🙂
Care to brainstorm with me? Click the pic to view it a little larger, and let me what you see…
Visit the entire dollhouse series HERE

Disclosure: I’ve partnered with the good folks at Porch and Wayfair to create a dollhouse out of a bookcase, to donate for a good cause. I’m donating my time for this project, because this one spoke to me. All my ideas are my own.
Some affiliate links were added, so you have a choice to pick up the things I love to use. You pay no more than normal, while I earn a very small commission. I only recommend things I absolutely, 100% endorse.
Oh Donna – I can’t wait to see the finished dollhouse! I can “see” some of those hand crocheted potholders used as dollhouse floor area rugs. Sometimes the thrift stores have those old potholders for 50 cents (the ones that grandmas crochet). I see the jewelry box you purchased ending up as a doll clothes wardrobe too! What a cool project and the lucky little girls that will get to play with it!
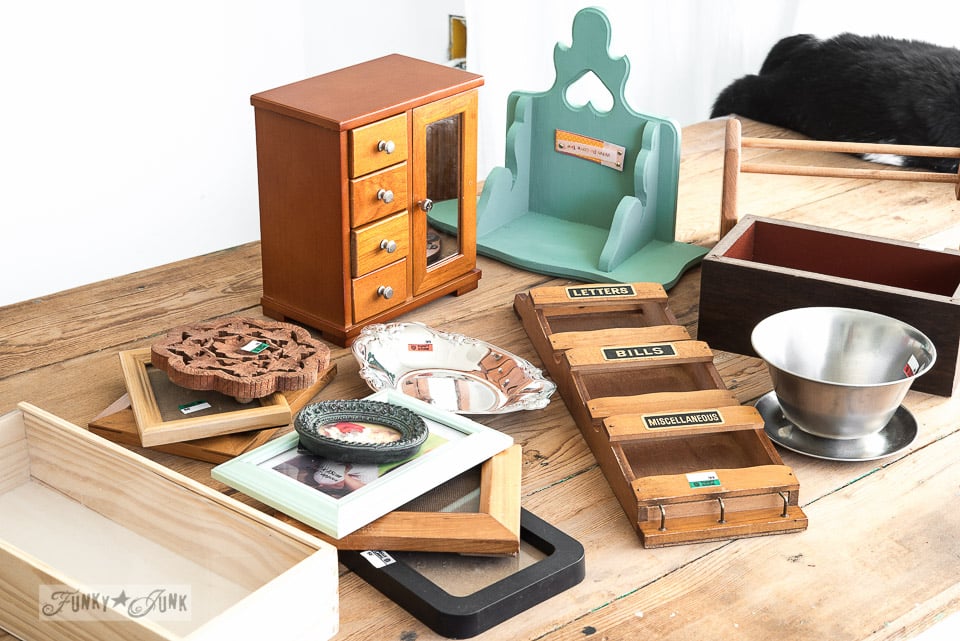
Donna I’m so glad you’re taking us on a journey with this dollhouse transformation rather than sharing the Before & Afters. I love your eye for repurposing the objects. The checkboard/inverted bowl will be an awesome dining table. I thought for sure the turquoise shelf was going to be a headboard so now I’m curious what it will be. Love your idea of having storage on castors under the dollhouse – perfect for storing the Barbies and their clothing. The room on the top left has me stumped?
Your idea of making it accessible from both sides is great. My mom and dad built one for me and my sister that was actually like a blue print with about 8″ h Walsh, no roof, no outside walls. Our dolls could “walk” all over the house,nbetween rooms, it was so great.
YAY!!! *jumps with glee* I’m sooooooo glad you decided to share the steps with us instead of waiting for a big reveal…I’ve been really excited about this project ever since you first mentioned it, so when I saw the word “Dollhouse” in my inbox from Funky Junk, I raced on over here like a shot! I love what you decided to do with the floors…I wish my floors looked so beautiful…and I think you made the right decision to build it so little ones could comfortably reach all of the shelves, plus, I think it feels more like a house that way. As to what I envision, I’m not really good at that sort of thing…that’s why you are doing this and I’m not…hehe! But maybe that letter/bills sorter could make some sort of shelving unit? I dunno. All I know is I can’t wait for more…this is going to be awesome!!! 🙂
Donna – Not to be too hard on you but isn’t Barbie gonna sprain an ankle when her high heel catches in the cracks in the floor? Interesting project.
Hmm… I suppose if she wasn’t just a doll? 😀
This is going to be so awesome! I carried my huge Barbie house that my grandparents built for me from house to house to house until I finally decided to unassemble it piece by piece. I didn’t want to shove it out at a yard sale for $10. Some how I wanted all those precious memories to be mine. Sounds weird now, but I have boys and no room to continue to store it. The idea to create a bookshelf dollhouse will give it purpose long after the Barbies have been outgrown. Can’t wait for the final reveal. 🙂
Hey busy lady, I just saw you in Country Women! I loved the ladder, you are so amazing.:) Jo