
It all happened by accident. I was planning to build these tool totes for the Hometalk Meetup Milner Village Garden event talk I’m doing April 9th. I found some reclaimed wood in the garage and just started tinkering around.

These two pallet crate boards marked HT (for heat treated) were a fairly recent find. I keep EVERYTHING I find so I have a surplus of odds and ends like this, and this just proves why!
(learn more about pallet wood safety HERE )
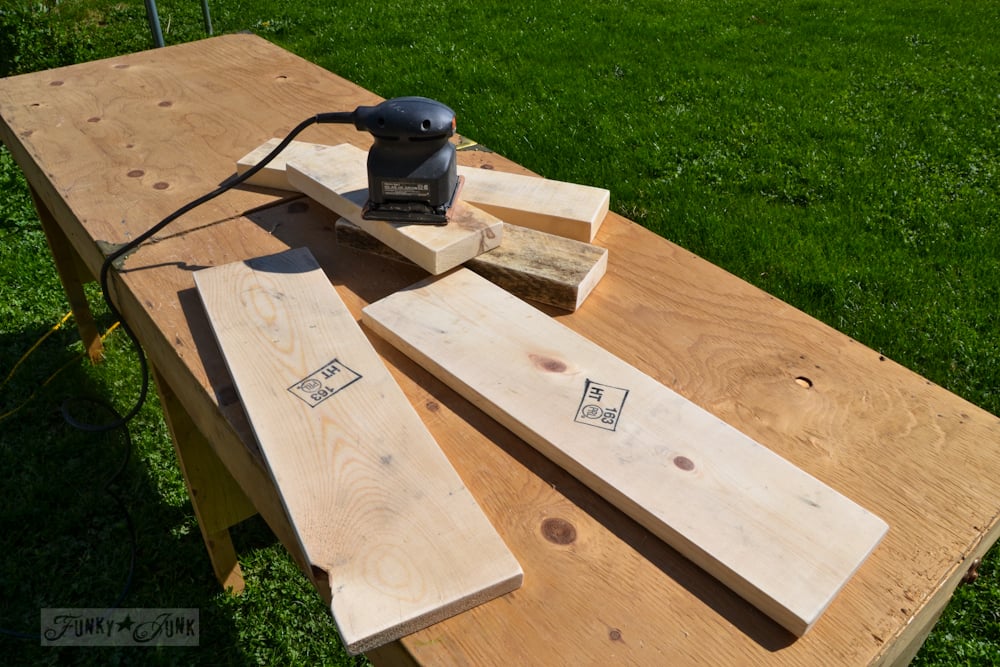
Anyway, I just used the boards as is to indicate the size tool tote I wished to create. I found accompanying boards, cut them to desired size, then sanded the works on my handy little folding workbench.
I didn’t stop for full blown tutorial pics because I do have some tool tote tutorials already online. You can see them below.
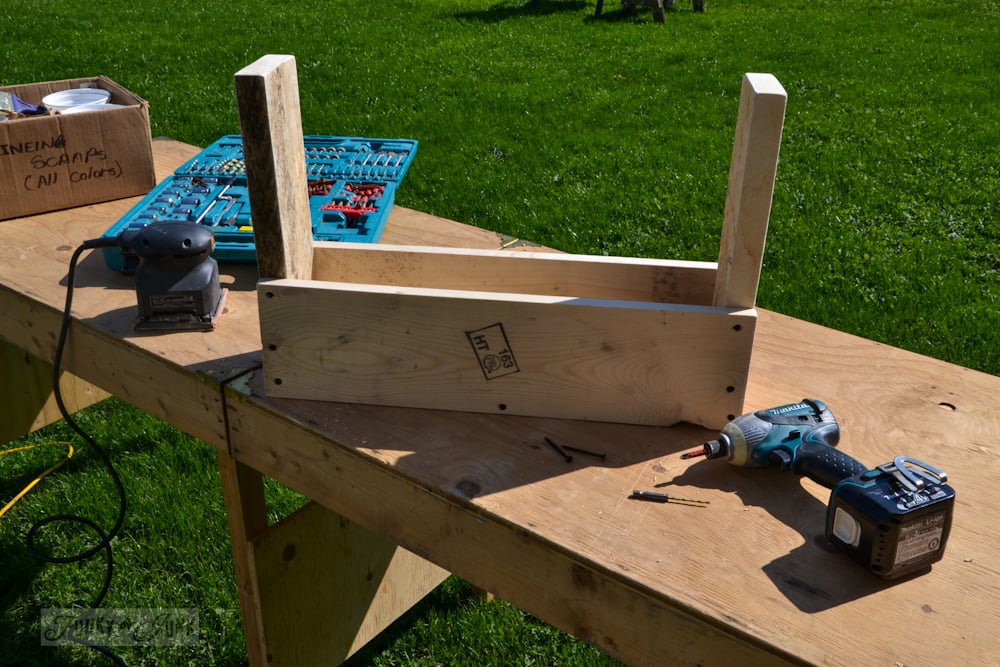
But in a nutshell, see the two high sides? They are the same sized board as the bottom. So you just cut it all to the desired size, predrill holes and screw the works together. The next picture will show you better.
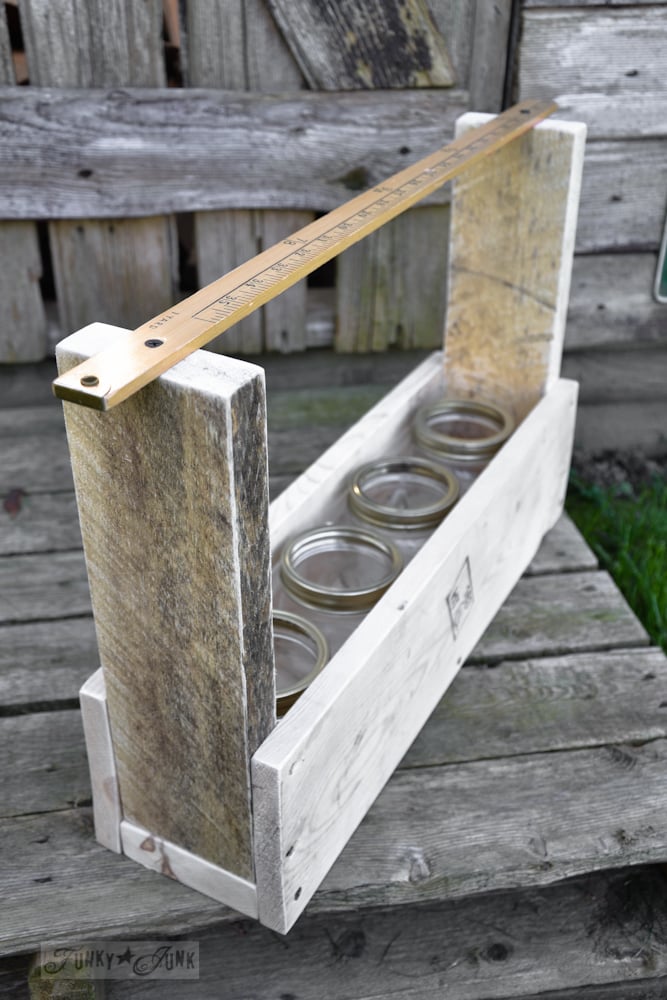
This truly couldn’t be a simpler build. Straight cuts and a yardstick for the handle.

Just make double sure you predrill a yardstick or the wood could split on you.

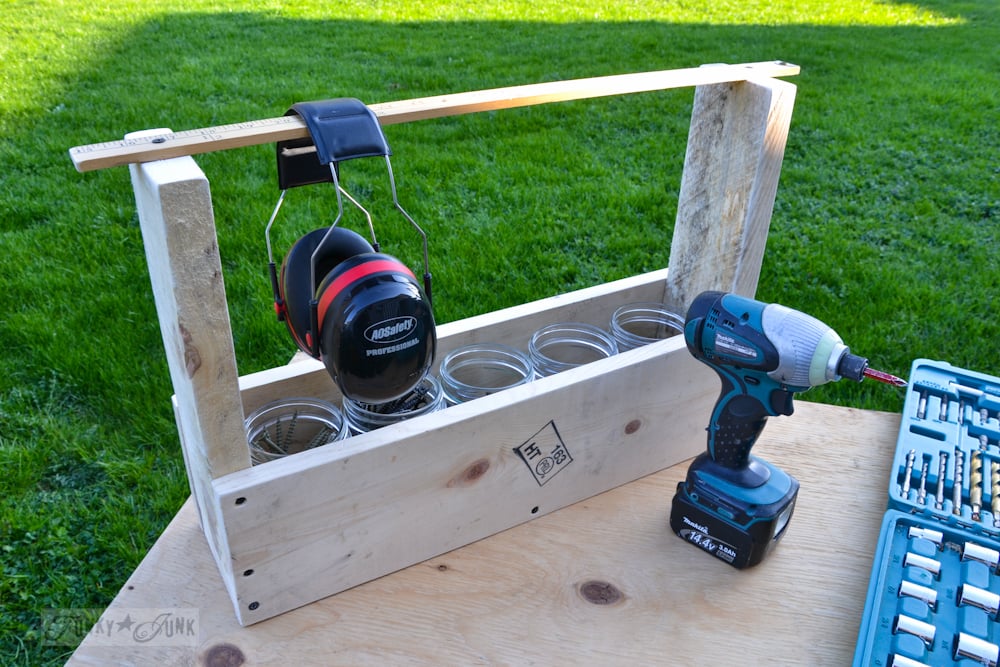
Now remember, my intent had been to put flowers in it.. but some mason jars were sitting in the garage so I plunked them in to figure stuff out. Then realized I needed it for my wood screws. Oops.

It is PERFECT for this!!!
Mason jar lid rims tend to get in the way when your hand digs into the jar, so removing them was the answer.
The cool part is, if you have a surplus, the taller jars would be ideal too, plus the proper lids would keep out the sawdust.
It’s a very straight forward, simple kinda tote. But I’m rather partial to the simple lines on this one for this purpose. It kinda looks like a builder built it. I mean, not me. 🙂

Here are a couple others I’ve made in the past that have more of my messy flavour to them…
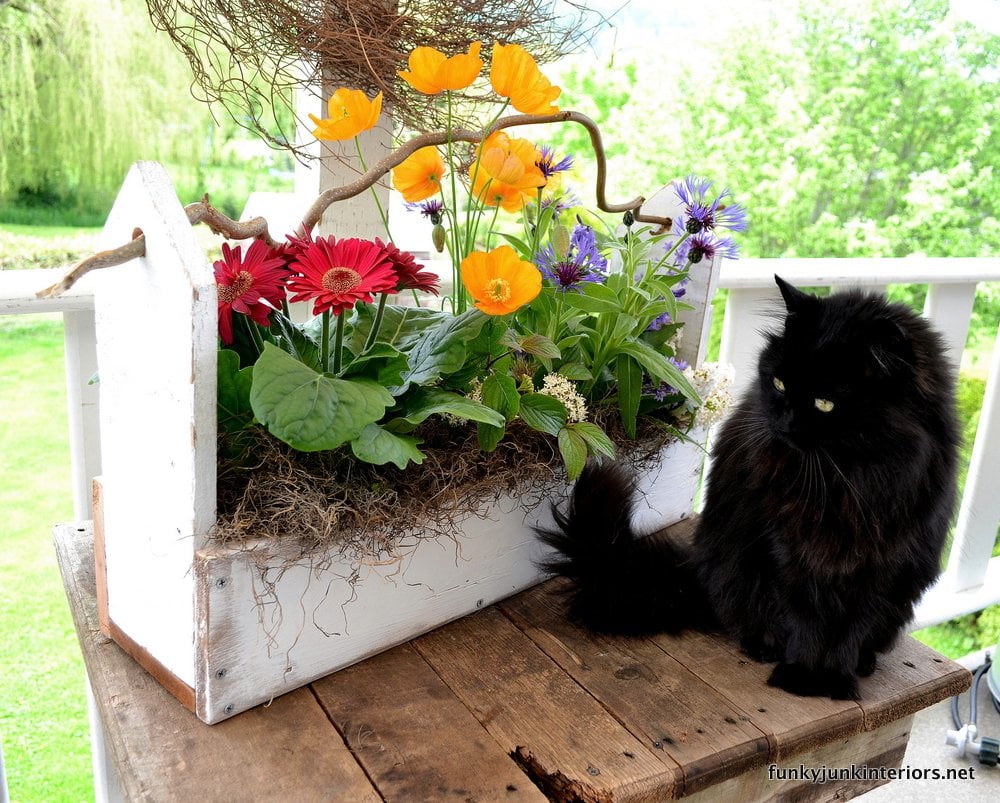
Reclaimed wood picket fence branch handled tool tote
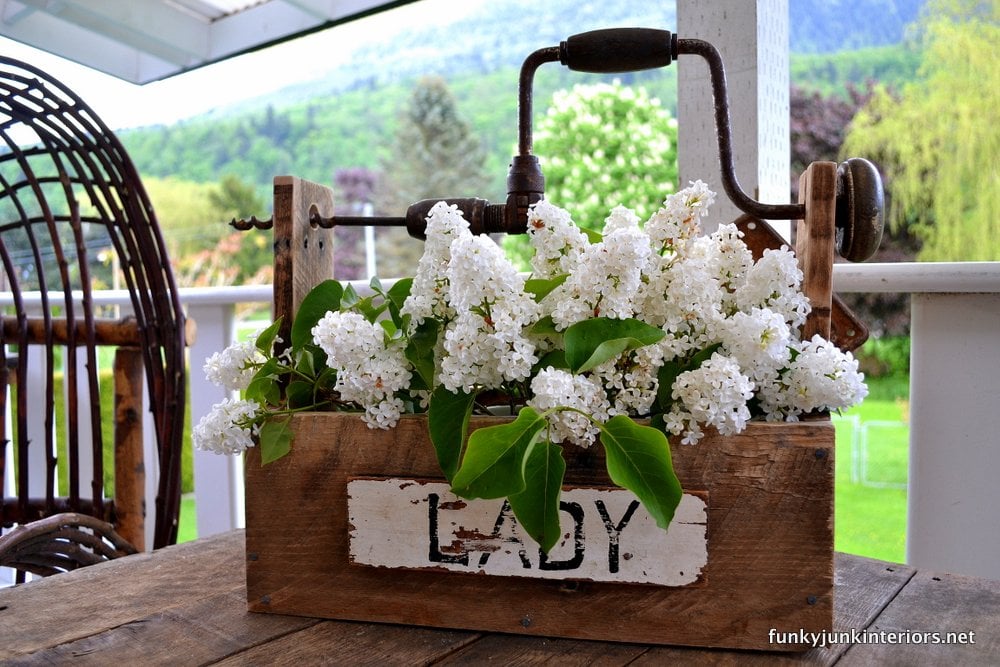
Reclaimed wood (pallet) drill handled tool tote
Everything looks amazing with fresh flowers in it, don’t you think?!
Hmmm…. back to plan A perhaps? Nahhh… I’lll just build more!
A must read: Everything you’ve ever wanted to know about Pallet Wood
Could you handle building the new one even if you’ve never built something before?
Bet you could…
Easy, functional and beautiful!
D.
Love! Just found your blog via HomeTalk. Now following you. I love how easy your tutorials are. Can’t wait to see what else you do.
I’ve been eyeing these for some tome now … I may need to try a home build. Maybe …
🙂 Linda
Did you realize you have offensive advertising on the sidebar of your site? I am not sure I want to visit here anymore 🙁
Girrrrl, you have the best ideas ever! Sorry I missed the offensive advertising, LOL I always miss the good stuff. Keep doing what your doing.
I love your blog.. Loved the projects ..always inspiring
Oh my…love, love those pallet tool boxes and I have to say that my favorite is the one wit the drill handle…!!!
I’ve been on the lookout for one of these…but most of them are overpriced. But wow…I’ll just build me one! So simple, you make it look so doable! Thanks, Donna 🙂
For one more thing, it’s convenient. Look forward to working the green grass. Working in the sunshine. Pretty good..
I love this idea! xo your biggest fan.
Aww, thanks girl! They were a big hit at the HomeTalk Meetup I brought them to!
Hello, I recently found some old pallets with which I wish to make a coffee table. They are marked HT , one of them is spray painted blue. Have you any idea if they would be suitable for indoor use? I have read so many different opinions on how harmful pallets can be, some say heat treated pallets can contain chemicals, some say blue painted ones are especially dangerous, others say the opposite of both of these statements. I hope you can help me out. Many thanks and keep up the Junkfunk! JC
Hey Joseph! As far as I’m aware, HT means the boards are treated with just heat. But by all means, feel free to google search more info on it and use at your own caution.