
On my continued Crap to Clean before Spring quest, today I’m taking you downstairs to my paint studio.
Confession… I have not been reading my KonMari book (post HERE) like I should.
But that’s because I haven’t caught up to her suggestions yet. Goodness… I need a year off of life to do this thing right!
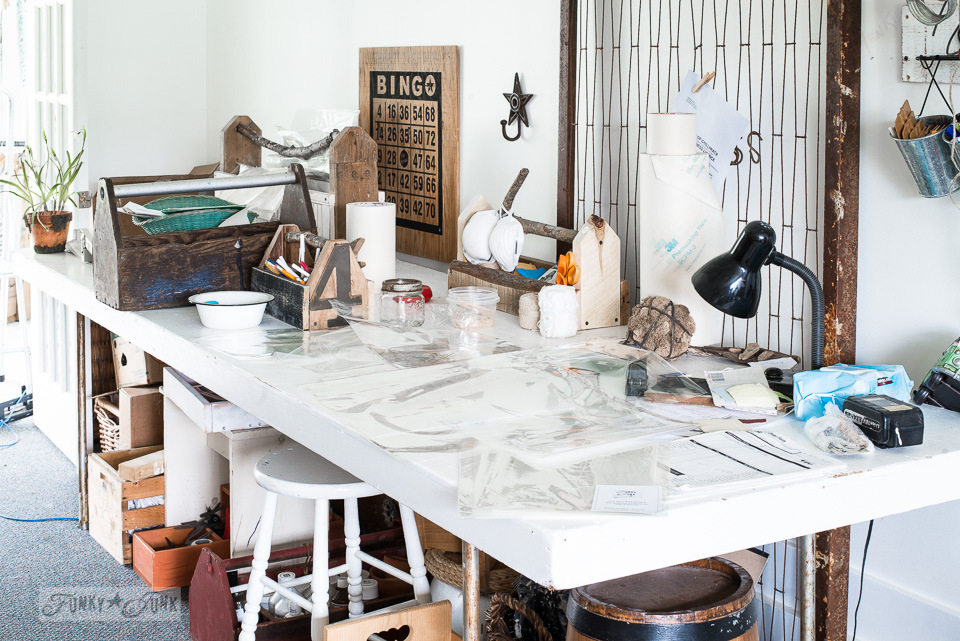
And I’m obviously doing something very wrong, because I keep ending up with messes like this.
So why don’t I just clean it up?
Ohhhhh… probably because it has (ahem) no where to go…
Ok, except for the stencil part.

I received a few newer stencil designs in my own stock lately, so I unpackaged them, punched holes in the corners, and hung them up on my stencil ladder HERE.
So my other issue with my paint studio is, I needed yet again to separate the paint stuff from the office supply stuff. Right now it’s like you threw the works up into the air. and it landed wherever it may.
On a good day…
So… today I’m going to show you what I put together for the paint side.

I decided a shelf of sorts was needed. I wanted my paint off the floor, for a more eye level experience.
But I didn’t want to get too fancy. I was too tired to cut and build with heavy wood. You know, just something super simple and lightweight to do the job.
So I took apart as well as cut down some signs I made, for a pieced together look.
I often intentionally stencil like this, so it was nice to have this part pre-done! 🙂

Here I’m dry fitting everything in the workshop.
But it was too tight for space for the build, so after cutting what I needed, it was brought into the photo studio.

This simple.
2 side boards, 5 inner boards (all the same size) and a longer top.
The laying down boards are shelves that just flopped over.

How to make this super simple reclaimed wood old sign paint shelf
What you’ll need:
reclaimed wood planks
palm sander
miter saw (or jigsaw)
cordless drill or air nailer
measuring tape
stencils – optional (find the ones I used HERE)
1. Decide on the size of your shelf, by dry fitting boards.
2. Cut to size. (All inside planks and bottom plank are the same size).
3. Cut outer planks to size.
4. Use a longer board for the top for a ‘cap’ effect.
5. Screw or air nail the shelf together, measuring for shelf placement. (I used screws so I could take it apart again one day)
6. Attach to the wall through the Farmers’ Market plank.
I also later added a back brace (yardstick) so I could secure it to the wall lower as well.
Note… this is a VERY lightweight shelf, not made for heavy weight stuff, due to the thin, long planks.


Here’s where the fun part comes.
After deciding I didn’t want to ‘hide’ Farmers’ Market with paint cans and such, I allowed that section to have a lower shelf, so brushes could be hung from it instead.
Find Farmers’ Market stencil HERE.
This totally works!
I didn’t plan this part, but the Bingo stencils on both sides lined up! I just spun them around to where I’d appreciate seeing those details the most.
Find the BINGO stencil HERE.
What I especially like about this shelf is that it doesn’t make the room too heavy. Allowing the woodless white wall to show through also highlights the paint colours and supplies nicely.
Note: I also allowed the bottom shelf for stacked paint containers. A shelf for each one felt a little tight and darkened them up.
With all this so nicely organized, now I REALLY want to paint!

Getting there!
And now I have another simple brainstorm for the office supply stuff on the right… with more old sign ideas of course! Stay tuned!
KonMari would be so proud…
(find the book HERE… Amazon affiliate link)

Your projects are always so fun! I love this shelf, I’ve been collecting ideas in my head for my next work space and I think we’ll be building all of our storage areas, Just makes sense because you get what you want. I always get inspired when I stop by, Thanks Donna!
Love your paint shelf with all the gorgeous stencils! I would love to make something like this for my workshop … I need to rethink some of my storage ideas, when things are in boxes I forget I have them. Nice to see them hanging in view 🙂 #oldage
Yeah I can comment again!
Great little shelf and what a nice beautiful space to work and play.
Keep rocking those builds, lady!
I absolutely love the shelf and I’m reading Komari, too. Keep plugging away.
I set today aside for the start of a major clean round here…again. Actually, I had the biggest treat yesterday, My 20something daughter cleaned her room and came into mine and said, “Mom, I feel like I want to keep going. Do you want me to clean up your room?”
I KNOW! How often does that happen.
Tell you what though, it was so lovely to go to sleep in a clean, fresh room!
Hi Donna, I love the shelf! Another great and inspiring post. I have been busy with several projects (ladder towel rack, wooden western style bath panel and a wash board bear oil shelf for the bath room) and a little coca cola bar cart. I will have to put pics on your Crap to Clean page at the weekend as I don’t have a blog to join a link party.
I need the KonMAri book! I am doing quite well keeping on top of the cleaning but rather less well de-crapping. Still, at least I am making a few quite useful storage solutions along the way. I wouldn’t have done any of this if I hadn’t encountered Funky Junk Interiors and friends. I am also avidly following a few other blogs now and I love it when the link parties come up each week!
LOVE it! added to my neverending list…
This shelf is so cute,you could even use it in the house,thanks Donna.
i love crap to clean! its real lol. you start one project and theres all of a sudden 50 more! ugh! i started following you but i have to say I’m sorry i didn’t start sooner!!
That’s a really cute shelf. It is wonderful when everything has it’s own home and much more productive. I make cards and found that I always had
such a mess I until I treated my craft room like my kitchen and put things away after use. You’ll be able to do that now with that great shelf. Thanks for all the great ideas
Really like this project. It gets me thinking to do a similar project. The idea to have all those small paint containers at eye level is practical and convenient. No more bending over and moving objects out of the way to see what I got. I would like to practice positioning my stencils so it looks like part of it is missing the way the wording on your signs look. Thanks for the cool and yet practical ideas!
Ummmmmm……. I love it!!!
Love this. How would someone go about finding reclaimed wood? When i lived in Texas (that is where I am from) i would be able to find it all over but now i live in Florida and I wouldn’t know where to look. I just love all of your stuff. I love how you just randomly stencil. Is sign making your main business? So glad i found your blog. I hope you don’t get tired of my messages.
Hi Cheryl!
Thanks for the kind words!
I find my wood along the sides of the road (pallets) and watch for falling down fences (residential neighbourhoods) as well as find lots of pallets in industrial areas.
Here’s hoping you can find something similar in your area!
I was a professional signmaker for 20 years when I tapped into blogging and DIYing. I’ve since left signmaking and now create stencils through my own design work.
And yes, randomly stencil is a good term! Anything wood needs a sign in my house! haha
You can read more about my story in this link:
https://www.funkyjunkinteriors.net/about