
Once upon a time, waaay back in 2013, you may remember when my blog underwent a revamp.
The blog design you see today was made up from elements I took pictures of. One thing at a time.
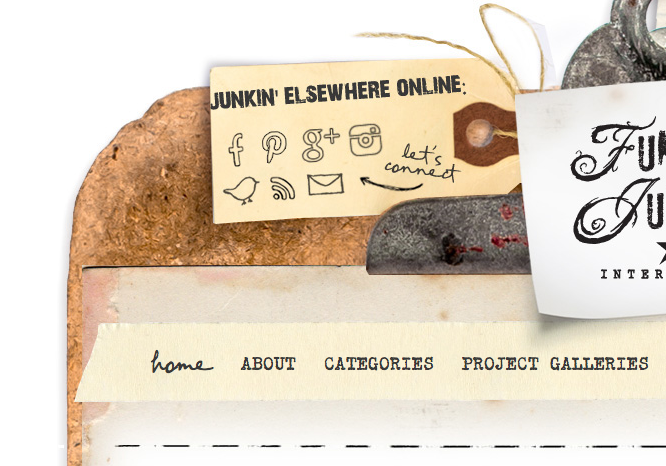
The little tag tied with twine and the clipboard were from two of my photos.
Then they were magically spun together, adding graphics on top by a very talented blog designer and guru team which I wrote all about in THIS post.
Fast forward to today, my stencils are in current need of some pro-done labels.
Little did I know, I’d ultimately run down a million rabbit holes over several days, printing seemingly hundreds of proofs, only to be shot down with not being able to use the online graphics I chose because I was ‘selling a product.’
Good.
Grief.
Read the fine print first, folks.
And all while I was using someone else’s graphics, I had thought to myself, “I really could shoot a picture of that myself… I mean, I did it for my own blog design…”
Well, duh!
So after scrolling through endless legal banter, I was done like burnt toast and shut the works down, grabbed my camera and head down to my workshop to build my ‘labels’ myself.
You heard that right.
I had a vision of what I desired the labels to look like, so I started off taking high resolution pictures of reclaimed wood, ending up with 2 I ultimately used.

These boards were lined up on the floor of my photo studio, then the tripod was wrangled to hang directly over the boards for a direct overhead shot.

Next up, I hung up these two pallet boards on a white wall, adorned with rusty junk hardware and some well used stencil brushes, leaving the centre open for the desired graphics.
I lucked out. I knew I’d have to do endless edits to remove the background around the wood (which I’ve conveniently forgotten how to do!) if I didn’t place this on a white background. (which I of course didn’t have). So screwing the boards to a white, naturally well-lit wall ended up being perfect.
Then I proceeded to edit the photos, finally bringing them into Pages, a simple document and drawing software I use on my Mac.

Cue in ENDLESS editing and printing. My laser printer ran out of ink!
I always like to print proofs because they look very different in-hand than on a screen.
Anyway, I worked it hard until I ended up with (a very big pile of paper and) a final draft.

Here is how the header label ended up. It will fold in half, then tuck over the stencil, then be slipped into a bag.
This kind of header allows for more info too! Included is how to work with patterns, as well as some super basic tips on how to stencil.


Edited to add: I’ve already updated the small label! Egads. I need to send this off to the printer before I change my mind AGAIN. 😀
And these will be the smaller labels that will go on stencils that don’t work with a larger header.
The overall wood photo was used for this background.
And the arrow graphic is an actual stencil!
I haven’t worked with all the new fall stencils yet, however the Arrow Kit is one of them! Well, I guess you can say I used it now. 🙂
You can check all 7 of the new fall stencils HERE.

So, here’s basically how the stencil packages will look with their new outfits on.
The printer will need to approve that everything I designed will indeed work, so there may be some small changes. Crossing my fingers it works out… and I still like everything tomorrow! Which isn’t always the case.
While today was rather tedious, now I’m thankful the legal jargon shut me down, otherwise I would have used someone else’s stuff!
Doing it myself ended up way better anyway… I mean… I built my labels! Literally.
Plus… I ended up with a blog post AND a pretty cute DIY paint brush holder!
And my stencils will have pretty new outfits soon…
.
What do you think of ‘the new-old look?’
Oh I just love it! That is beautiful, your photos always look so great Donna!
Aw, thank-you Susan! A tripod and good lighting make good captures easy! I don’t know what I’d do without that photo studio…
Your labels lookfabulous. You should have known from the beginning that you were the best person for the job. I’m sure your own designed labels are much much better than if you used someone else’s graphics and also makes them that bit more authentic as they are a true Funky Junk design.
Thanks Claire! I guess I was attempting to push the easy button… but nope! That became way more technical!
I can still hear the advice from a great artist friend of mine, Dan when I had one time talked about issues with copyrighted design work… “Just do it yourself and you’ll never have to worry!”
Duly noted. Again!
I love the labels with one exception. I understand why you have “Junk’s” with a possessive ‘s’ but I would rather see the packaging as Funky Junk – without the ‘s’. Funky Junk is your identity: I just think it stays true to your brand as-is.
Ahh, interesting perspective, Sara!
I found the brand name such a mouthful, I suppose the added S resembled a pause of sorts. I won’t be changing the branding at this point (which would require a new url, and SO much more) however I’ll think of that moving forward should more brainstorms transpire…
Hi donna, just stopping by to say hi! I read one of your posts a few weeks ago and was so moved by your journey! have a great day! Laura in CO!
Hi Laura, nice to hear from you and thanks for stopping by! Yeah, I am doing a LOT of work on my personal and business side, so much so some days it’s tough making the decision on where to head next… one day at a time I suppose. 🙂
Love the new labels! Great job!!
Thanks Jane! It was a fun albeit long challenge… finally time for the next thing, whatever that is! 😀
Love it! Although we don’t see all the hard work you put into your items…we really appreciate them. Your stencils are top notch and your labels are fabulous. I agree with Claire you should have known you were the best person for the job…you are so very talented!!
Aww Caroline! Such kind sweet words, thank-you! Perhaps I ought to consider documenting the process of what I do behind the scenes when developing a new design sometime! I do a little here and there on Insta Stories but perhaps it requires a permanent home somewhere if it can prove helpful to another. 🙂
These are so cool! They could be printed be business cards as well!
Thanks Kathy! And yeah, great reminder, I need those too! Will I ever catch up? haha
Look great, Donna, how can you go wrong with great photography and reclaimed wood?
Just awesome! It’s so you, and your blood sweat and tears went into it. Kudo’s to you and your perseverance!!
Hi, Donna,
First of all, I’m glad you decided to design your own labels. They match your blog and branding perfectly!
Did you have your stickers printed locally? I’m needing some stickers for my product box. Thinking about designing mine myself, too.
Hi Ann! Yes, I had them printed in my home town so I had a chance to view the proofs in person. There’s definitely perks to shopping local! 🙂
I think you just became my favorite blogger friend. I just read this entire process of how you curated your branding and it’s phenomenal – I wanted to read more. Your a girl after my heart in using “junk” to create beautiful features to use in your home. Thank you for being here. Taina