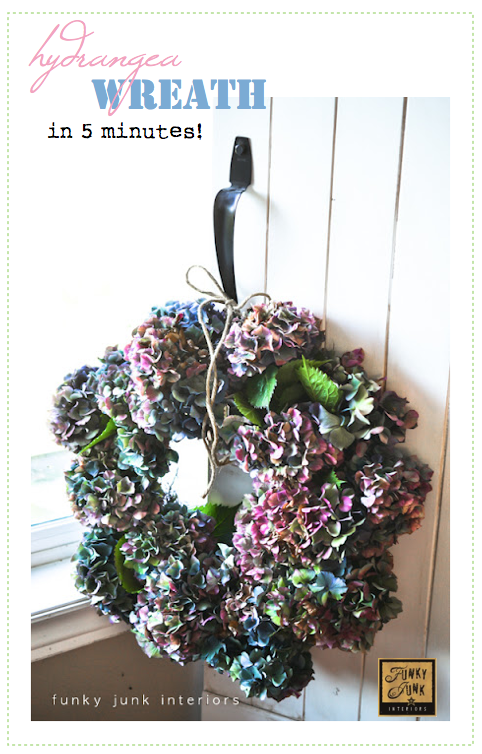
Looking for a quick and easy way to decorate your home this fall? Learn how to make a beautiful dried hydrangea wreath in under 10 minutes with this simple DIY tutorial!
Learn tips on when to harvest hydrangeas so your wreath will dry wilt-free and last for many months to come!
As a Fusion and Amazon Influencer, this post contains affiliate links in which I earn a small percentage from qualifying purchases at no extra cost to you. If you shop Fusion Mineral Paint products through this post, you will get 10% off. Thank-you for helping to support my blog!
Updated: August 2025
Having two hydrangea bushes, you can imagine how many projects I’ve made with hydrangeas over the years.
A few of my all time favorite hydrangea ideas are:
hydrangea-filled dresser by the front door
make a hydrangea bonsai for fall
hydrangeas stacked in a rustic planter box on a mantel
However, today’s easy project is on my hydrangea favorites list too!
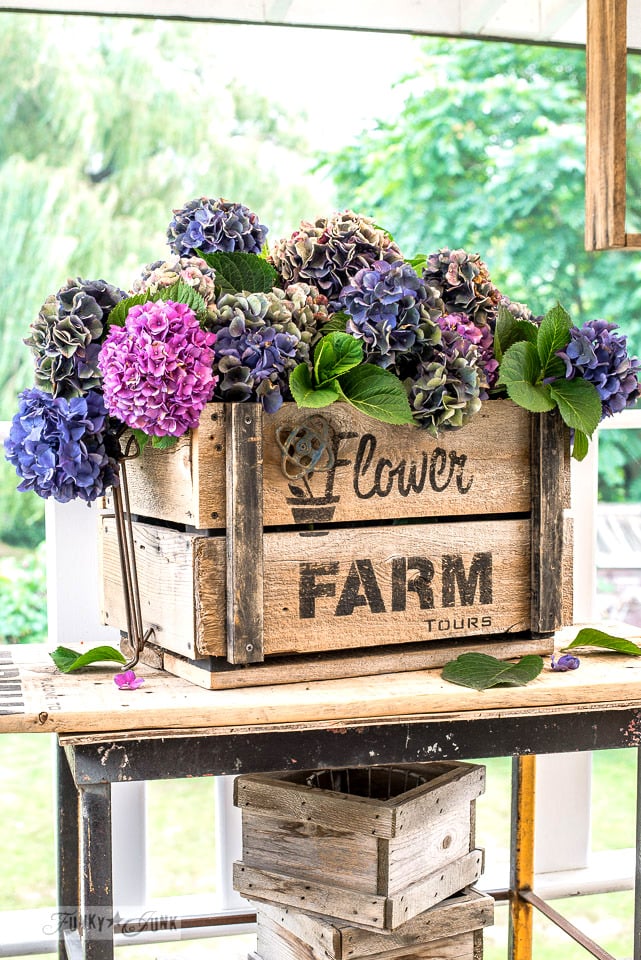
Hydrangeas make beautiful wreaths thanks to their ever abundant flower bunches! Plus, you also have the option to dry hydrangeas loaded with gorgeous texture so your wreath or projects will last for months!
However, there are a few tricks to creating dried hydrangea projects so they last. So today I’d like to share how to make a super easy DIY hydrangea wreath that only takes a few minutes, while you can enjoy it as a pretty home decor piece for fall decor OR any time of year!
This DIY wreath project tutorial was inspired by Daisy Mae Belle’s own pretty limelight hydrangea wreath! (no longer online)
10 Minute DIY Hydrangea Wreath: with tips to make it last
Supplies I used:
I used a heavily textured twig wreath however you can also use:
fall hydrangea blooms (HERE are some faux)
hot glue gun and glue sticks may help
string or floral wire may help

Start with a wreath form
1. Place a wreath form on a flat surface.
I used a heavily textured twig wreath I had on hand that had a loose weave I could add stems into. However you could also use:
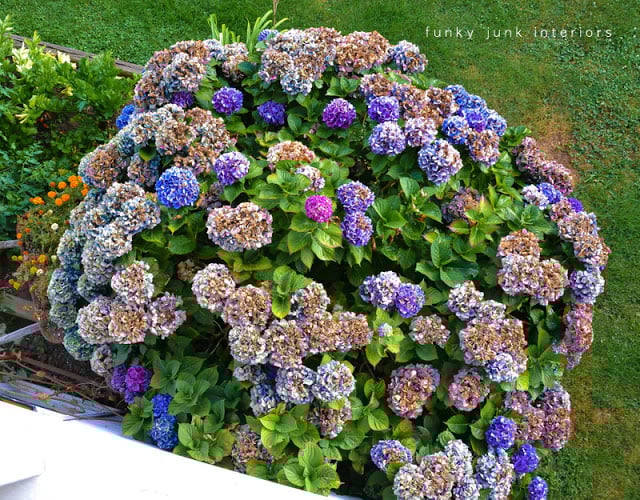

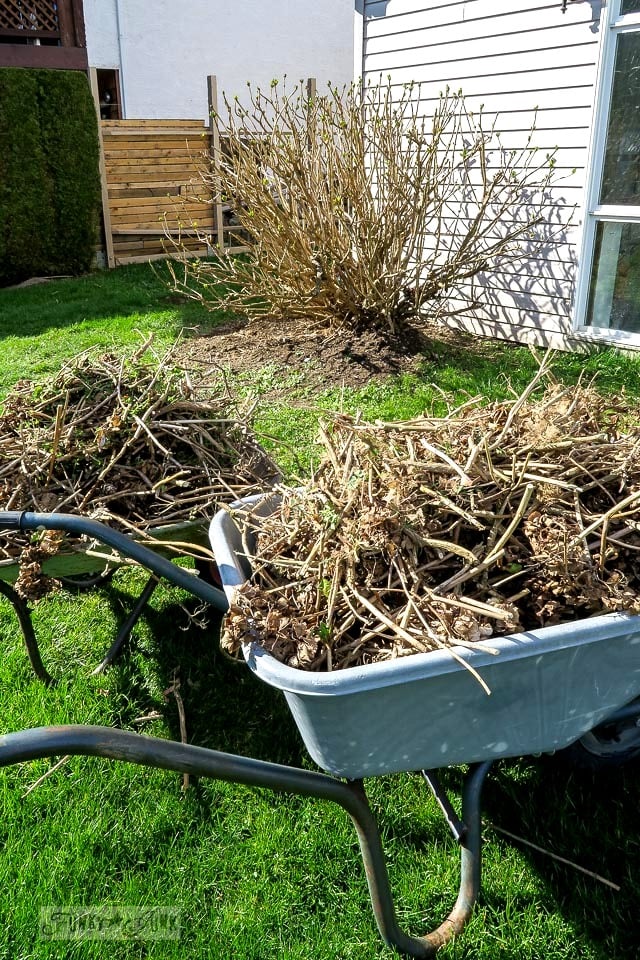
Best time to harvest hydrangeas to dry
2. Harvest hydrangea cuttings during fall.
The key to these hydrangea petals not wilting is to wait until the hydrangea flowers feel slightly crispy to the touch before cutting. This ensures the hydrangea petals will dry on your wreath with as little wilting as possible because the moisture has already been removed while on the branch.
Learn more about how to dry hydrangeas so they don’t wilt HERE

How to add hydrangea stems to the wreath base
3. Cut each hydrangea stem on an angle, leaving enough stem length to polk inside the wreath form.
- Cutting longer stems to start is better. You can shorten the stems if you need to a you work with the flowers.
- The angled stem cuttings helps to insert the flower stems into the wreath form easier.
4. One at a time, insert or attach the stems into or onto the wreath form you are using.
- If your wreath isn’t textured like mine, you could attach the flowers with string, florist’s wire or hot glue to attach the stems to the wreath base.
- If using glue, I’d suggest to bypass the stems, and just glue flowers previously separated from the stems.
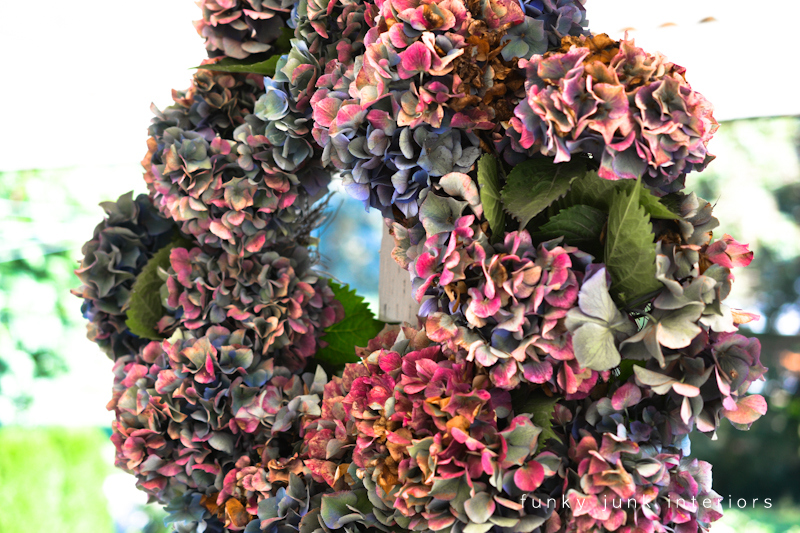
5. As you add flowers, attempt to ‘bounce’ the flower cuttings, or mounds that have high and low areas to create more interest rather than just a smooth shape. It really makes a difference!
For wreath-making, you can also hook on other dried favorite flowers, greenery or berries that coordinate if desired.
5. Keep adding hydrangea cuttings or filler flowers until the wreath is filled in as desired.
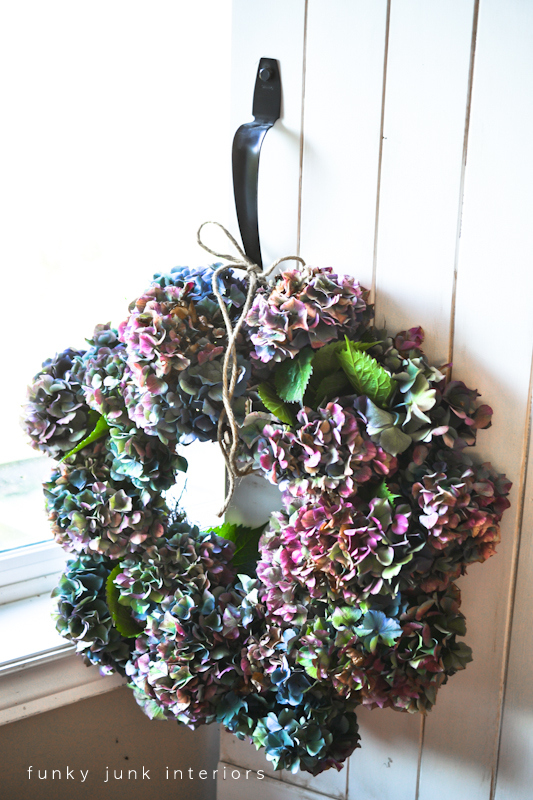
The finished hydrangea wreath!
.
And here is the full and beautiful hydrangea wreath! Isn’t it gorgeous? In under 10 minutes, this beauty was full, abundant, and ready to hang!
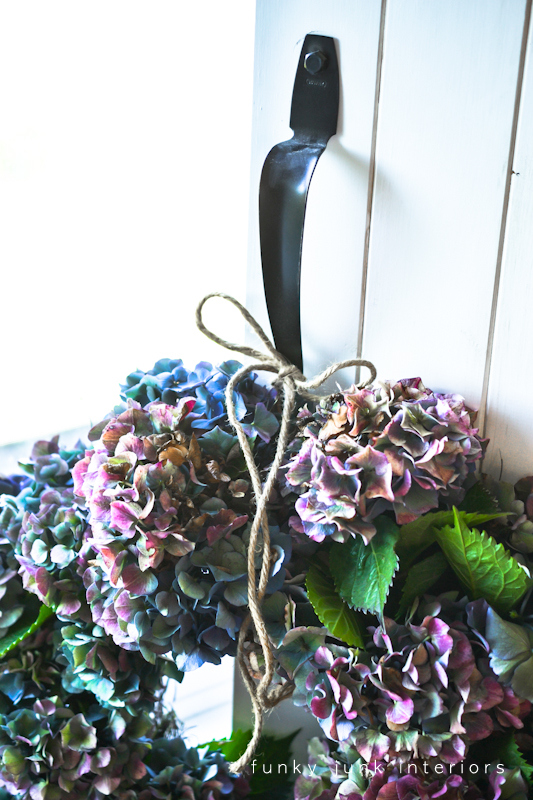
I added a piece of twine tied into a knot and bow to hang the wreath from this door handle, however a coordinating ribbon or heavier twine or rope could work nicely too.
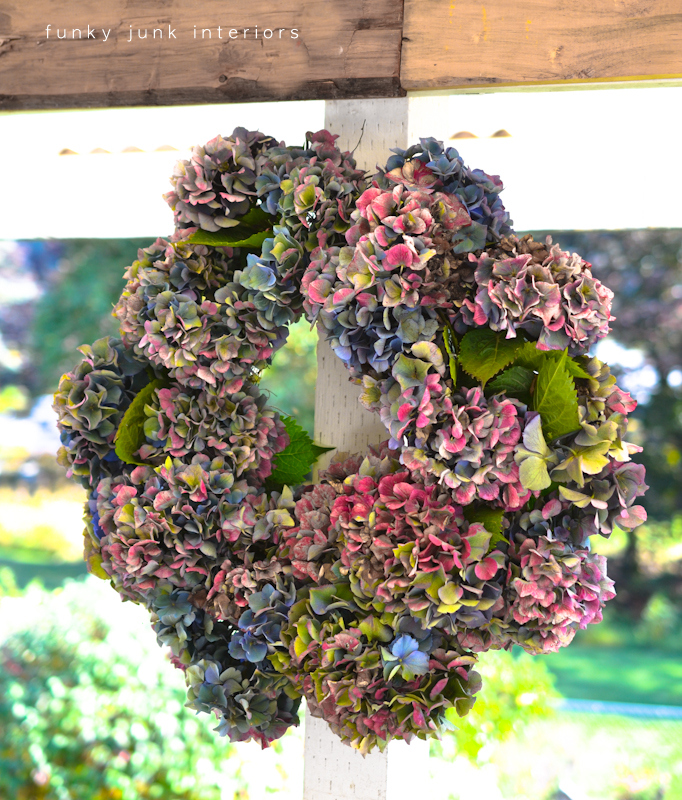
To help set dried hydrangea flowers
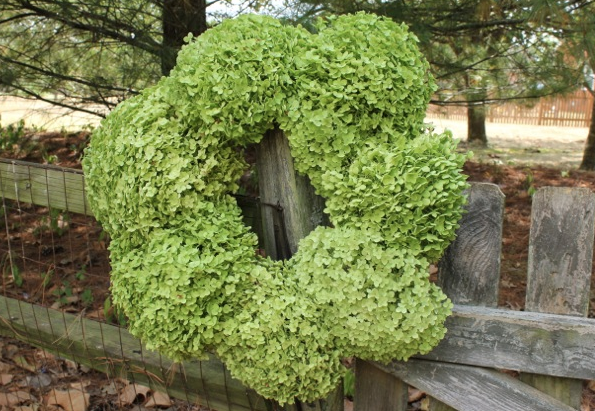
And here is the same wreath hanging outdoors on my patio. While it’s very pretty outdoors, you may find the petals wilt a little from the outdoor dampness if you wish for the flowers to dry. Keeping your dried hydrangeas is best for indoors.
However you can help to set the dried flowers by using some hairspray on them. Simply arrange, then lightly spritz a coat or two, which will help to hold the dried flowers in place.
Hydrangea wreaths are also incredibly versatile! Depending how large you make yours, here’s a few other ideas where to display them.
Other places to hang a hydrangea wreath
- display on a front door
- hang from a headboard
- center on a fireplace mantel
- position on an old window, then mount to wall or space to give it more interest
I hope this diy project has inspired you to gather up a wreath frame, and a few late summer blooms of hydrangeas to create a custom hydrangea wreath DIY of your own!
What types of hydrangea colours did you get this fall season? Think you’ll give a hydrangea wreath a go?
Other unique fall projects to make with hydrangeas:
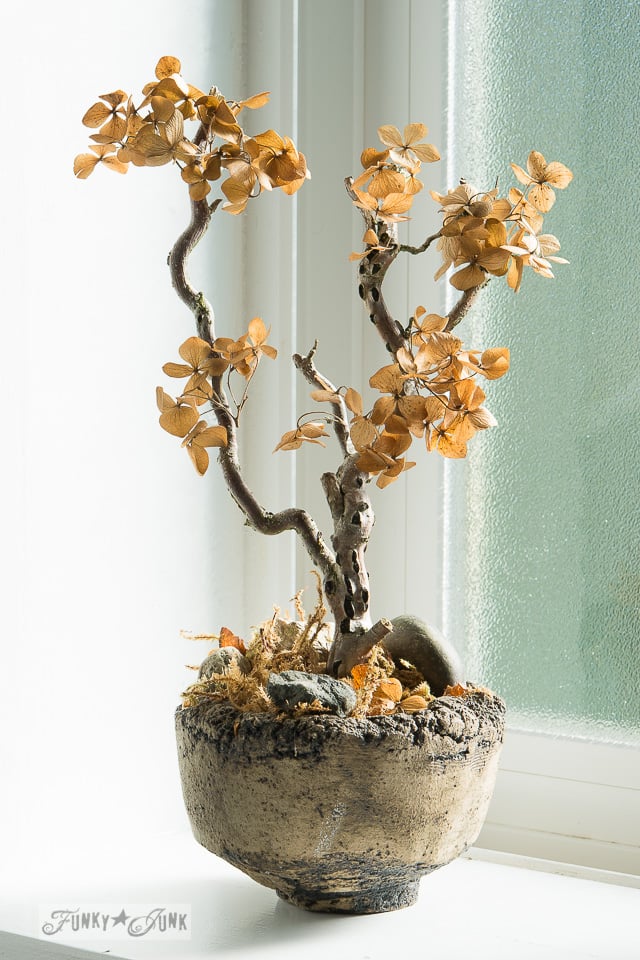
How to craft a hydrangea bonsai
Make this 2-sided DIY wood crate for fall decorating two different ways
How to prune hydrangeas to get the most blooms

View many other creative ways to decorate with hydrangeas HERE
Visit other unique fall projects to make HERE
How to make a dried DIY hydrangea wreath in under 10 minutes!
Instructions:
- Place a twiggy wreath on a flat surface.
- Snip hydrangea branches once flowers have turned slightly crispy, leaving fairly long stems to work with.
- Re-snip stems to length desired, cutting on a sharp angle.
- Insert the flowers into the wreath form attempting a tight hold. Use hot glue or florist's wire if needed.
- While arranging the flowers, create mounds for an interesting effect.
- Allow to completely dry indoors for the best wilt-free outcome.
- Hang the wreath with twine where desired.
This is so beautiful! Can’t believe it was so easy…! – Susan
That wreath is so pretty Donna! Love it.
Love it! The multi-colored hydrangeas are awesome.
WOW ! Love this wreath!
Beautiful. Your hydrangea colours are gorgeous!
Love it. Guess you have decided to do the month blog. Congrats to you. Have a great day.
so, so pretty!!!!
Great idea. If you need a cheap and easy frame to create your wreath as well, I would suggest using a coat hanger. It works great and everyone has one of those around.
I have several hydrangea bushes and this project is perfect for Thanksgiving. Thanks for sharing!
Beautiful! Now to find a friend with a hydrangea bush : )
I absolutely love it! I really need some hydrangea bushes in my yard….
Love it. This is on my ‘gotta do’ list. I’ve already cut my hydrangea, so now, just to get some of it on a wreath. THANKS for the push in that direction.
So beautiful!
That wreath is beautiful! Thank you for the idea!
Love the colours and the wreath..good job.
Your hydrangea projects are gorgeous! Oh how I wish I could grow them here, but it’s too hot and the soil isn’t right. I’ll enjoy yours for now. Thanks for hosting Donna.
how do u dry them in water i hung mine upside down but they are all ariveled up and not fluffy???? 🙁
Beautiful wreath..I was told that if you leave them inside they keep their color and if outside they go brown..Have a great weekend..
I am heading out to my yard tomorrow morning to gather up the last of my Hydrangeas. What you said about not getting caught up in blogging? I am all about being way too caught up in “producing” as in for other people! I have so neglected the time to make anything for myself, just because it brings me joy. Thank you so much for this reminder. I am copying and printing this to put right above my computer. I tell you, those words were inspired!
Thanks so much for showing my hydrangea wreath! It is the easiest wreath you will ever make! And, quite possibly one of the prettiest! Life to the full, Melissa
Thank you Miss Donna for hosting! A little late, but better late than never!
Oh it’s absolutely gorgeous! I’ll be pinning this for future use…maybe this year, maybe next but I do need to make one of these. Thanks for sharing.
Debbie 🙂
Yes, that was so simple, and beautiful. I am learning that simplest things in life
sometimes the best way to go. Thanks for sharing.
I honestly can’t get over how easy this is. I usually cut them, and put them in a vase, but this will last. A must share! Sharing over on my FB page this morning-Thanks for the inspiration Donna! ~ Julie
çet sohbet
cinsel sohbet
gabile
gurbet türk sohbet
almanya sohbet
diyarbakir çet sohbet
lez sohbet chat
hollanda sohbet
denizli sohbet
cinsel sohbet
sohbet odalari
türkiye sohbet çet
cinsel sohbet
bayan sohbet
gay bul sohbettürkiye google seo optimize chat sohbet siteeleri sizleri thanks 😉
This is a real stunner Donna! What beautiful Colors! I thought you had inked them at first 🙂
I love this post and since it inspired me to make my own wreaths, I put a link back to you in my post about hydrangea wreaths.
Candy
PICKINandPAINTIN.blogspot.com
The wreath is so perfect. It combined with all important colours and it will suit anywhere.
Dear Donna!!!
I made my hydrangea wreath TODAY!!!
I love it, I just wrote a quick post about it:
http://www.restory.ca
I am migrating my blog from Condensedlovehome to restory.ca
Thank you for the inspiration!!!
Claudine
what a beautiful wreath! Thanks for sharing:)