
Transform a free-standing fridge into a custom built-in fridge look, using this clever reclaimed wood wall hack! So easy to customize in any style you wish!
As a Fusion and Amazon Influencer, this post contains affiliate links in which I earn a small percentage from qualifying purchases at no extra cost to you. If you shop Fusion Mineral Paint products through this post, you will get 10% off. Thank-you for helping to support my blog!
I’ve been wanting a secondary fridge forever.
But extra appliances sure take up room, don’t they? I’ve had different configurations of extra freezers back in the day, but these days, an extra side-by-side would do nicely once garden harvesting season hits.
But it wasn’t until the main 20 year old smaller shallow depth, counter-depth refrigerator (= not much room) kicked up a fuss and stopped, only to turn on again after a few hours, (did you know some compressors take up to 24 hours to turn back on?!) I knew I’d never go through that heartache EVER again IF I had a secondary fridge. So I kept my eyes open for a good deal.
Then when my dear neighbourhood friend Janette was letting go of hers for FREE, I jumped at it!
Before we move on with this riveting story, brace yourselves… for you’re about to either get blinded from ugliness or just feel really good about your own home!
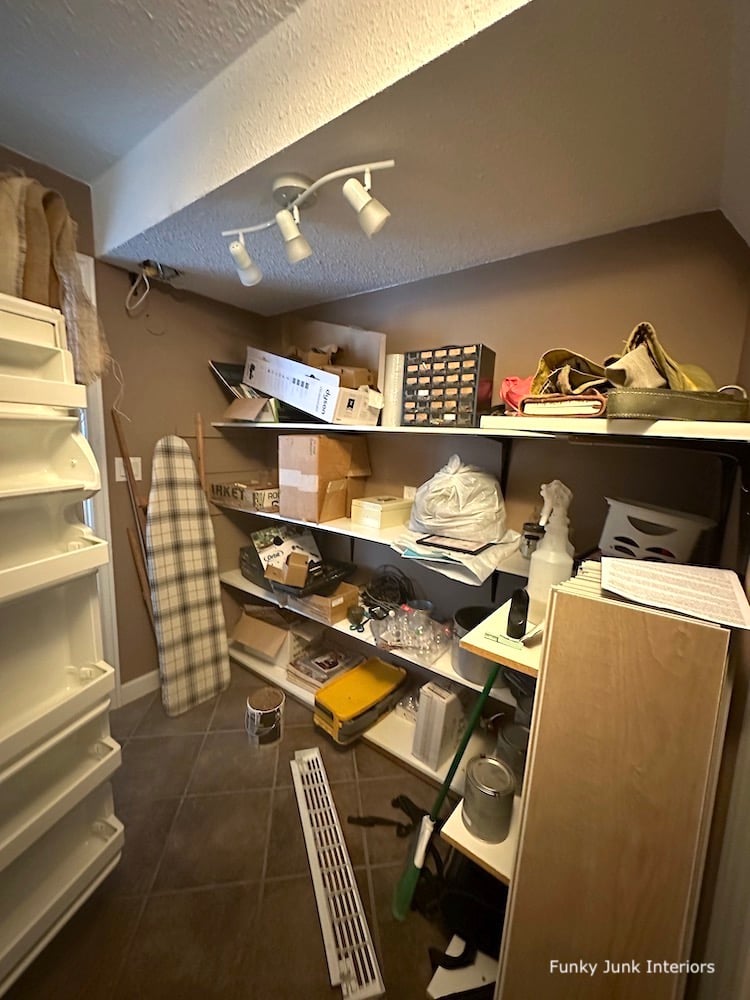
Laundry room shelving storage – before
Good news! I had space for the fridge!
Bad news… I’d have to clear years of clutter off a very robust-built shelving unit to make it happen.
There’s always trade-offs it seems.
Oh boy, was this a task. It took me a month to find homes and ditch this stuff so I wouldn’t miss these shelves one bit! All these storage shelves did was collect clutter I didn’t know where else to place. So it was time to make those overdue hard decisions NOW.
Plus, this mess being visible in my laundry room wasn’t exactly a delightful spectacle. By golly, I wanted a real looking laundry room that I didn’t want to hide one day… but with a fridge that fit in.
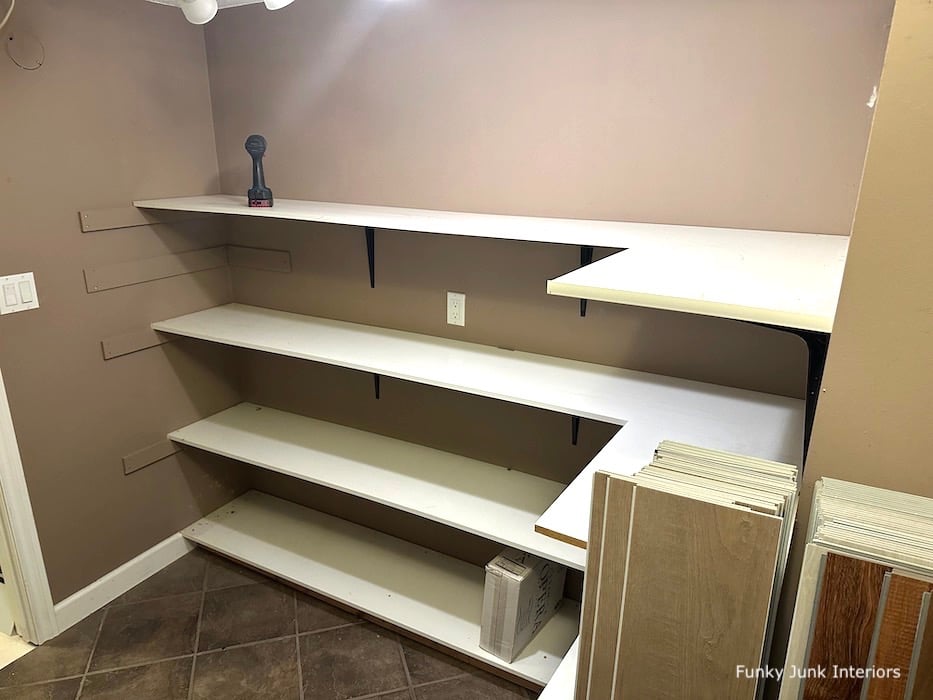
Then I finally reached this glorious magical day of no more clutter on the shelves, I could finally dismantle the shelves and get rid of them! I gulped though, because they sure looked nice with nothing on them! Which doesn’t serve their purpose though, does it? Bye bye shelves.
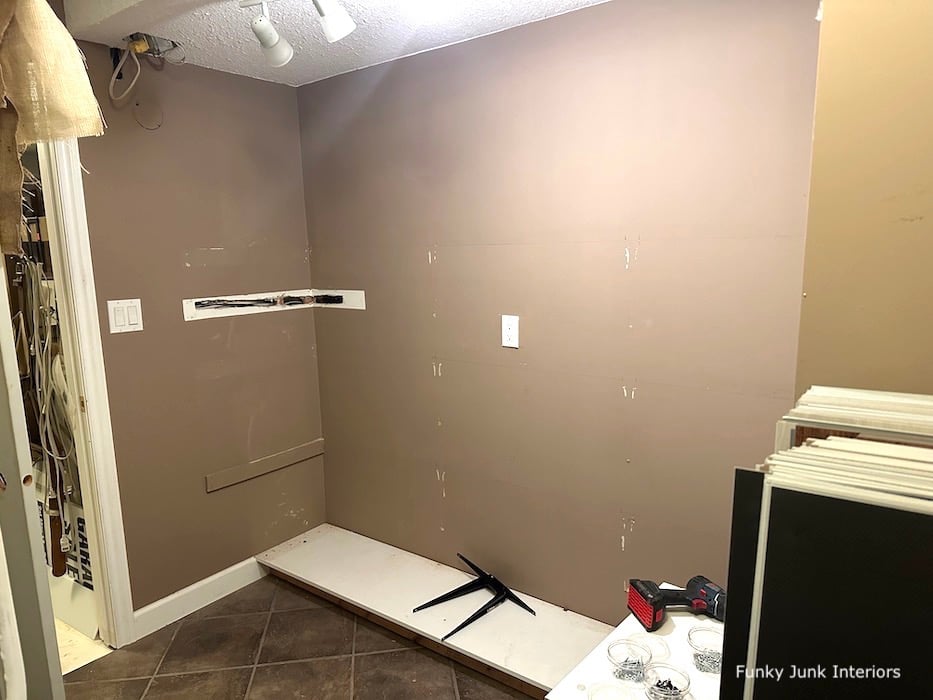
And would you believe I couldn’t even GIVE these shelves away? So I took them to the dump while stuffing my truck up to the rafters with other stuff that should have gone away long before this anyway. Gotta make a good dump run truly satisfying, I say.
Next up was to crack fill the walls, then paint.
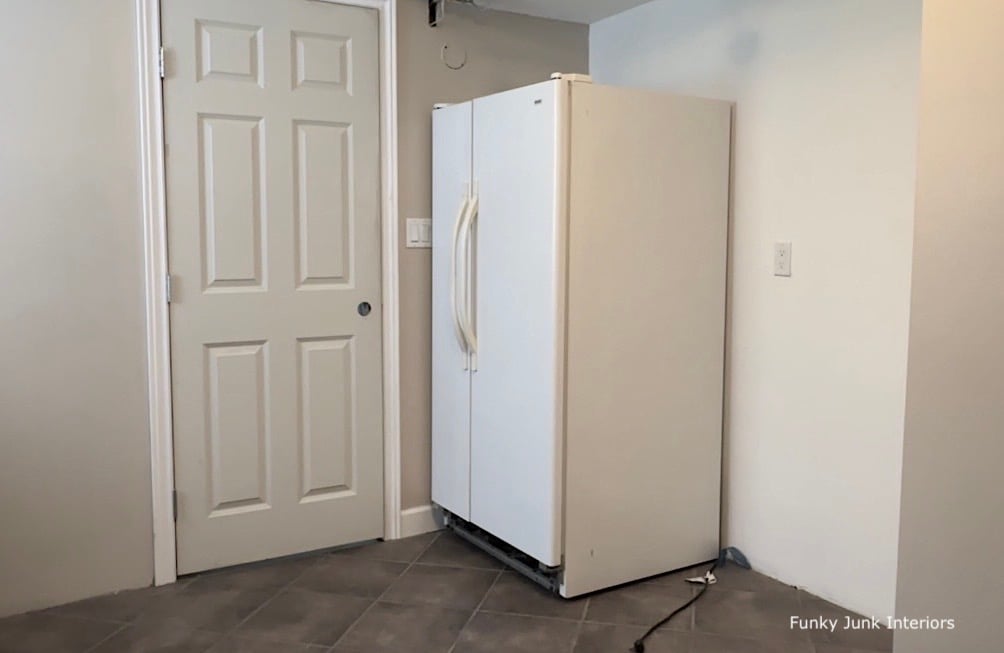
Refrigerator – before
Then after yet another week, the freshly painted walls in the laundry room welcomed scooting that fridge into place perfectly!
The fridge fit SO good, even clearing the light switches! What luck. I really was hoping for additional side-by-side refrigerators so I could have the best of both worlds in a pinch!
And I’m so grateful for the white fridge! Stainless steel with bottom-freezer is nice, but this room requires lots of light and bright surfaces, so this was perfect.
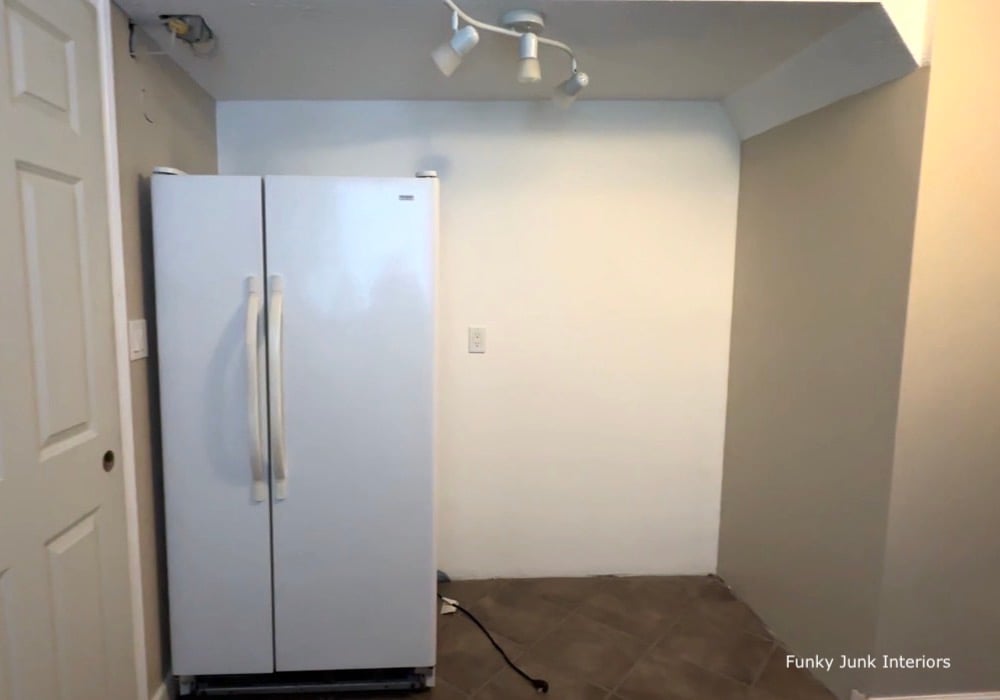
But goodness, while the nice clean lines were so much better than before, this setup sure was plain. As in, I wasn’t even really all that excited to push back useful laundry room gear into place beside the fridge because these bare bones had no personality whatsoever. So I decided to kick this one up a few notches and create a look resembling built-in refrigerators using my very favorite item… reclaimed wood! Without needing extra cabinetry. Just a little of my own custom paneling would do nicely… my way!
My first musing over a DIY built-in fridge was through A Pretty Happy Home when they built in their free-standing fridge. Beautifully done, don’t you agree? Only, I wasn’t exactly a cabinet kinda builder… so I came up with my own way to fake a built-in fridge look that literally anyone can copy in their own style!
However I just had to add my own twist using reclaimed wood. Which literally made me gasp when it was done! It turned out SO cool!
Have freestanding fridge you’d like to enhance? Here’s how to fake your own built-in fridge look, your way!
Easy-to-build DIY reclaimed wood built-in fridge look wall
Supplies I used:
2x4s – I used 2 8′ plus smaller scraps for horizontal bracing
Reclaimed wood
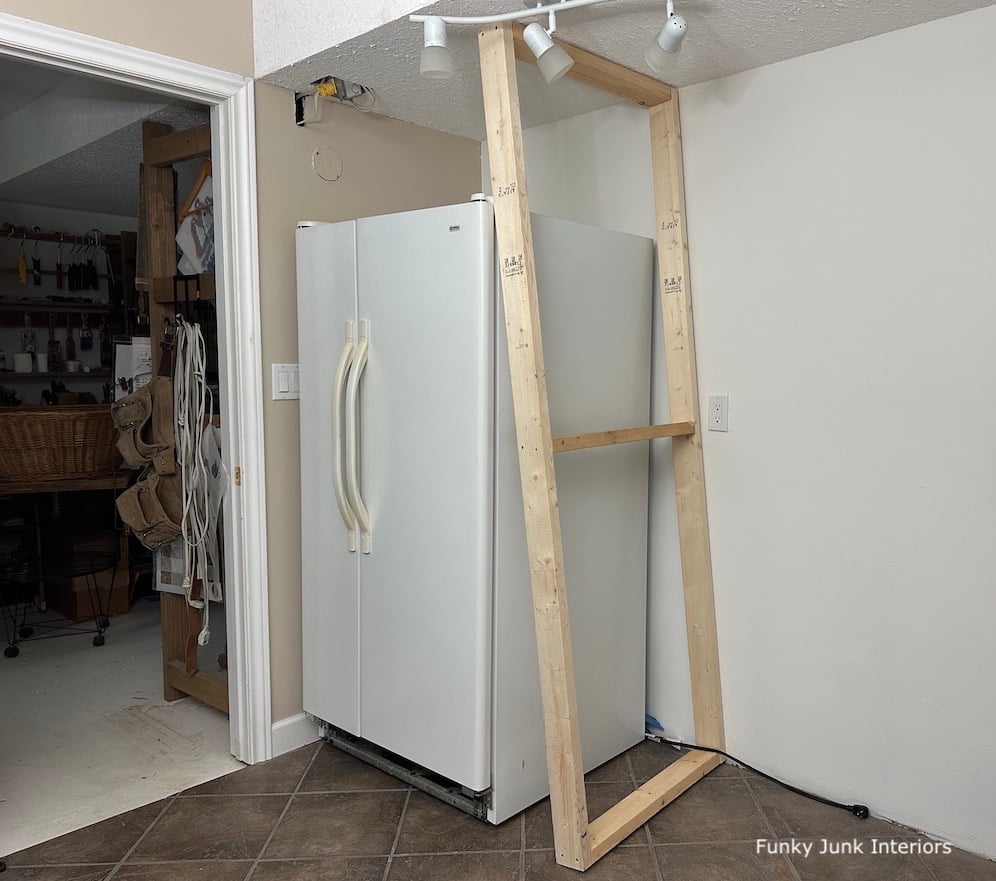
How to position a fridge
1. Adjust the fridge legs so your fridge has a slight lean of about a ½” towards the back, so the doors will self-close when left slightly ajar. (best to refer to your manual)
And before you install the frame, I suggest to do a search to find out how much air clearance your fridge requires along the sides and back so the compressor doesn’t overheat. My fridge needed 1″ on each side, and 2″ along the back.
Building a frame for the side of the fridge
1. Build a frame to the depth and height of the space beside the fridge.
- I measured the floor to ceiling height beside the fridge, then cut two 2x4s that height.
- Then I measured the depth from the fridge doors to the back wall, and cut 3 2x4s to that depth, minus the 2 taller 2×4 thicknesses.
- The boards were laid out on the floor in a rectangle shape, then attached in all four corners with screws.
- Then I attached the center brace board.
The frame was then pushed into position where desired, and attached to the wall and ceiling with screws.
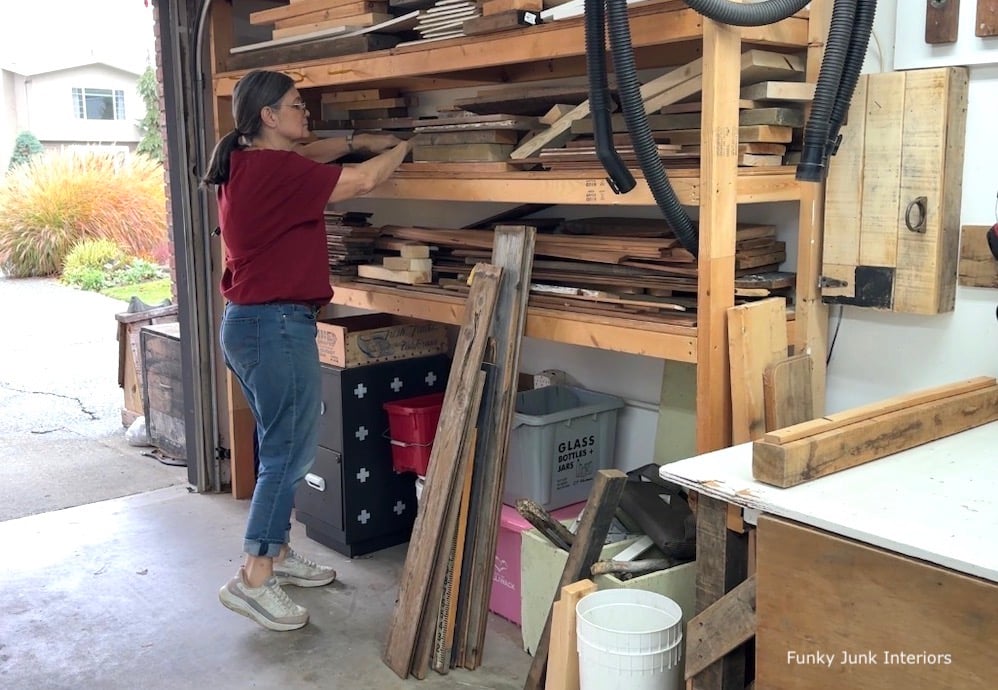
Selecting a mix of reclaimed wood boards
2. Gather up and cut your boards of choice. Run a sanding sponge along the edges and lightly over the surface if needed. (I did minimal sanding to retain most of the original patina)
I rummaged through my reclaimed fence boards that I had previously prepared for storage. (read how I prep old wood to build with HERE)
The key criteria I had was that each board measured at least the length I needed so they would fit the frame. However I gathered all different boards with different depths and tones for a really good mixture!
Installing the reclaimed wood boards to the frame
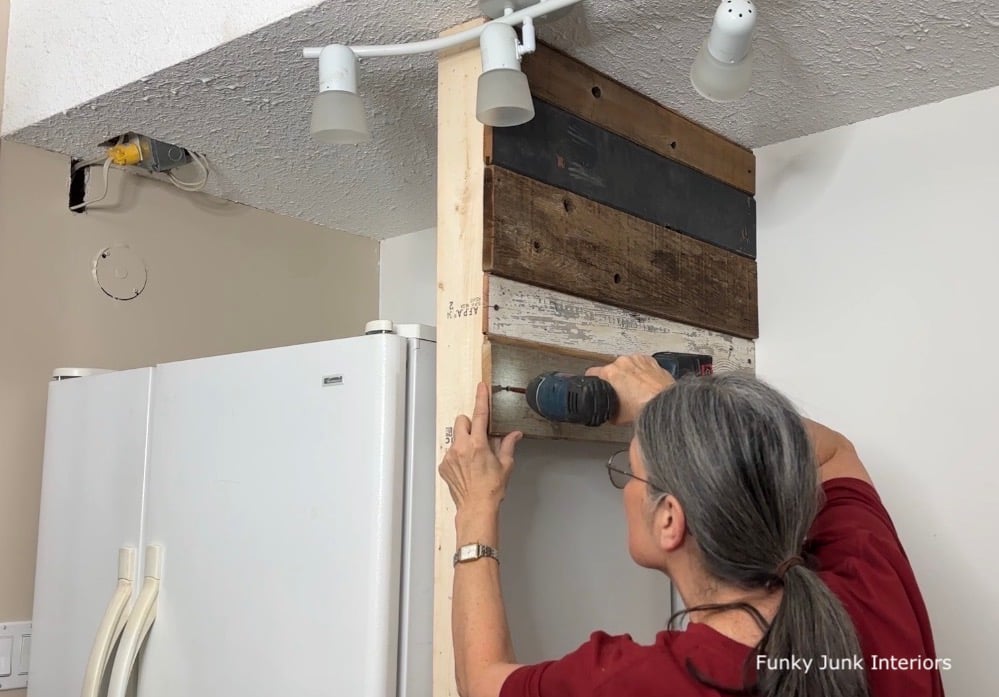
3. Starting at the ceiling, install one board at a time, attaching them to the frame with a cordless drill and screws.
I suggest to predrill holes, then screw so the wood doesn’t split. This installation went VERY quickly once I outfitted myself with one drill to drill holes, and one to screw.
Every few boards, I also leaned a small carpenter’s level along the bottom of the board to ensure they remained level.
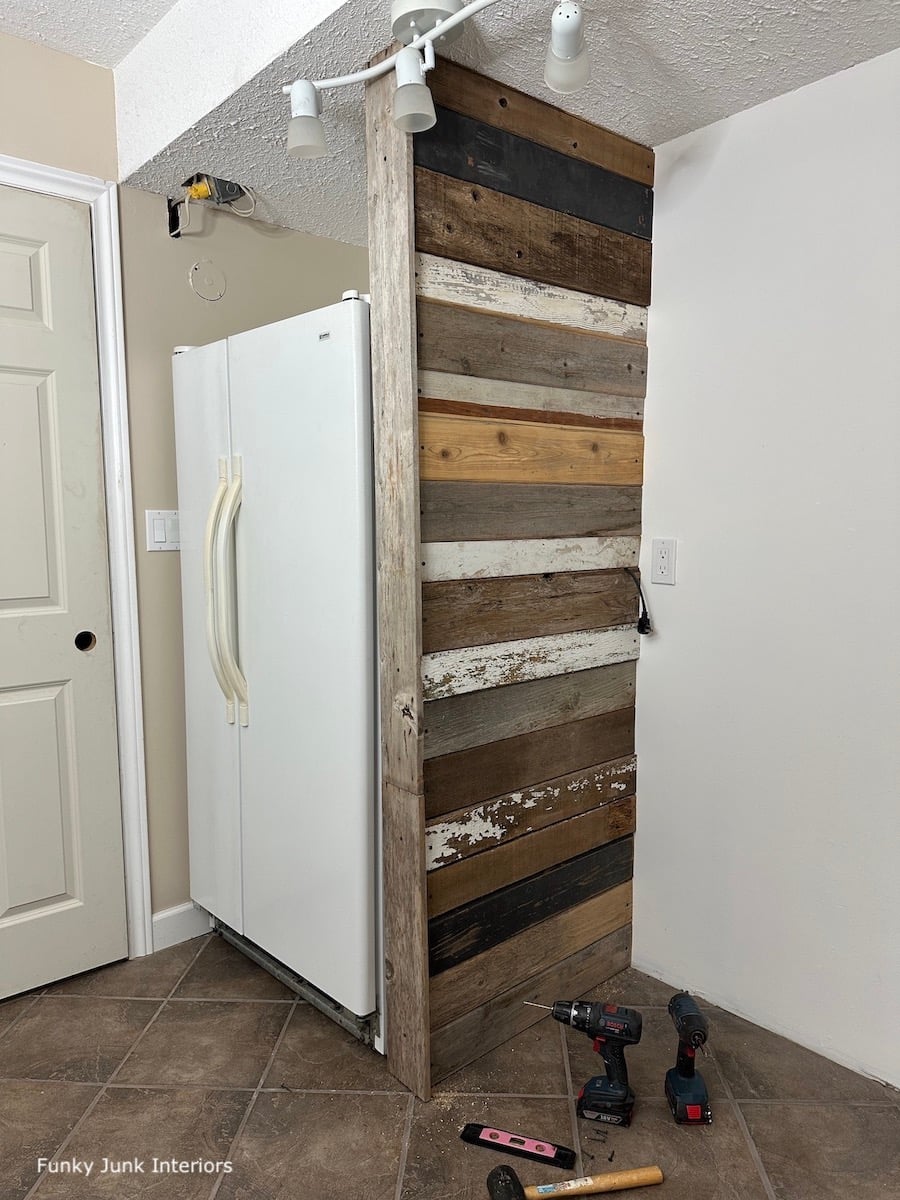
Finished reclaimed wood wall
4. When you get near the bottom, start there first, then work up so you have full boards top and bottom. I then outfit a smaller board to fit in-between.
I also made a special allowance for the electrical cord since the wall plug was in such a strange area. board was notched out to create a hole just big enough for the cord once the board was back in place. So if I ever need to move the fridge out, I’ll just unscrew that board to drop the whole cord.
Spray painting the fridge handles black
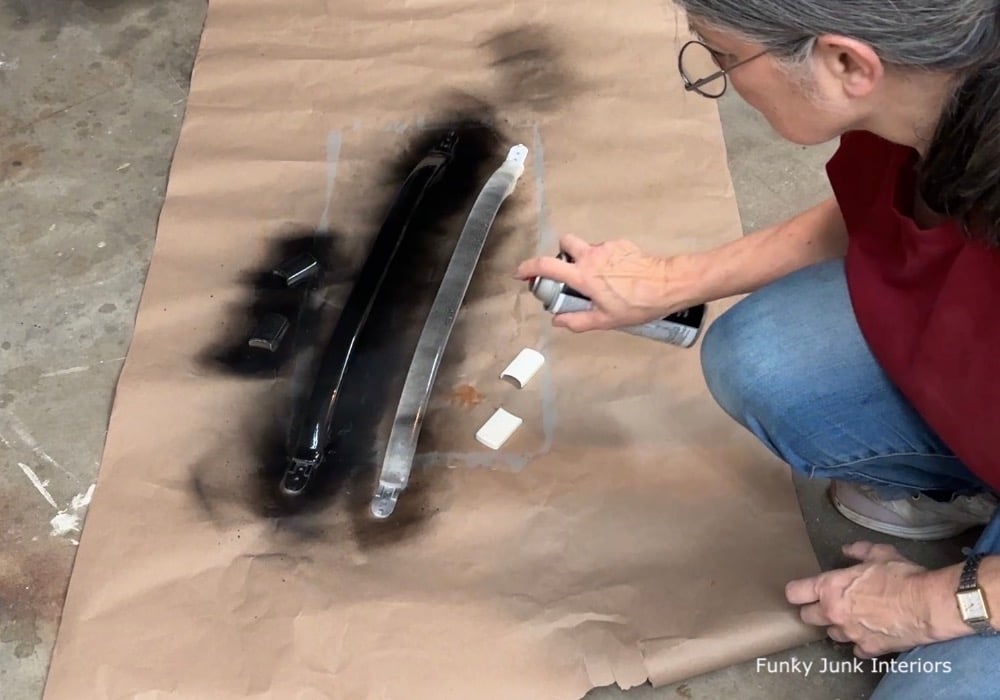
5. I removed, then spray painted the white fridge handles black since the original handles took on a creamy appearance due to age.
This really freshened them up! I love to use THIS GRILL PAINT because it leaves such an amazingly durable finish, plus it dries to a beautiful matte finish.
I’m sorry Annisa from A Pretty Happy Home, but I could not bear to try and top your hubby’s DIY wood fridge handles so I didn’t even try. Ha! I’ll leave you two with top marks for that clever idea!
Added boards to give a cupboard look
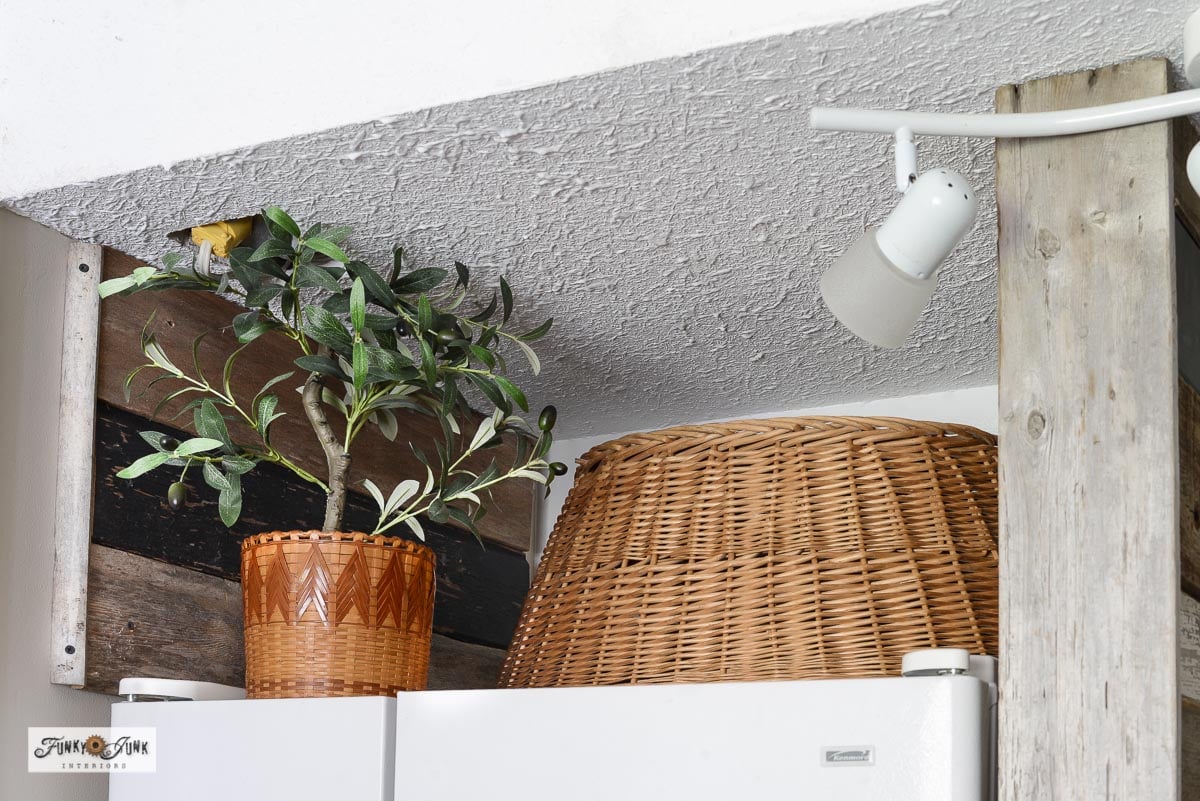
6. To make the opening above the fridge more cohesive, I also lined a few planks above the fridge on the opposite wall. It’s the perfect place to store a large wicker laundry basket! For both looks and usefulness.
Installing hooks to the reclaimed wood wall
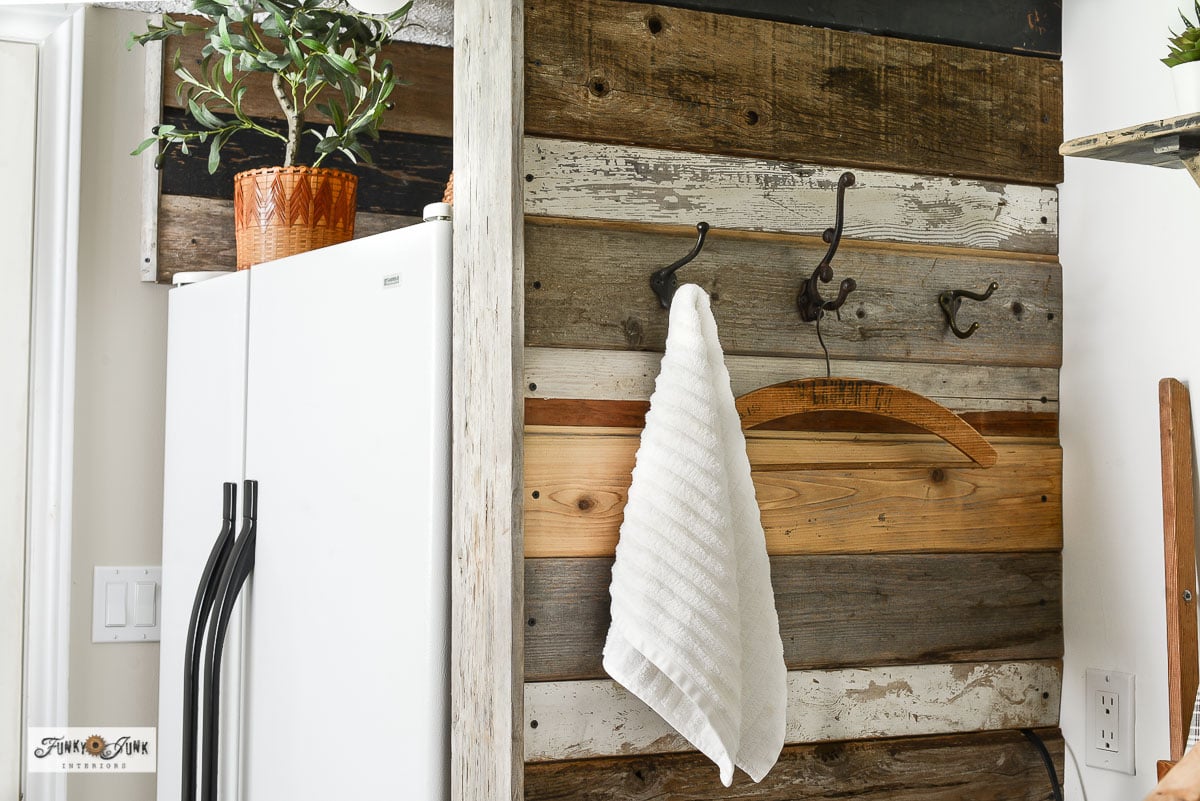
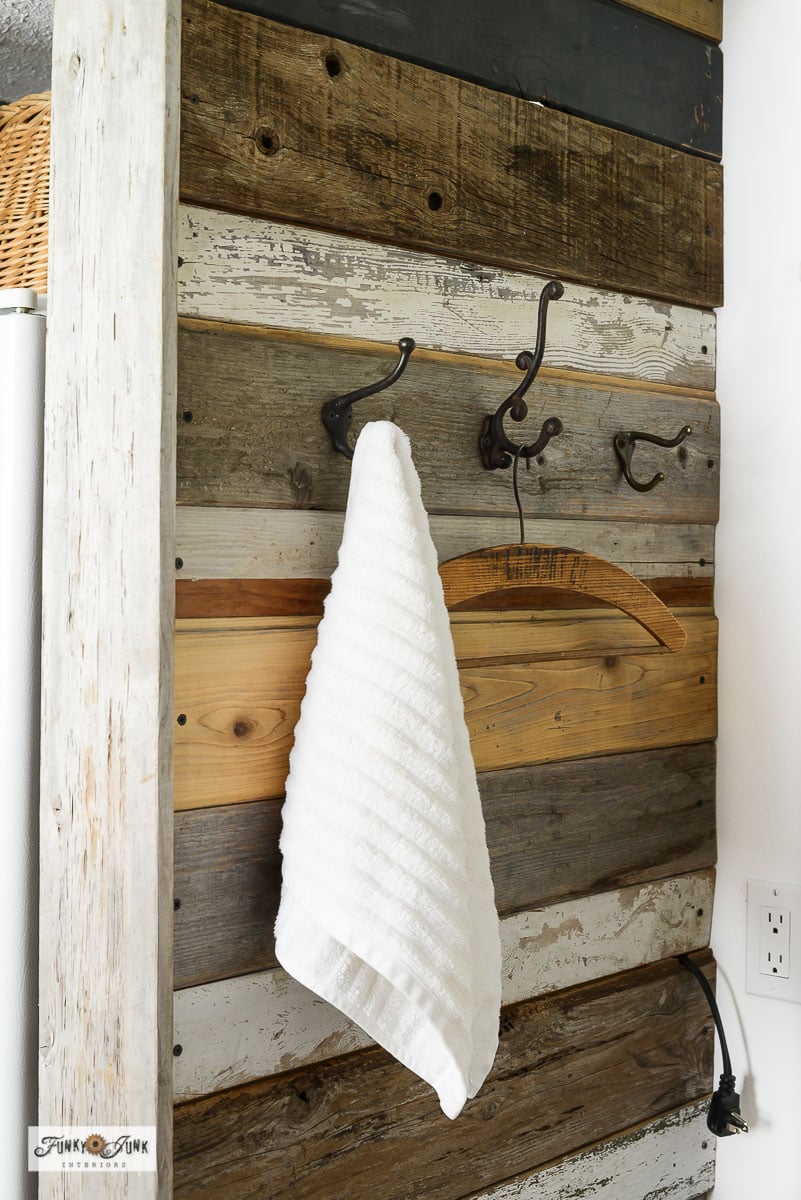
7. I also added a row of old rustic coat hooks along the side of the reclaimed wood wall around eye level, perfect for towels rags, hangers or whatever is needed.

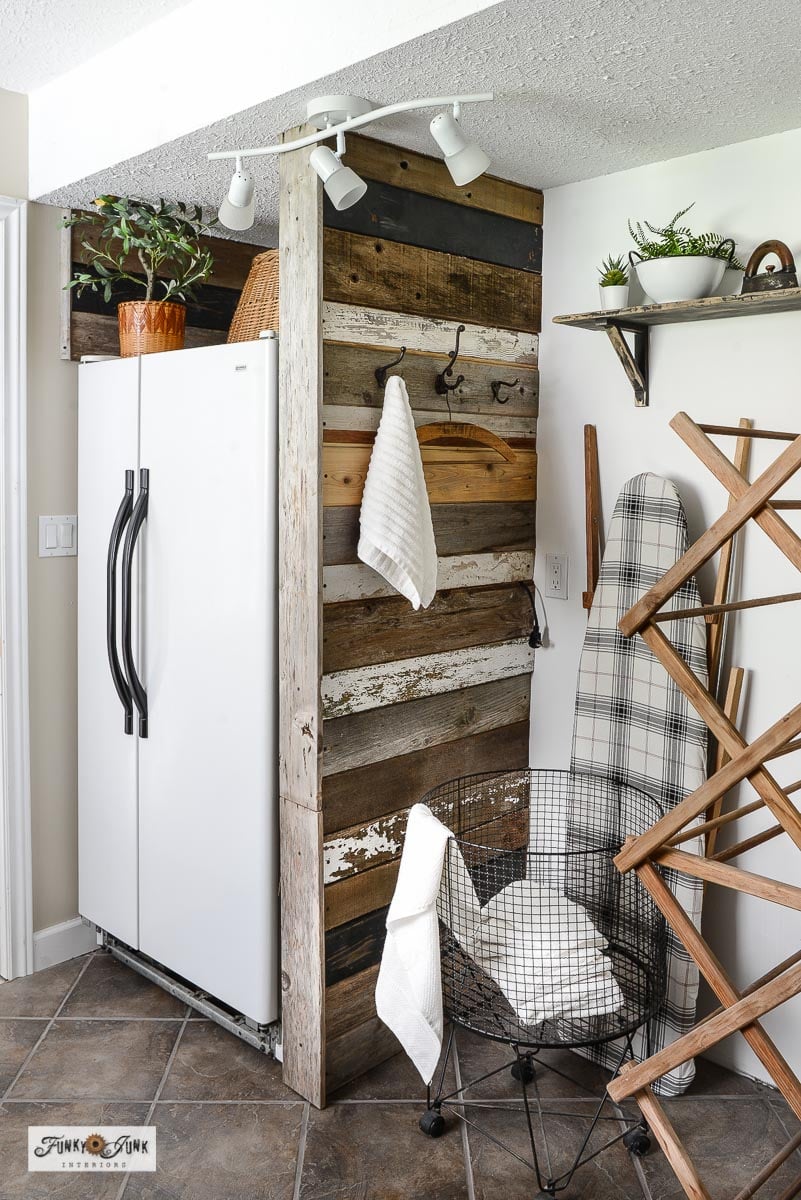
Completed reclaimed wood built-in fridge wall
Time for a final layout! Then I added vintage laundry gear such as a vintage ironing board I actually use, a vintage styled rolling laundry basket, antique wood clothes drying rack, faux plants, a wooden distressed shelf and whatever else I needed in this space to make this ‘built-in fridge’ look complete!
No countertops nor kitchen cabinets needed to make it look complete!
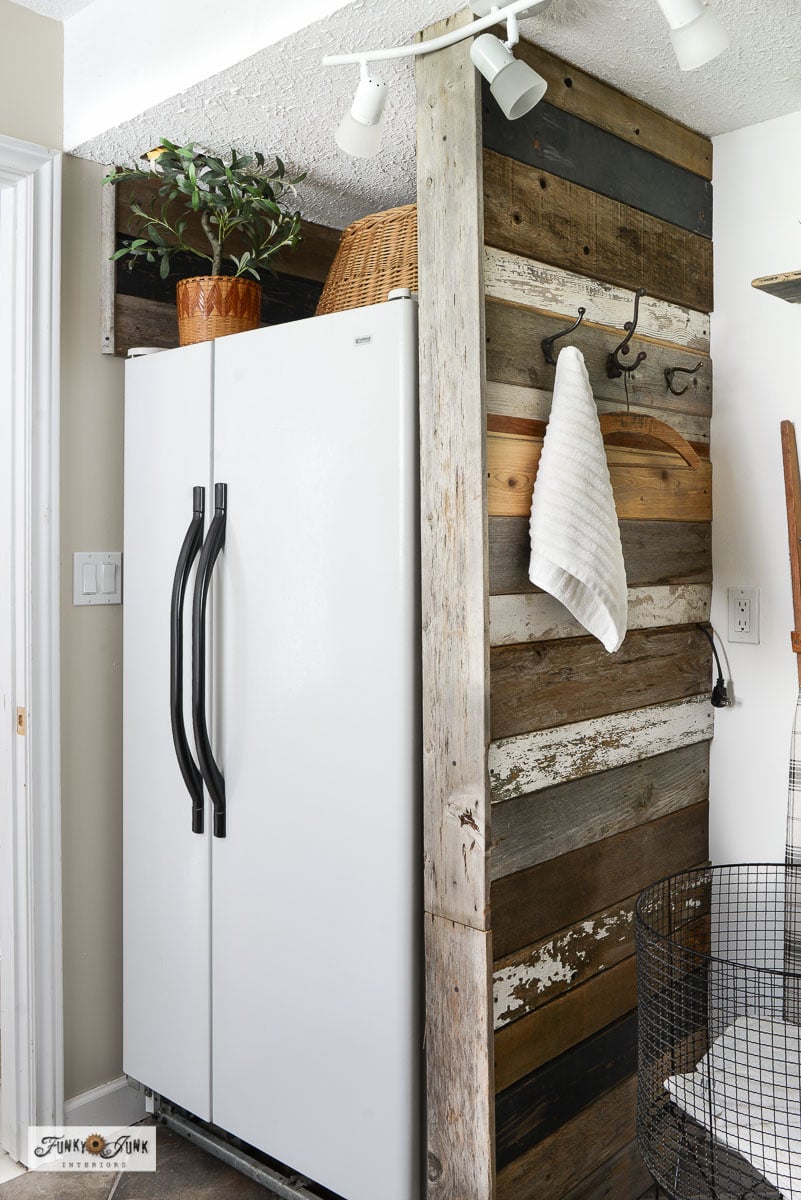
Isn’t it neat?! How in the world can a simple wall make this area look SO different?! I just LOVE this look! The wood took on such rich tones, which chimed in so nicely with the white fridge and lighter walls.
And those black painted refrigerator handles chime in so nicely with the black boards on the wood wall! I think they really woke the fridge up to look brand new again!
Who needs expensive panel-ready fridges when you can have this?!
Vintage laundry room accessories on a shelf
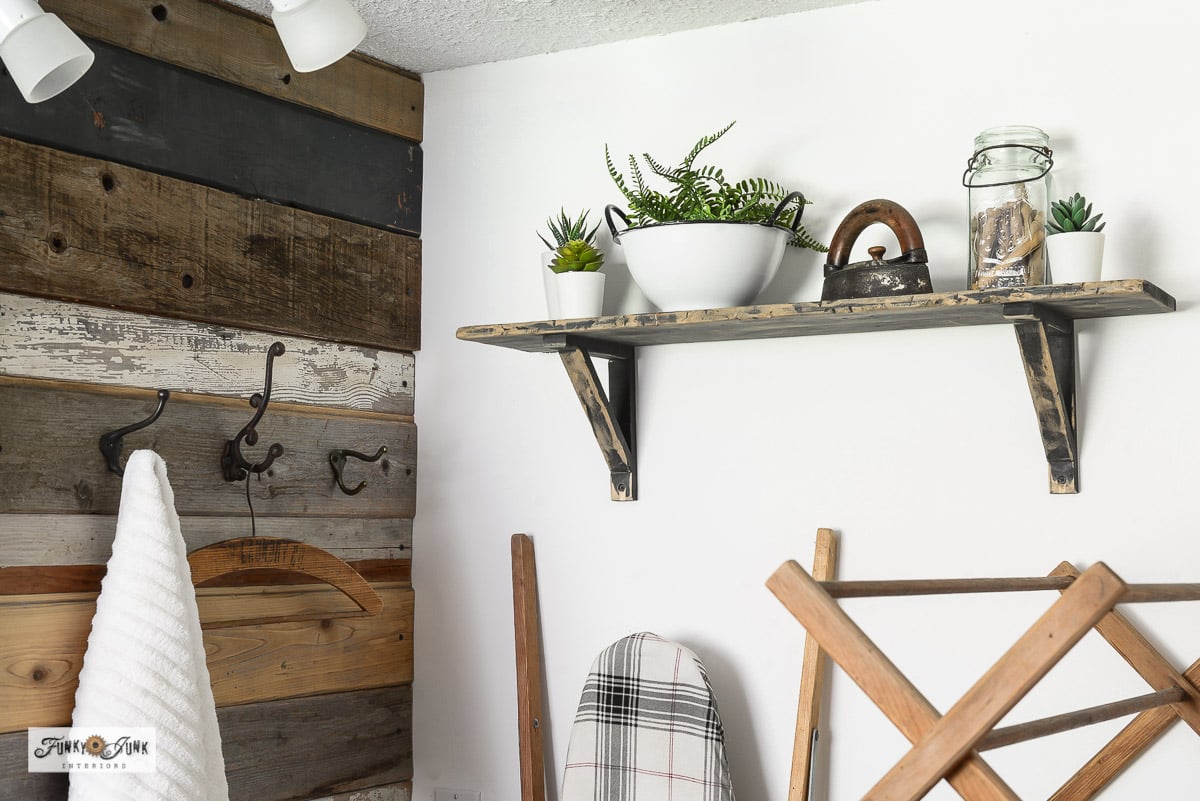
And it’s all about the accessories too! From a vintage hanger, to faux plants in antique-look enamel bowls, an antique iron my grandma use to use, antique clothespins in a vintage mason jar, all displayed on a distressed shelf, it’s as if all those items were begging to be displayed right here right now all along!
Vintage laundry hamper, clothing dryer and ironing board
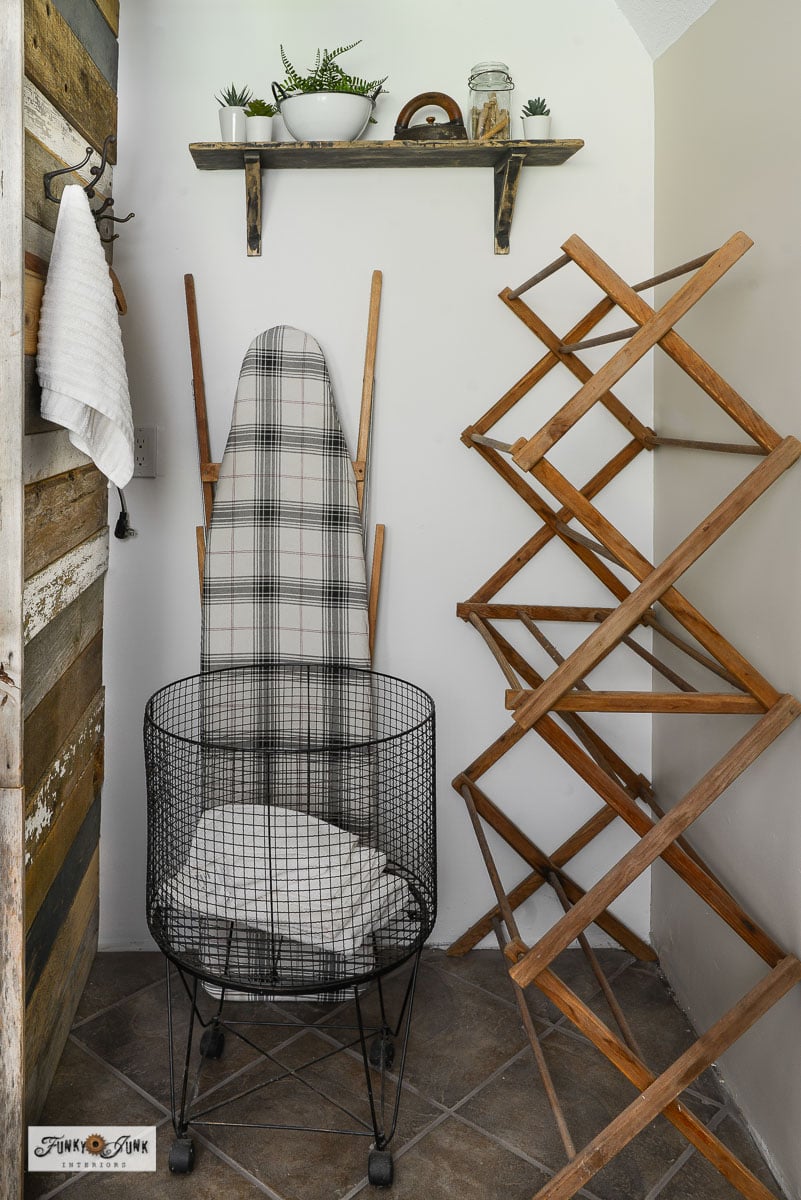
And of course, there’s the perfect spot to now store my vintage ironing board I actually use, vintage-inspired rolling cart and vintage clothes drying rack.
Who lives here again?! Oh wait, it’s lucky me! All thanks to just a framed wall that made this entire space not only feel like me, it made the entire space totally shine in a very unique way! Like a spare fridge was always meant to land in this space and look right.
Freestanding refrigerators may not be all that exciting by themselves… but isn’t it nice to know they can easily be dressed up to look extra special against a simple wood wall you built yourself?!

Other creative laundry or boarded up projects:
Vintage ironing board clothing drying rack (other side of this room!)
Industrial pipe laundry drying rack
Pallet wood wardrobe wall with hooks for a bedroom
Cedar wood strip dresser (get a wood look without stripping paint!)
Upcycled file cabinet into garden tool storage with wood strip front
Easy-to-build DIY reclaimed wood built-in fridge look wall
Supplies:
- Random reclaimed wood boards
- 2x4s for frame
- Small carpenter level
- Sanding sponge
- Measuring tape
- Grill black spray paint
- Rustic coat hooks
Instructions:
- Setup the fridge with the correct lean, plus calculate how much air space it requires on the sides and back.
- Measure the space beside the fridge to the full floor to ceiling height, plus front to back.
- Cut 2 2x4s to the full floor to ceiling height. Cut horizontal 2x4s to your desired depth (front to back)
- Lay the frame boards onto the floor, then join the 4 corners with screws.
- Add a bracing board in the middle, and attach with screws.
- Slip the frame into position beside the fridge, or build it in-spot of space is too tight.
- Attach the frame to the back wall and ceiling with screws using a level to ensure it is straight.
- Cut random reclaimed wood boards to the depth of the fridge. Lightly sand any rough areas.
- Predrill holes, then attach boards to the frame with screws, starting from the top, then working down.
- When close to the bottom is reached, start from the bottom working up, then find a board that fits to meet both sides.
- Cut and mount another board to cover along the front of the frame to give the wall a finished look.
- To add more interest, add some boards along the top of the other side of the fridge if working against a wall.
- Mount hooks and decorate as desired!